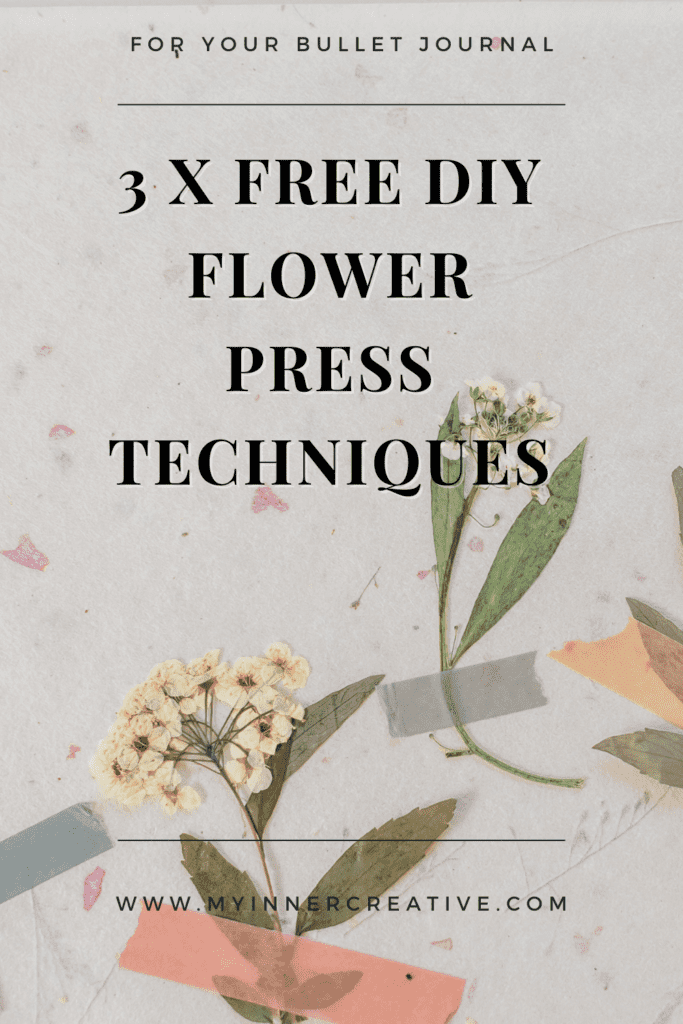
How to easily create pressed flowers for your bullet journal – FOR FREE
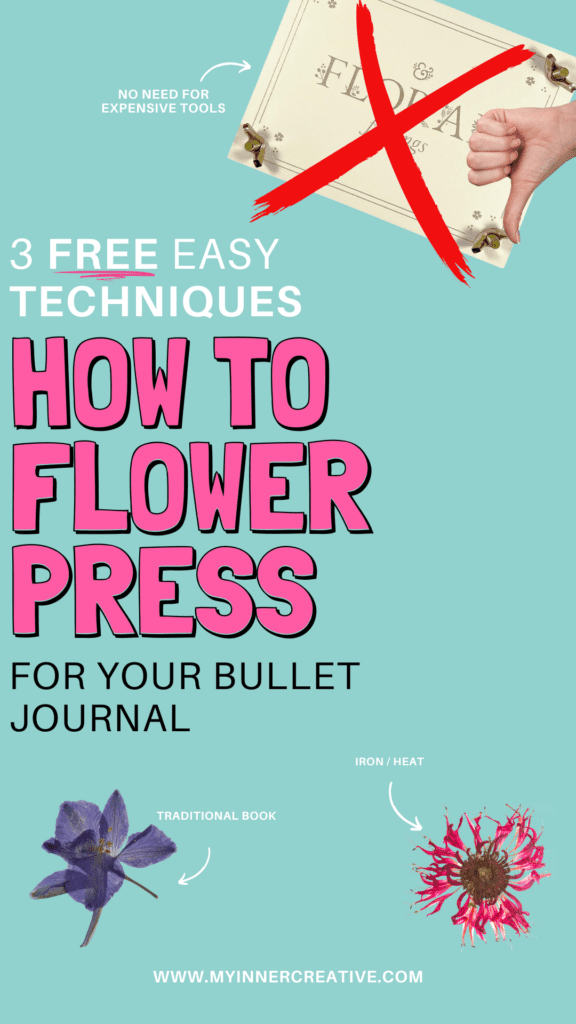
I am pretty sure we have all been hyped up by the gorgeous-looking but overpriced flower press that Archer and Olive released as part of the Subscription box in September 2022. I have now seen SO many posts with pressed flowers, but with the cost AND shipping, the price soars out of control getting to New Zealand. To solve this issue, how do I make my own flower press that presses flat enough to pop florals into my bullet journal and works similar to or better than the expensive one!?
Floral drawing in your bullet journal is a totally different topic and we have a few blog posts that cover the gorgeousness that is a floral design in your notebook. This post specifically looks at how you can create pressed flowers for your notebook FOR FREE!
What is flower pressing?
The process of flower pressing includes flattening out the leaves and petals of flowers so that they can be used as decoration. This operation is carried out to get rid of any moisture and to keep the colours from fading.
In contrast to a bouquet of dried flowers, pressed flowers can be framed and displayed as art, given as a gift with sentimental value, or used to embellish handwritten cards and messages. There are a few different techniques for pressing flowers, but you can quickly do the task with just a few things from around the house. Preserving them does not require any specialised equipment either.
Using a flower press, you may capture and maintain the natural beauty of cherished blooms. Flowers that have been dried and pressed can be used to embellish your house or in paper crafts such as scrapbooking and card making. You can even add dried flowers that have been pressed into homemade soap or candles.
While using something like the Archer and Olive subscription box flower press would be a good option, there are free options to create pressed flowers in your bullet journal and add to your list of notebook ideas!
How to select flowers to press
- Always select flowers that are near to reaching their full bloom, and steer clear of ones that have any defects or areas of a darker colour.
- Gather the morning’s cut flowers from a garden only after the dew has evaporated.
- Make sure the flowers are totally dry before you arrange them, as mould can grow on flowers that are wet or damp.
- If you are using a bouquet, make sure to keep it submerged in water until you are ready to press it. (Tip: When cutting the stems of flowers, always make an angle cut and put the flowers in a vase with flower food to keep them fresh.) Every day, you should change the water and remove any leaves that have fallen below the level of the water.
- When pressing huge flowers that have stacked petals, you might want to consider separating the petals first so that you can “reconstruct” the flower afterwards if that’s what you want to do.
How to press flowers in a book
One of the oldest techniques that has stood the test of time is pressing flowers in a book. If you have the time and the patience to wait, the technique is one that I really enjoy using. Using absorbent paper and a hefty book or phone book to press flowers is the method that requires the least amount of specialised equipment and yields the best results. Because the petals, stalks, and leaves of the plants being pressed may leave pigments on the paper, it is important to protect the pages of the book by adding an additional layer of paper on either side of the plants that are being pressed.
What you will need:
- Super heavy book! Maybe that dictionary you haven’t used in 10 years or nana’s old phone book!
- Paper to absorb moisture (parchment paper, thin cardboard, newspaper, coffee filters or blotting paper)
- Heavy weight or more heavy books!
Before you get started, make sure that any petals that need to be separated are. The next step is to arrange your flowers on a single sheet of parchment paper, leaving at least 1.75 centimetres of space between each arrangement. Make an effort to squeeze flowers together that are of a similar variety or thickness.
Position the second sheet of paper so that it is on top of the floral arrangement. It is important to make sure that the face of the flower is carefully flattened into the form that you want it to have after it is pressed. To make folding my piece of parchment paper easier, I usually fold it in half. Then, instead of having to cut two separate sheets of paper, I can just put my flowers inside and make it look like a book. After that, make sure the book is shut and place something heavy on top of it. You may also use a block or additional heavy books, but the weight of the object needs to be sufficient for it to generate an even pressure.
The length of time needed to dry the petals will be proportional to the thickness of the petals. The above picture was taken after only two and a half weeks of drying time for the flowers. They ended up being really paper-thin and managed to keep their colour very well. You may decide to wait closer to four weeks in order to have blooms with thicker petals.
Flowers that have been book-pressed often have quite delicate structures; you don’t want to damage your lovely specimen, do you?
Pressing flowers with an iron
Utilizing a home iron to apply heat to dried flowers is yet another option. I have to be honest and say that this is the approach that I dislike the least since I do not believe that the quality is on par with the other methods. However, if you need pressed flowers very away and don’t have access to any other options, this is a wonderful one to have on hand.
Before I ironed the flowers, I sandwiched them between two pieces of parchment paper and arranged them where I wanted them. It is also helpful to have a good, hard surface with a thin cloth underneath it.
Iron the flowers on low heat for approximately 15–30 seconds at a time, turning off any steam settings you may have. Wait until the flowers have had some time to calm down before making another attempt to press them. I use my cricut for this because its heavy and I can set the temperature.
You don’t have to glide across the surface like you would while ironing clothes; that’s not necessary. Repeat after waiting an additional ten to fifteen seconds for the paper to reach the desired temperature. Check the bloom at regular intervals by lifting the paper very slowly to determine whether or not it has become rigid and dry.
When the petals are only partly dry, you have the option of completing the drying process with either the book or the wooden press as described before.
Preserving your flowers for longer using a laminator
If I wanted to laminate the whole thing, I had to choose flowers with smaller, more delicate petals because that was the only way to do it. When the flowers were more substantial, I removed the petals off the flower and laminated them separately. Some of the petals did become discoloured as a result of the heat from the laminator, but not to the extent that it rendered them unusable. In point of fact, I believe that a good number of them possessed an attractive appearance.
Top tips for pressing flowers for your bullet journal
Use tissue paper. Tissue paper is utilised by professionals, who apply a layer of the material to each arrangement. After that, position the flower or petal so that it is on top of the book. Position the tissue so that it is sandwiched between the petal and the exposed side. After four days, the tissue should be removed, and the process should be repeated.
The tissue contributes to the petal drying out to its full potential. This method works particularly well with flowers that have wide petals or with expansive displays. But can leave the tissue paper indentations on the petal
Include more things to add visual interest. You can make your display more extensive by including other objects. Sticks, grasses, and leaves are some of the more common ones. They enhance the presentation by providing a fuller picture, which is a complement to the layout.
You should put some weights on the Book. There are a few straightforward methods available for including weights in your book. You could make use of a press or another heavy object that is flat. This contributes to the addition of additional pressure and speeds up the drying process.
How long do pressed flowers maintain their color?
Pressed flowers are able to keep their natural colour for the most part for a very long time, but during the course of their lifetime, they will inevitably experience some degree of fading (typically after 5-7 years on average). Some may begin to exhibit signs of fading sooner, while others may continue to look their best for a longer period of time.
But even when it does happen, it is generally only a slight fading; I’ve never seen a flower lose all of its colour completely (or even come close to that). In my experience, I’ve discovered that flowers with red and yellow petals tend to keep their original colour for a longer period of time compared to flowers with other colours. On the other side, greenery and leaves have a tendency to start displaying indications of withering earlier than other things.
Dyeing a pressed flower is one approach to help keep its colour after it has been pressed. Purchasing acrylic colour from a nearby craft store (for example, Michael’s) and applying it on the flower you want to dye with a gently brushing motion is a straightforward method for dyeing flowers. You also have the option of purchasing dried flowers that have already been coloured with a high-quality floral dye before being pressed (or if you are pressing your own flowers you can apply the floral dye yourself before pressing the flowers).
Flowers that have been dyed will keep their colour for a significantly longer period of time. In point of fact, it has been such a long time that I have not yet witnessed a dyed flower exhibit any signs of deterioration.
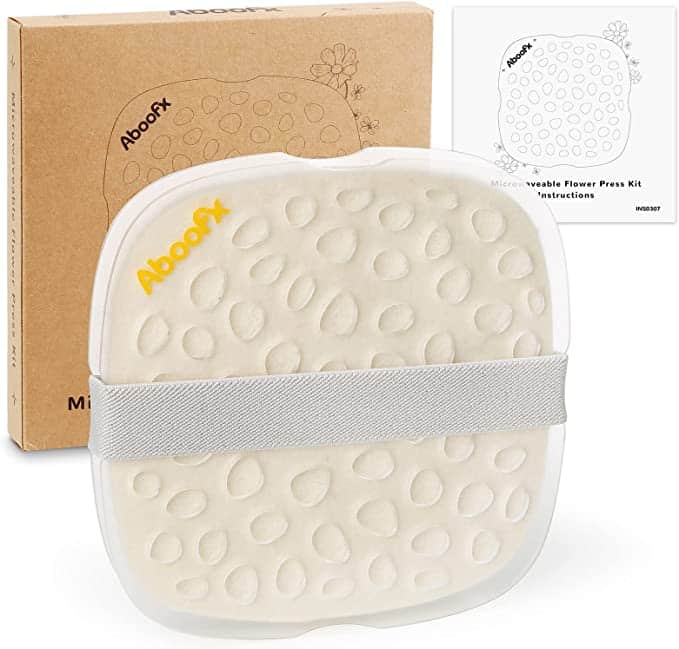
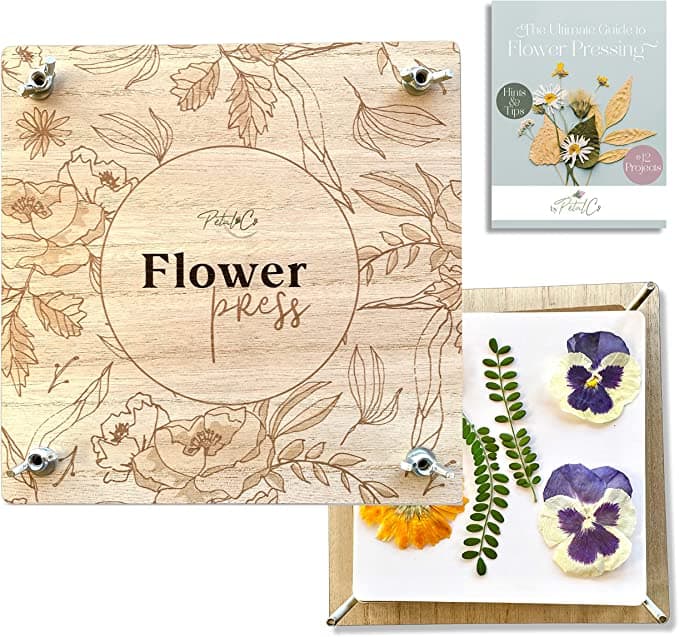
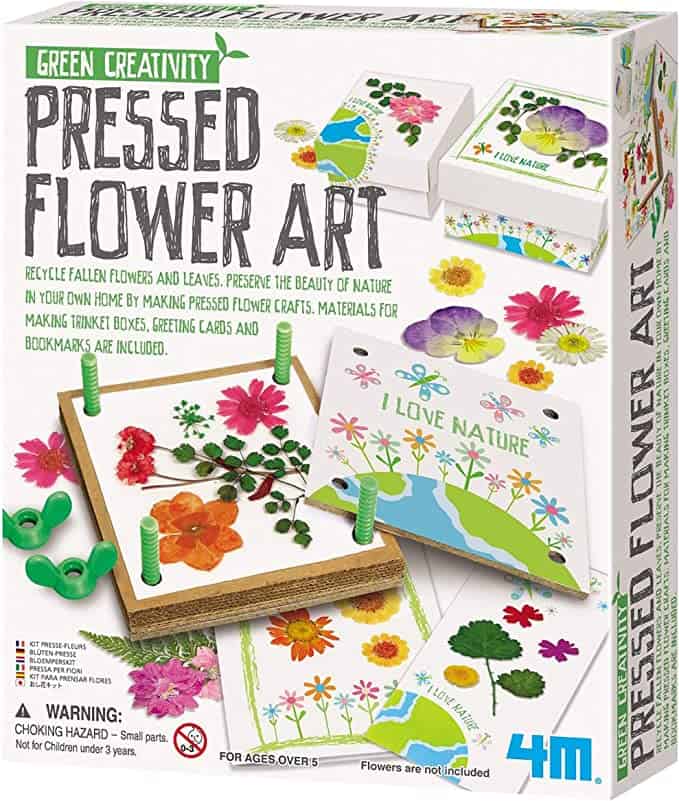
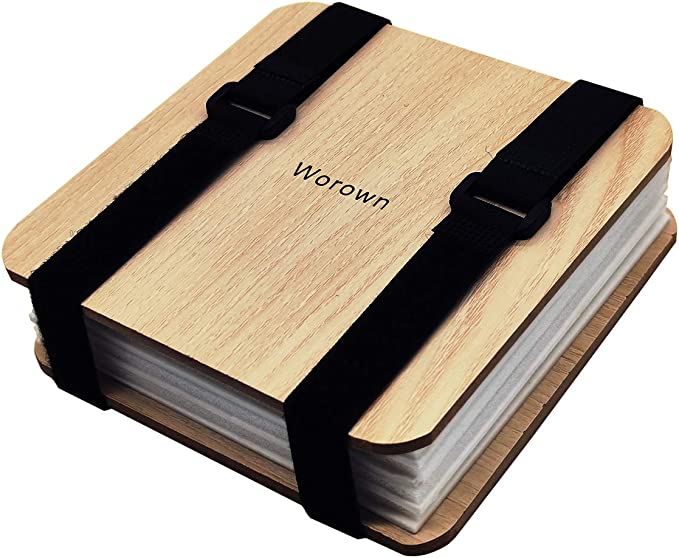
Using a cheap purchased option to press flowers for your bullet journal
I wanted to share some options for you to purchase online for a fraction of the price of the Archer and Olive Flower Press. These flower press options can work in the microwave and also in a traditional press way, the smaller the lighter and the cheaper the shipping will be!
Looking for Cheaper flower presses?
How to used pressed flowers in your bullet journal?
What I love about this concept of flower pressing is that it is it an amazing way to fill empty notebooks or to use it specifically to
Using your pressed flowers in your journal for memory keeping
You can now preserve flowers from any event by pressing them, thanks to the fact that you know how to do so. You might want to think about conserving the flowers from your wedding, vacation, or other special occasions. Even some of my readers have kept the flowers that were at a loved one’s funeral as a way to remember them.
Flowers, either dried or pressed, can be used in a wide variety of artistic projects. In my opinion, they are best utilised as decorations for the home, items for use on special occasions, and presents. You can also use them to make jewellery, decorations, and other things that you can do yourself.
List of floral prompts for your bullet journal
Here’s a list of floral-themed prompts to add a touch of nature’s beauty to your bullet journal:
- Flower of the Month: Choose a different flower to highlight each month. Research its symbolism, characteristics, and care tips. Create a dedicated page for each flower.
- Blooming Goals: Use flower imagery to represent your goals. Draw or paint a flower for each goal you want to achieve, with petals representing milestones or steps toward success.
- Botanical Garden Wishlist: Create a spread showcasing the botanical gardens you’d like to visit. Illustrate the unique flowers, plants, and landscapes you hope to explore.
- Floral Mood Tracker: Design a mood tracker using different flower illustrations to represent your emotions throughout the month.
- Flower Anatomy: Dive into the anatomy of a flower. Label its parts and write a brief description of their functions and significance.
- Garden of Gratitude: Draw a garden scene and use flowers to represent things you’re grateful for. Each flower can symbolize a specific aspect of your life.
- Petals of Positivity: Create a “petals of positivity” page where you draw a flower with each petal representing something positive that happened during the day.
- Floral Habit Tracker: Design a habit tracker with flower-themed icons for each habit you want to cultivate. Color in or mark the petals as you complete each habit.
- Seasonal Blooms: Illustrate the flowers that are in bloom during each season. Show the transition from spring to summer to autumn and winter.
- Floral Quotes: Collect your favorite quotes about flowers, growth, and nature. Decorate the page with floral illustrations that complement the quotes.
- Floral Recipe Collection: Compile a selection of recipes using edible flowers. Illustrate the dishes alongside the flower varieties they feature.
- Language of Flowers: Research the meanings behind different flowers and create a page that lists their symbolic interpretations. Use these flowers as inspiration in your journal.
- Floral Bookshelf: Draw a bookshelf filled with flower-themed books you’ve read or want to read. Add small details like vines, blossoms, or floral patterns to each book cover.
- Floral Self-Care: Design a self-care routine inspired by different flowers. Match specific flowers to activities that promote relaxation and well-being.
- Flower Doodles: Set aside a page for experimenting with various flower doodles. Practice drawing different petals, stems, and arrangements.
- Blossoming Creativity: Use a flower as a central theme for a creative project. Whether it’s writing, drawing, or crafting, let the flower guide your inspiration.
- Floral Travel Diary: Document your travels through floral imagery. Draw the flowers you encounter on your journeys and write about their significance in different cultures.
- Floral Color Palette: Create a color palette inspired by your favorite flowers. Use these colors throughout your bullet journal for a cohesive and visually pleasing look.
- Floral Wish List: Design a wish list page with flower illustrations representing items or experiences you’re hoping to acquire or achieve.
- Flower Reflections: Write reflective entries next to different flower drawings. Connect the qualities of each flower to your thoughts, feelings, and experiences.
These floral prompts will infuse your bullet journal with the beauty and symbolism of flowers, allowing you to explore nature’s wonders while nurturing your creativity and self-expression.