The Hobonichi Hype – What is a hobonichi planner and how you can fake it!
Lately I have seen everyone using a hobonichi. I didn’t know much about them so when hunting into more about the hype that surrounded them and this is what I found! I have seen more and more of these sorts of spreads in my feeds, so thought it was time to uncover what all this hobonichi hype was about! So I set off to find out… “what is a hobonichi planner”?
As a complete newbie I had to do some research into what the hobonichi was, so here is what I learnt and maybe it helps some other newbies!
It was kinda like that time I researched #studygram!
In the realm of planners, the Hobonichi stands as a unique masterpiece that marries function and artistic expression in an exquisite dance. If you’re seeking a planner that seamlessly blends organization with creativity, look no further. Join us on a journey through the world of Hobonichi planners, where every page becomes a canvas for your thoughts, dreams, and daily life.
What is a hobonichi planner?
The hobonichi is a planner that was designed and created in 2001, with the intention of being an innovative design and have really good functionality. It was created by Hobo Nikkan Itoi Shinbun. The hobonichi is also affectionally called a “Hobo”. You can find tones of examples on instagram under the #hobonichi
The planner consists mainly as a dated planner, with differing sizes. The most popular however seems to be the Hobonichi Weeks, Wallet size, which can easily be added to a persons travel notebook. That flexibility makes it an easy planner to use.
It is similar in some ways to a bullet journal, but has grids instead of bullets, which may annoy some die hard bujo’ers. The paper is known to be relatively thin, and while doesn’t bleed to much, has some serious ghosting, much like the LT19
At its core, a Hobonichi planner is more than a mere scheduling tool; it’s an artistic sanctuary that invites you to weave your stories, moments, and musings onto its pages. Handcrafted in Japan, these planners are renowned for their Tomoe River paper – a marvel that embraces both fountain pen ink and watercolors, inviting a symphony of colors to dance upon its surface.
How do you use a Hobonichi?
Considering the dates are already planned out for you like a regular planner, it is pretty straight forward using the “hobo”. Unlike using a bullet journal, there isn’t really the flexibility associated with the spread layouts until you come to using stickers and washi tape!
Why are there all these cute sticker pages on the Hobonichi?
This seems to be the awesomeness that makes “hobo’s” amazing. Even though the planner is dated, you can use the stickers to create weeks as you need them. Naturally the Japanese are brilliant at making everything cute, adorable and “wantable” – so would we expect anything less with a planner? The spreads created are amazing and it makes me want to be so creative and create tones of stickers for the hobonichi weeks!
The stickers make it really easy to change up the feel and vibe of your hobo planner and keeps it feeling fresh and fun! For me personally I find the spreads in a hobonichi planner really cluttered and too busy. I like a messy or cluttered spread, but I think its just a bit too small of a space for me.
A Feast of Formats: Exploring Hobonichi’s Offerings
Hobonichi offers an array of formats to suit your organizational preferences and creative inclinations:
- Hobonichi Techo Original: The classic daily planner features a full page for each day, ideal for detailed planning, journaling, and artistic exploration.
- Hobonichi Weeks: Streamlined and compact, Weeks features a horizontal weekly layout, perfect for minimalists or those on the go.
- Hobonichi Cousin: With larger pages, Cousin provides more space for your daily activities, journal entries, and artistic endeavors.
- Hobonichi Day-Free: Unleash your creativity with this open-format planner, offering blank pages to tailor your layouts as you wish.
A Symphony of Creativity: Personalizing Your Hobonichi planner
- Doodle Delights: The Tomoe River paper in Hobonichi planners is a playground for artistic expression. Doodle, sketch, and paint to your heart’s content without fear of bleed-through.
- Washi Wonderland: Elevate your pages with washi tape – an enchanting way to add color, patterns, and decorative elements.
- Stickers Galore: From cute characters to functional labels, stickers transform your planner into a visual delight.
- Intricate Illustrations: Allow your inner artist to flourish by creating intricate illustrations that grace your daily entries.
Hobonichi planner for Reflection: Embracing Journaling and Memory-Keeping
- Moment-Capturing: Chronicle your daily life, recording conversations, thoughts, and the little moments that weave the tapestry of your journey.
- Gratitude Pages: Dedicate sections to express gratitude, noting the blessings and positives that enrich your days.
- Memory Lane: Use your Hobonichi to create a time capsule of your year, capturing snapshots of your experiences and emotions.
Planning with Purpose: Harnessing the Organizational Power
- Monthly and Weekly Planning: Keep track of appointments, tasks, and goals with dedicated monthly and weekly spreads.
- Habit Tracking: Create habit trackers to cultivate positive routines and track personal progress.
- Goal Setting: Use Hobonichi planner to set, track, and celebrate your goals, be they professional, personal, or creative.
Where can I find stickers for my Hobonichi?
There are literally tons of stores that sell hobonichi planner stickers! I found a few of my personal favourites that I thought I would share!
Rose K paper Co
Honey B Co
Sum Lil Things
A Community of Enthusiasts: Joining the Hobonichi World
The Hobonichi planner community is a vibrant and welcoming space where enthusiasts share ideas, layouts, and inspirations. Engage with fellow Hobonichi aficionados through social media, forums, and meet-ups, exchanging insights and celebrating the beauty of organized creativity.
In the realm of planners, the Hobonichi planner stands as a testament to the marriage of organization and artistry. It beckons you to embark on a voyage where daily planning becomes an exquisite blend of practicality and creative expression. Whether you’re a seasoned Hobonichi planner devotee or a curious newcomer, there’s no denying the allure of these planners – where every page unfolds into a canvas for your dreams, memories, and the vibrant tapestry of your life.
Bridging Worlds: How Hobonichi Can Captivate Bullet Journal Enthusiasts
Hobonichi planners and bullet journaling may seem like separate universes, but the magic lies in their harmonious fusion. Here’s how Hobonichi can captivate the hearts of bullet journal enthusiasts, offering a unique blend of structure, creativity, and artistic freedom.
1. Seamless Structure with Creative Flexibility
Bullet journal enthusiasts appreciate structure, and Hobonichi planners offer a delightful balance. The pre-designed layouts provide a solid foundation for organization, while the abundant blank space invites artistic interpretation and customization.
2. Pre-Designed Templates for Time Efficiency
Hobonichi’s pre-printed templates save time while catering to bullet journal aficionados. From monthly spreads to weekly layouts, these templates ensure efficient planning without compromising personal touch.
3. Diverse Format Choices
Just as bullet journalists embrace various notebook sizes, Hobonichi offers options like the Techo Original, Weeks, and Cousin. Bullet journal enthusiasts can choose the format that aligns with their planning style, ensuring a seamless transition.
4. High-Quality Paper for Creative Expression
Hobonichi’s legendary Tomoe River paper is a dream come true for bullet journal creatives. It welcomes various mediums without ghosting or bleeding, allowing for intricate doodles, colorful illustrations, and expressive handwriting.
5. The Freedom to Decorate
Hobonichi planners embrace artistic embellishments, mirroring the creative freedom of bullet journaling. Washi tape, stickers, hand-lettering, and drawings find a natural home within the planner’s open spaces.
6. Guided Journaling Prompts
Hobonichi’s themed pages inspire bullet journal enthusiasts to explore guided journaling. From gratitude logs to habit trackers, these prompts enhance organization while fostering self-reflection and personal growth.
7. Integration of Collections
Collections, a beloved feature in bullet journals, find a place within Hobonichi planners. Whether it’s book lists, travel plans, or recipe collections, Hobonichi seamlessly accommodates these elements.
8. Encouragement of Memory-Keeping
Bullet journal enthusiasts often appreciate memory-keeping, and Hobonichi’s daily entries invite capturing fleeting moments. Documenting thoughts, experiences, and emotions preserves memories in an enchanting way.
9. Customizable Cover Designs
Hobonichi’s cover options allow bullet journal devotees to express their individuality. Custom covers provide a canvas for personal artwork, stickers, or designs that reflect their unique style.
10. Embracing the Community Spirit
Just as the bullet journal community thrives on sharing and inspiration, Hobonichi enthusiasts engage in a warm and welcoming network. Online forums, social media groups, and events connect like-minded individuals.
By weaving the essence of bullet journaling into the Hobonichi experience, the appeal becomes irresistible. It’s a celebration of structured planning, artistic expression, and the joy of transforming each page into a captivating tapestry. Hobonichi planners, with their fusion of form and creativity, invite bullet journal enthusiasts to embark on a journey where the allure of organization intertwines seamlessly with the thrill of self-expression.
Creating a Hobonichi-Inspired Layout in Your Bullet Journal: A Step-by-Step Guide
Bringing the essence of a Hobonichi planner layout into your bullet journal is a delightful way to infuse structure and artistic expression. Follow this step-by-step guide to seamlessly create a Hobonichi-inspired spread within your bullet journal:
Step 1: Gather Your Supplies
Collect your favorite bullet journaling supplies, including pens, markers, washi tape, stickers, and any other artistic tools you enjoy using.
Step 2: Choose Your Layout
Select the Hobonichi layout you’d like to replicate or draw inspiration from. Hobonichi offers various formats like daily, weekly, and monthly layouts. Choose one that aligns with your needs and preferences.
Step 3: Create Sections
Use a ruler or a straight edge to create sections on your bullet journal page, mirroring the divisions in the chosen Hobonichi layout. This might include sections for daily planning, to-do lists, notes, or creative spaces.
Step 4: Add Dates and Headers
Write down the dates and headers in your sections. Hobonichi layouts often include headers for each section, such as “Today,” “Notes,” “Tasks,” or “Memories.”
Step 5: Embrace Minimalist Design
Hobonichi layouts are known for their clean and minimalist aesthetic. Embrace simplicity by using clean lines, understated fonts, and uncluttered designs.
Step 6: Incorporate Artistic Elements
Infuse your layout with artistic elements reminiscent of Hobonichi’s charm. Add small doodles, delicate line drawings, or subtle watercolor accents to enhance the visual appeal.
Step 7: Functional Stickers and Washi Tape
Integrate functional stickers and washi tape to organize and highlight important sections. Use washi tape to frame headers or create colorful dividers. Functional stickers can mark tasks, events, or notes.
Step 8: Capture Daily Moments
Incorporate space to capture daily moments, reflections, or memorable snippets. This could be a small area for journaling or jotting down highlights of the day.
Step 9: Add Time Blocks
For a daily layout, consider adding time blocks to schedule appointments, tasks, and activities. Mimic Hobonichi’s grid-style time slots to organize your day effectively.
Step 10: Embrace Tomoe River Paper Qualities
Hobonichi planners use Tomoe River paper, known for its thin yet durable nature. While you might not have the exact paper, aim for a lightweight paper that accommodates various mediums without bleed-through.
Step 11: Reflect and Adapt
As you complete your Hobonichi-inspired layout, take a moment to reflect on its functionality and visual appeal. Make notes about what worked well and areas for improvement, adapting your future layouts accordingly.
Step 12: Share and Connect
Share your Hobonichi-inspired layout with the bullet journaling community. Engage in discussions, seek inspiration, and learn from others’ interpretations. Embrace the sense of connection that comes from sharing your creative journey.
By following these steps, you’ll seamlessly infuse the charm of a Hobonichi layout into your bullet journal, creating a harmonious blend of structure and artistic expression. Each page becomes a canvas where organization and creativity intertwine, reflecting the spirit of both bullet journaling and the unique Hobonichi experience.
Here are some hobonichi featured spreads to get you started:
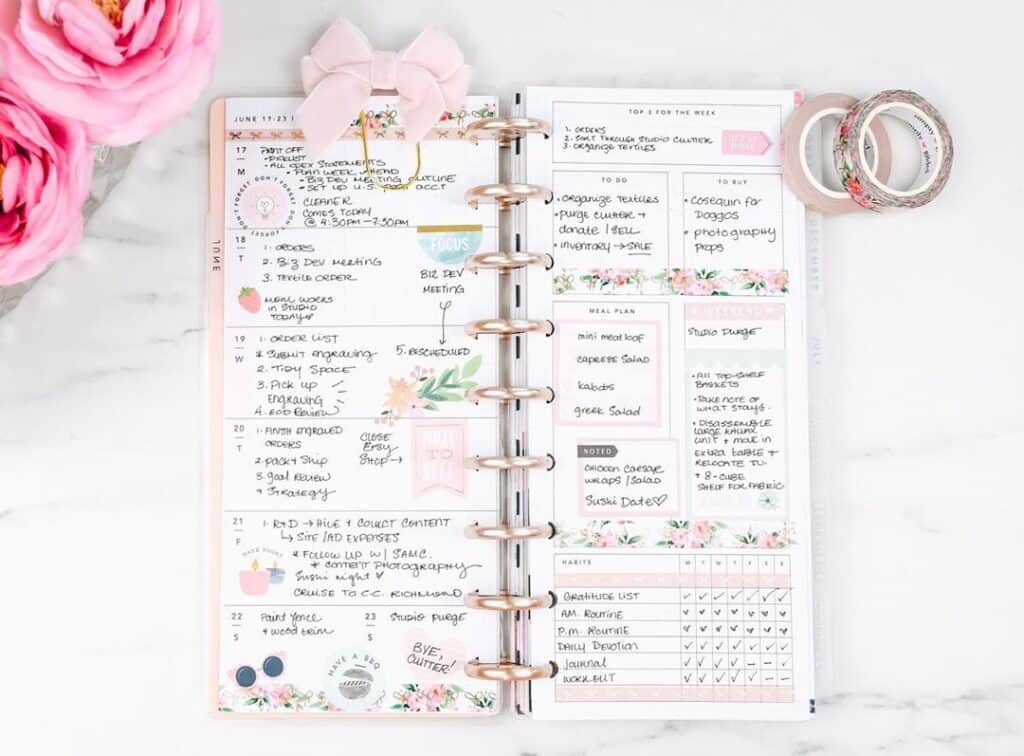
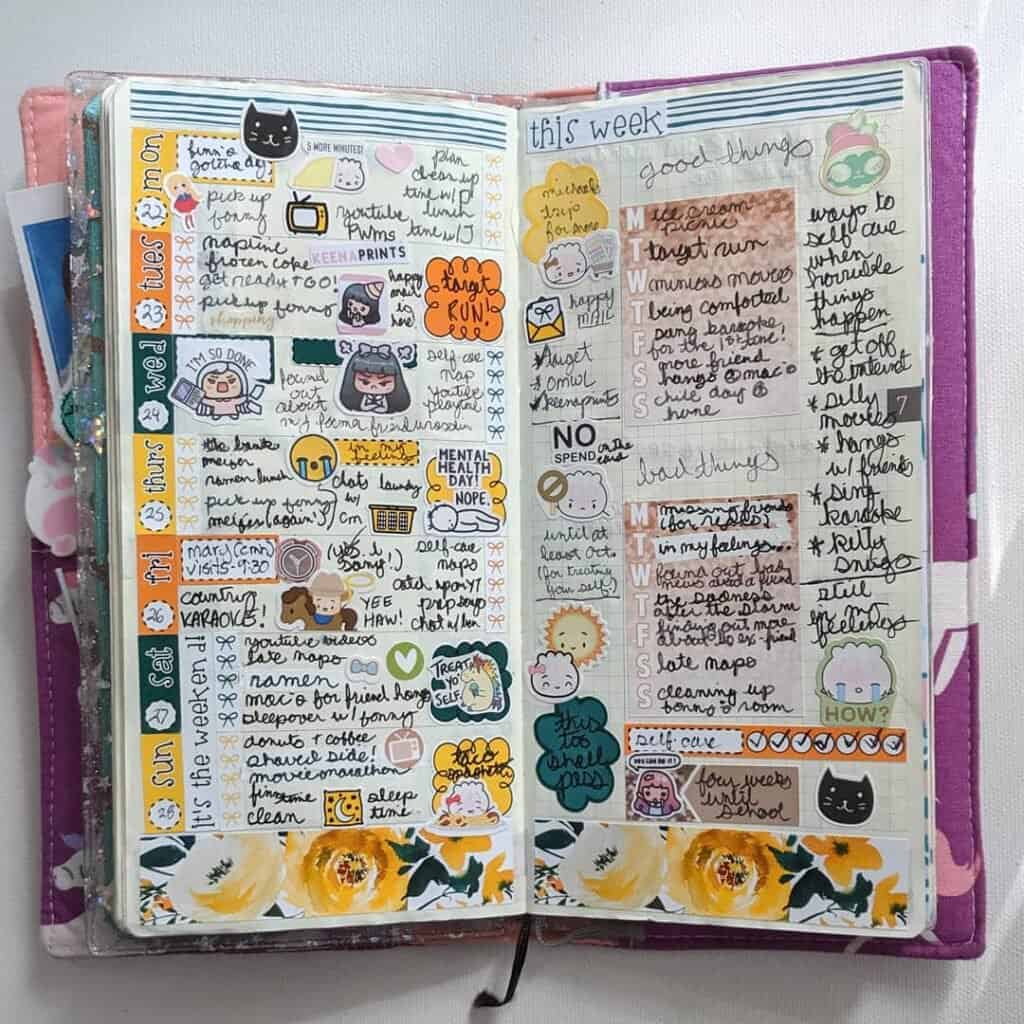
This spread is simple, cute and really sweet!
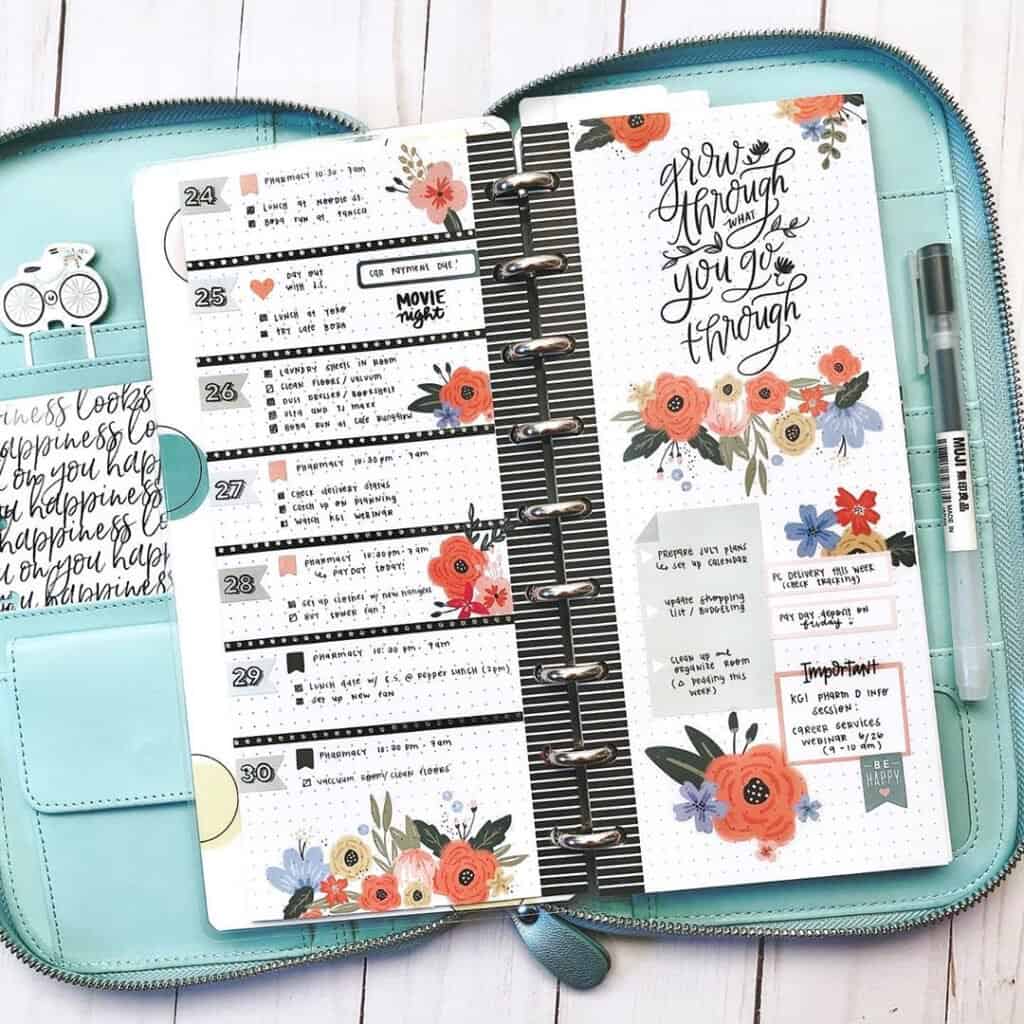
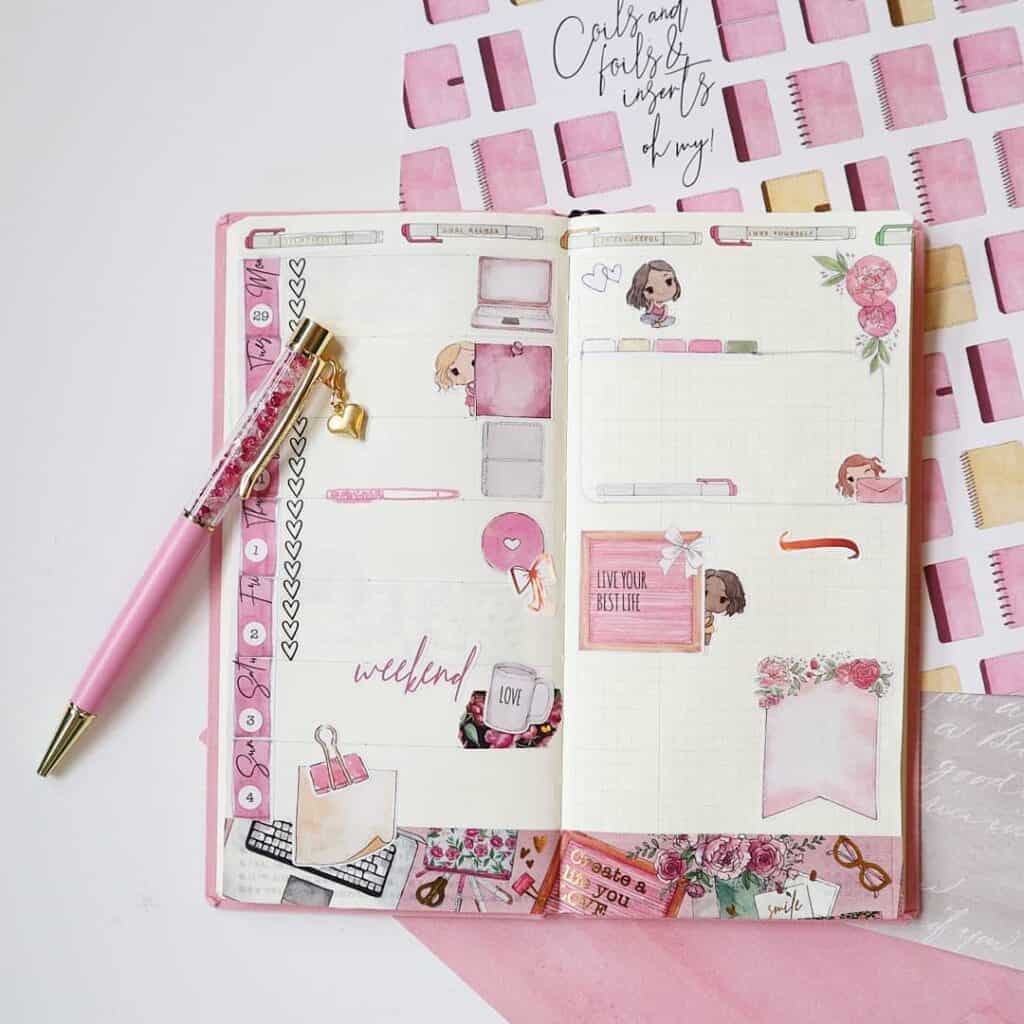
This very feminine spread is not as bust as some of the others and I quite like the simplicity, it seems to leave a lot of space for someone to write!
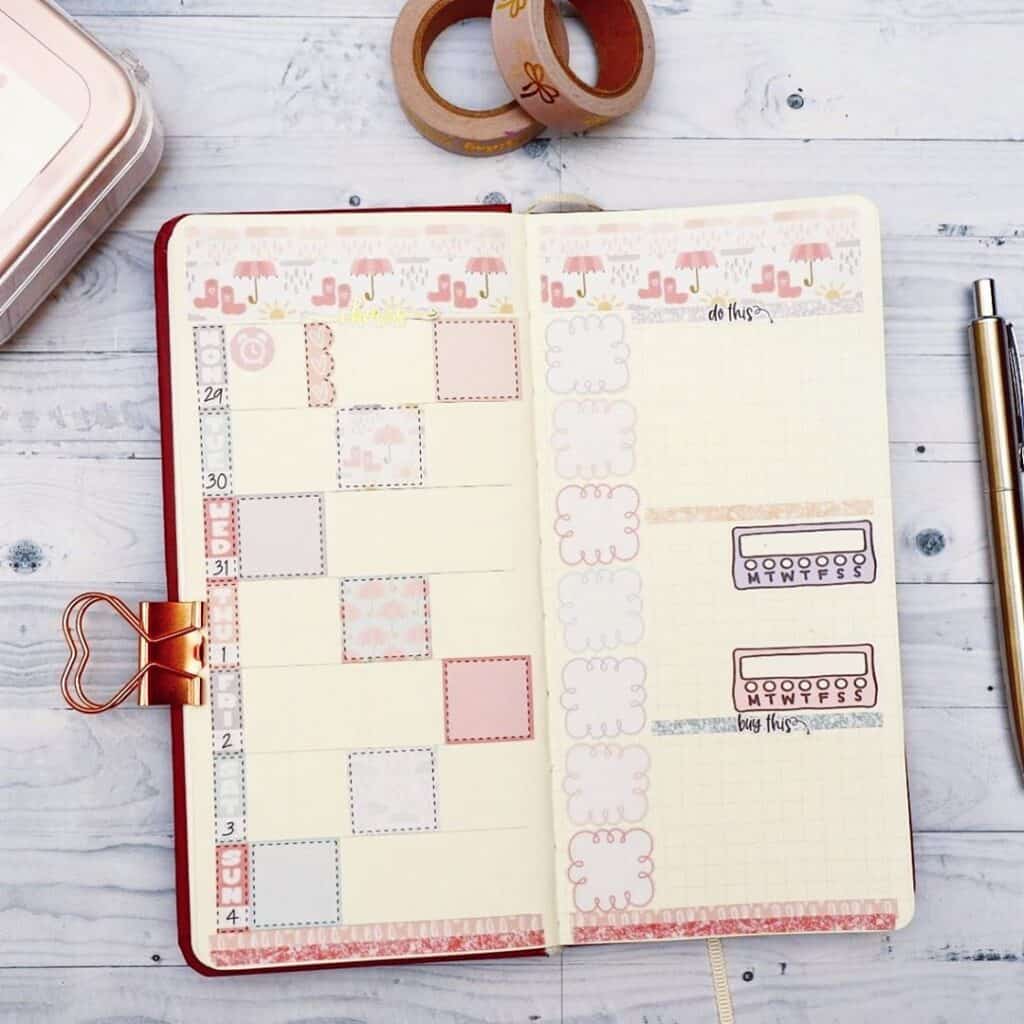
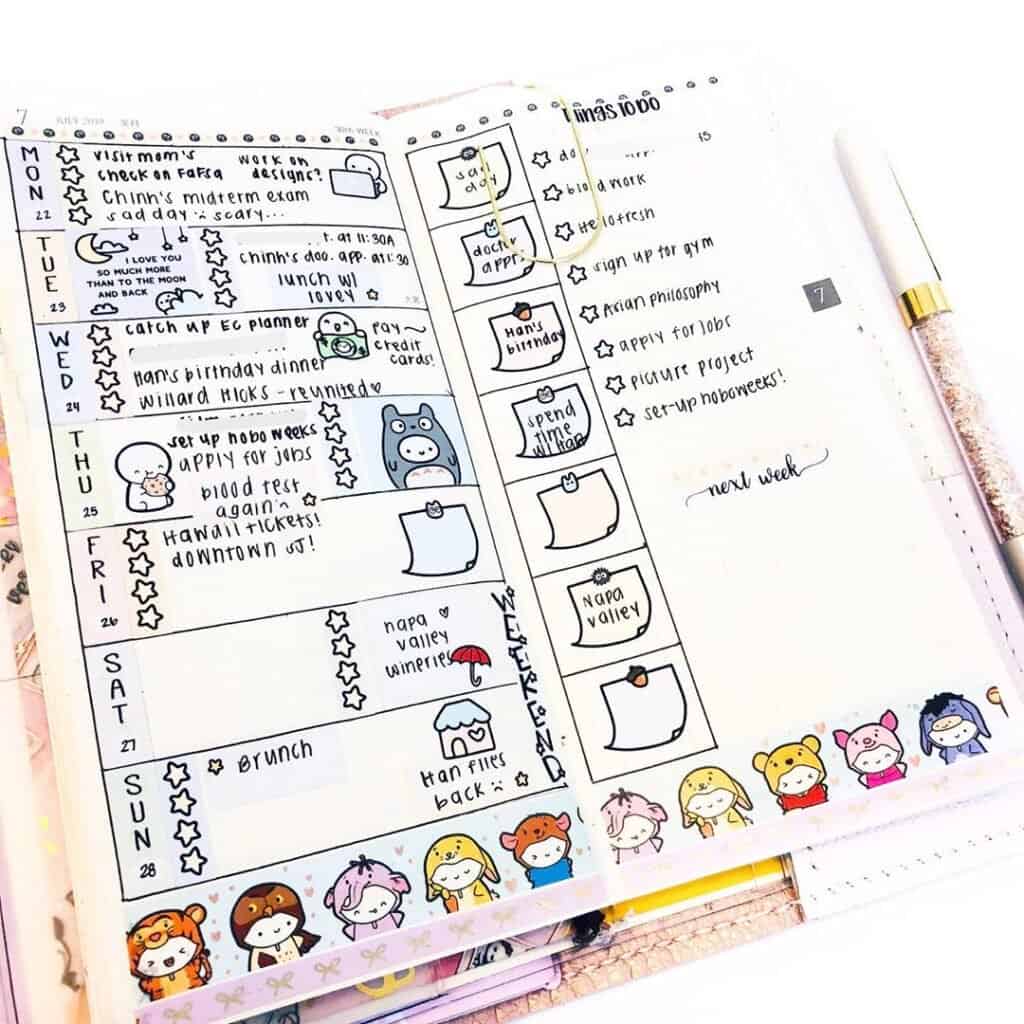
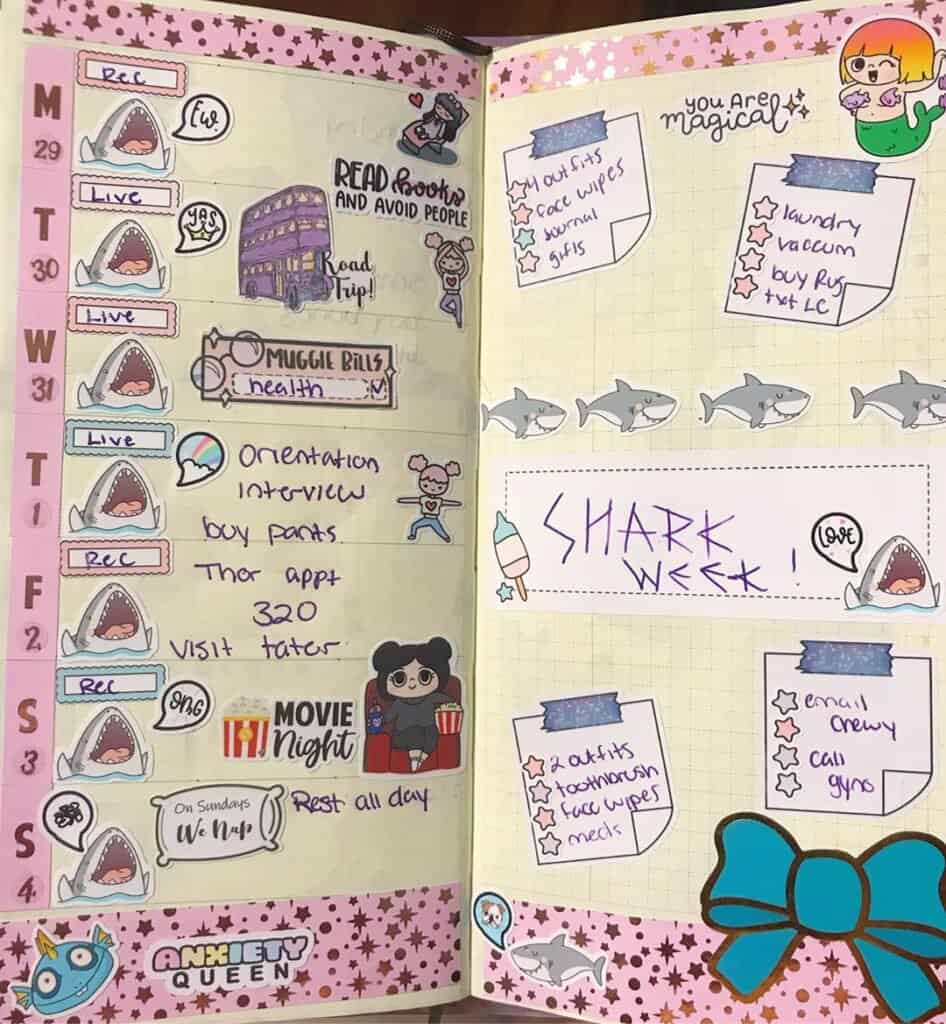
I are that this spread is shark week themed! How sweet is that!
What is a Fauxbonichi?
For those of us that don’t have the budget to buy a hobo, you can create your own. To create your own in your bullet journal, you can fold the pages in half and use lines on the page to mimic the hobo.
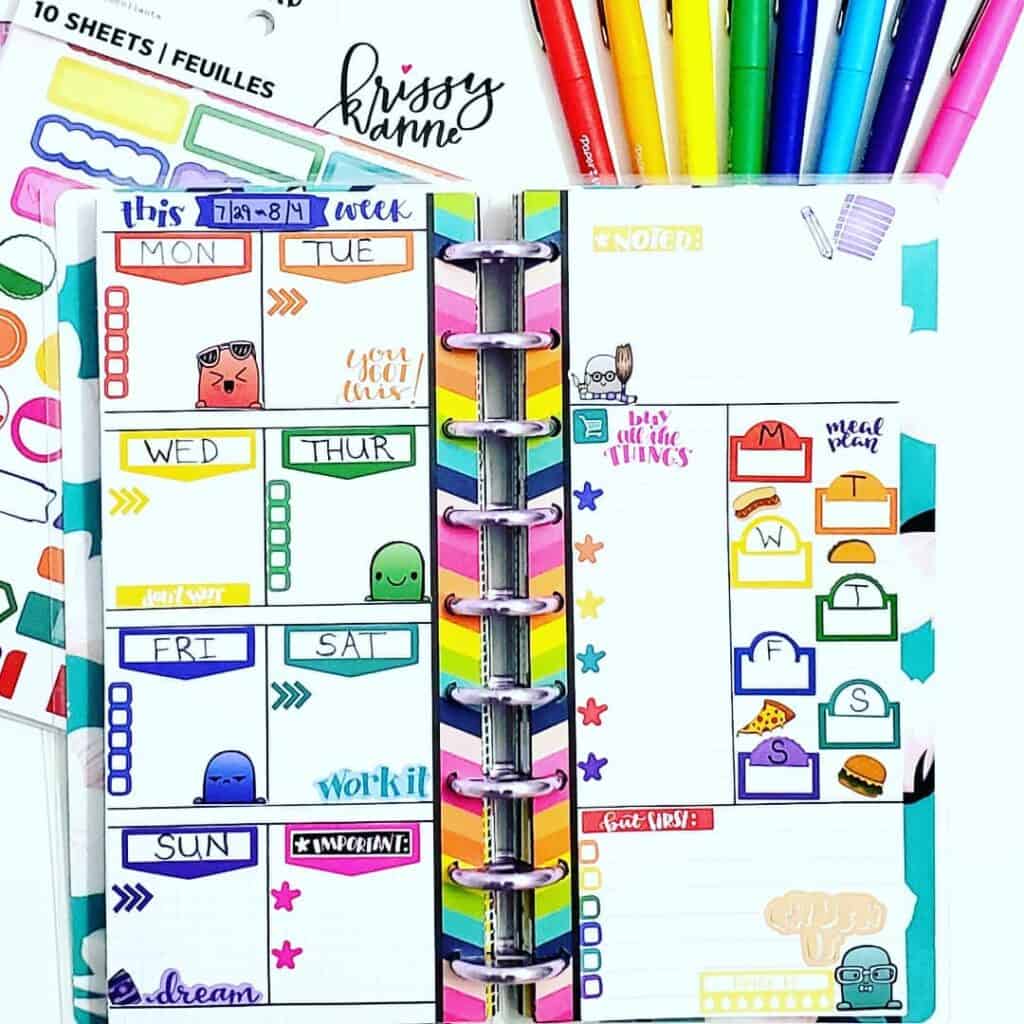
Many many many happy planners use the mini and half pages as spreads for their fauxbonichis. (also called the happynichi! CUTE!) They are easy to recreate in your own planner or journal and defiantly with a try!
Check out our little video here on how to make your own fauxbonichi in your happy planner or your bullet journal!
How did I make my own Fauxbonichi Spread in my bullet journal?
As a beginner to hobonichi weeks I went over to Pinterest and downloaded some free stickers – I got mine from @lahlaland
- I cut myself a dutch door to the size of the stickers
- I then used the stickers to guide the sizing of the smaller spread on my bullet journal
- Then I scaled the size up somewhat to meet the full size of my A5 notebook, to create a cohesive spread
- I finished the spread off with some washi tape and additional stickers.
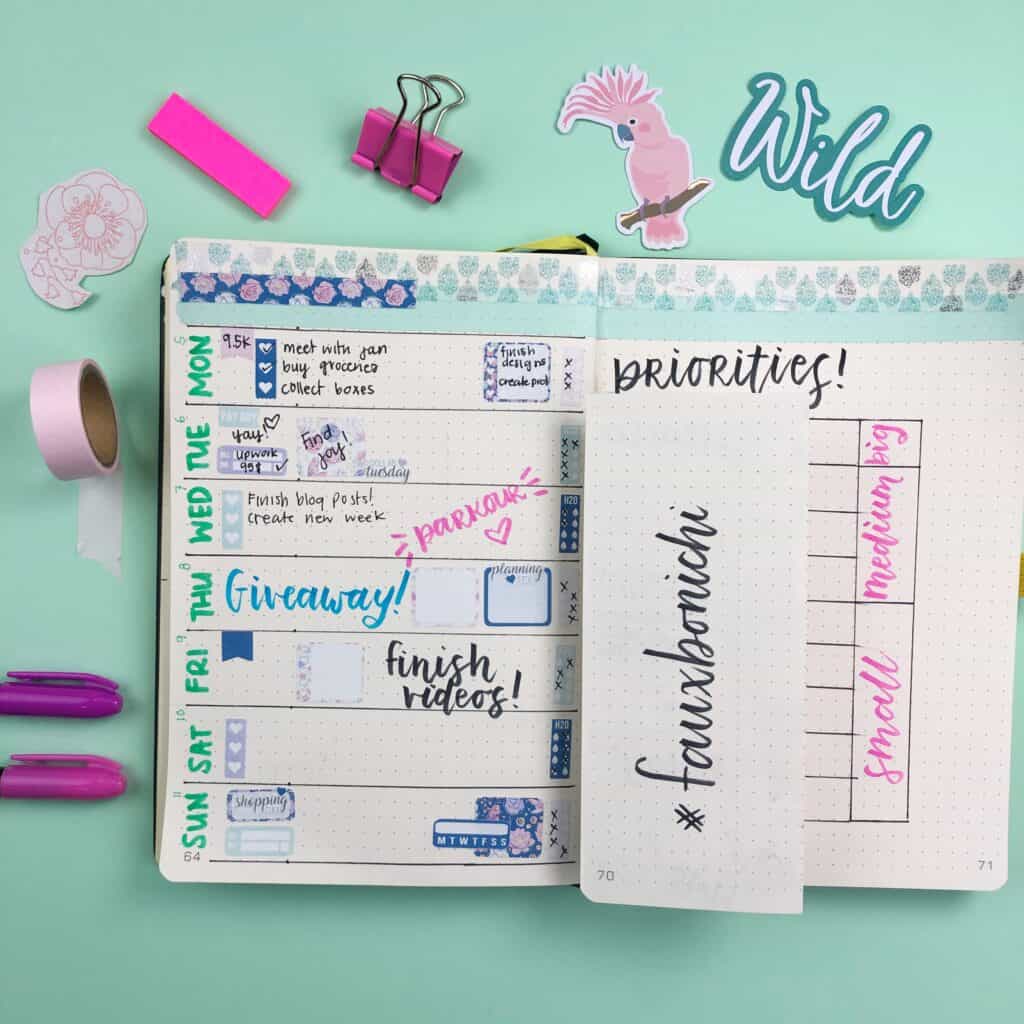
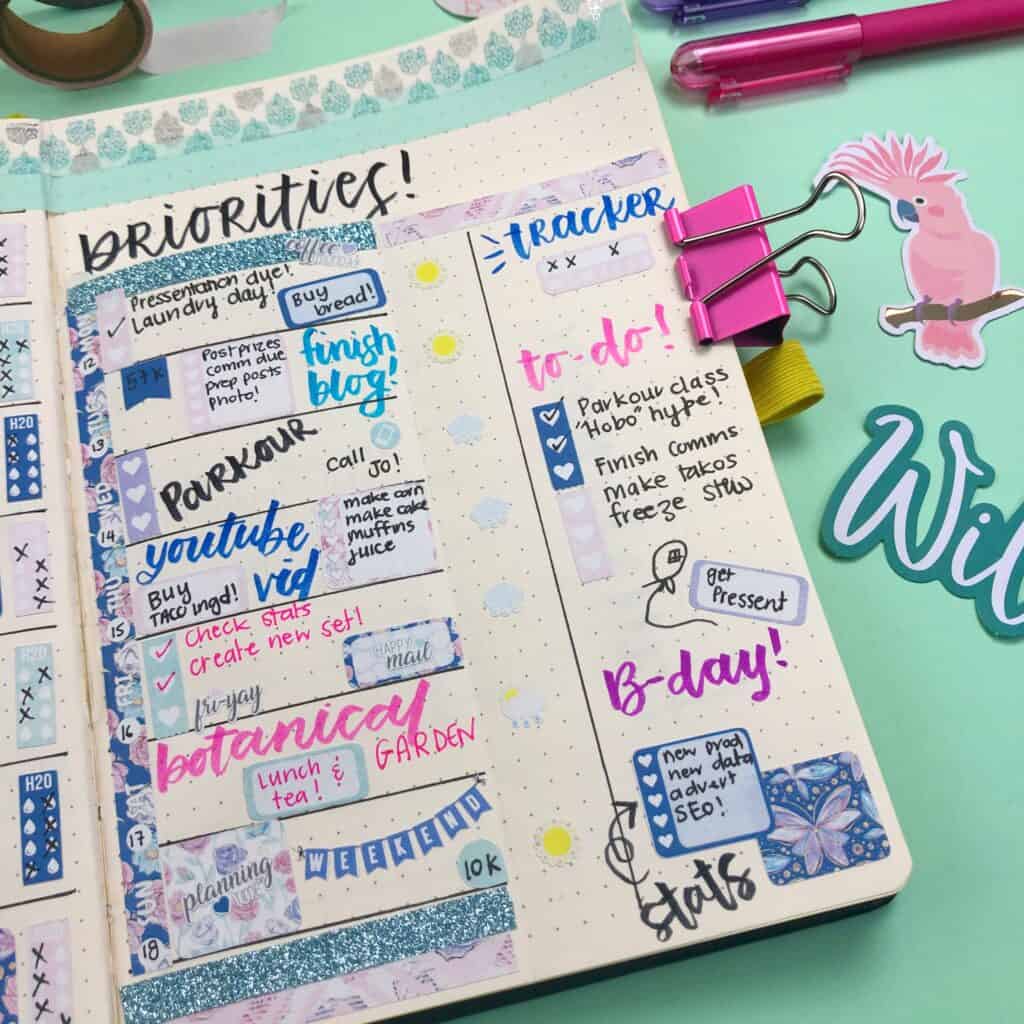
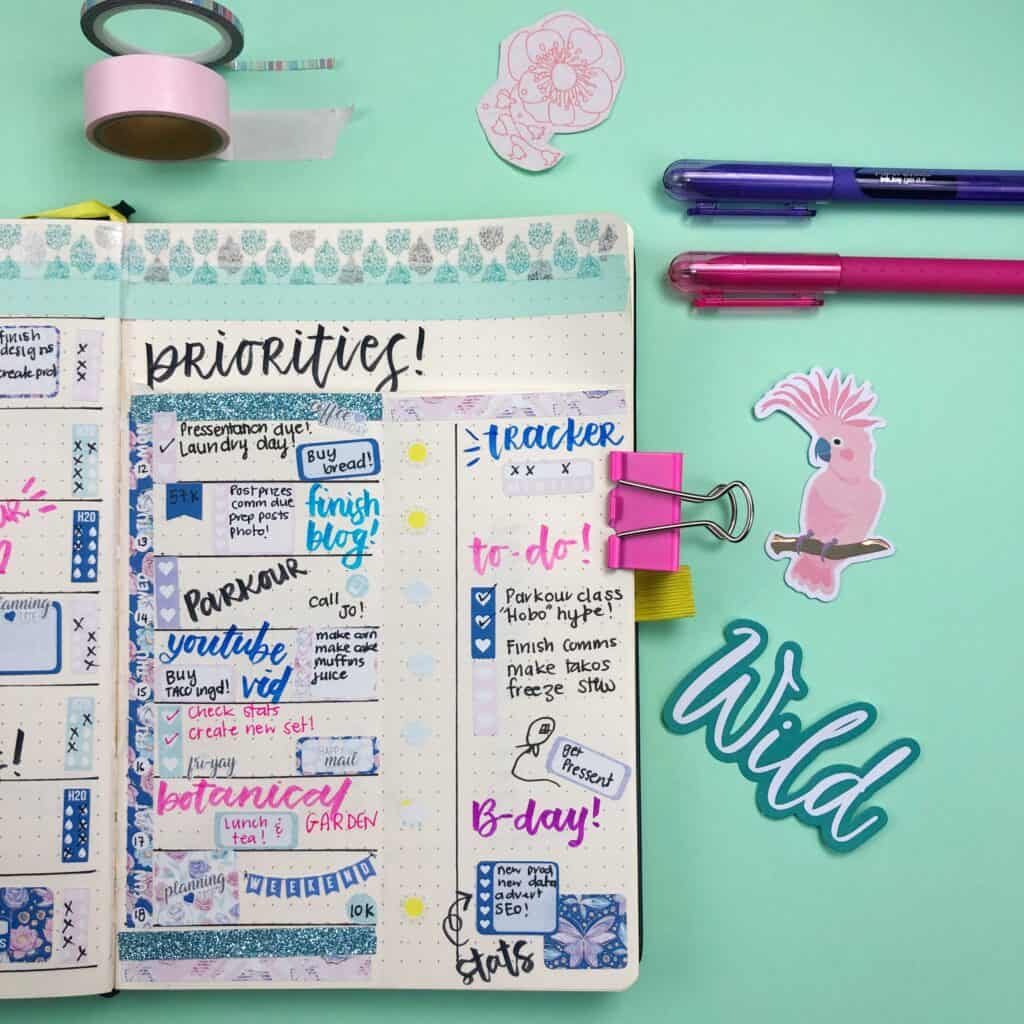
Here are some adorable fauxbonichi spreads to get you inspired to make your own:
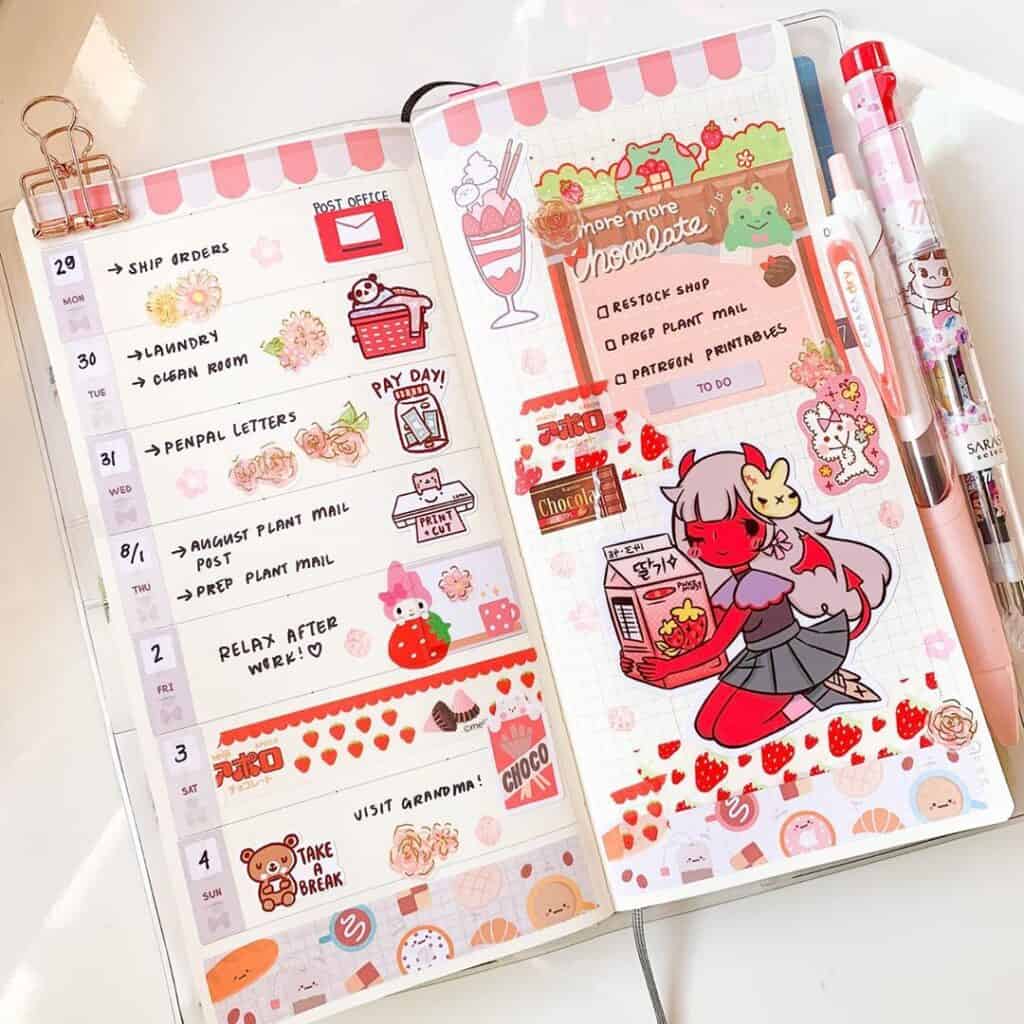
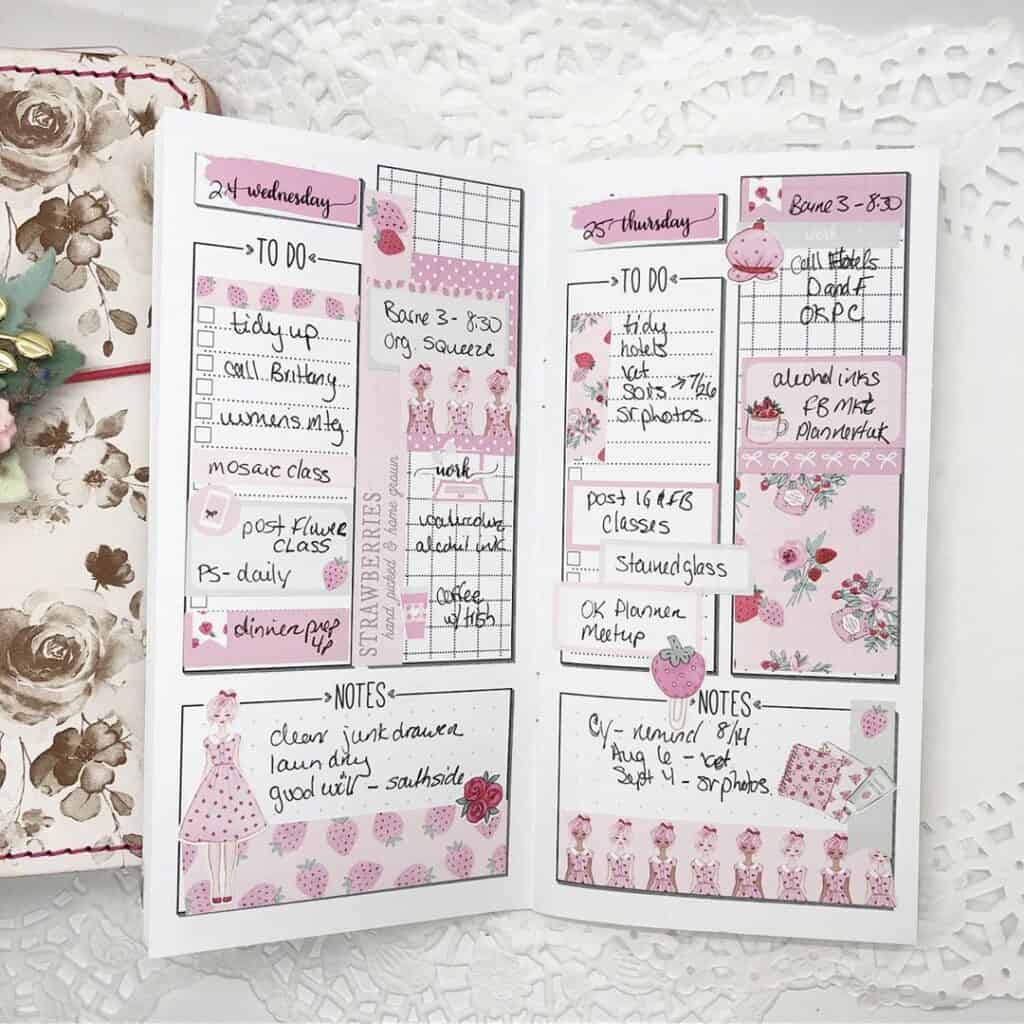
I love how feminine this cute fauxbonichi planner spread is! It seems so gentle! I love the use of the pages!
