35+ Ideas for Recipes in your bullet journal
If we are capturing meal planners, daily tasks, habits and much more, why are we not capturing recipes we love? Could it be that it can be a little time consuming that our normal spreads? Well! In this post we cover ways to capture Recipes in your bullet journal!
So what are some good reasons to capture your recipes? Prosperity surely! Sharing them with your kids one day? Or family or even just remembering those recipes that are your fav or turned out well. On one hand I wish I wrote more down and I think I might do that after this post. It could also be for planning out meals or meal planning when you seem to be a little flat out for ideas! If you love food your can see all our Food
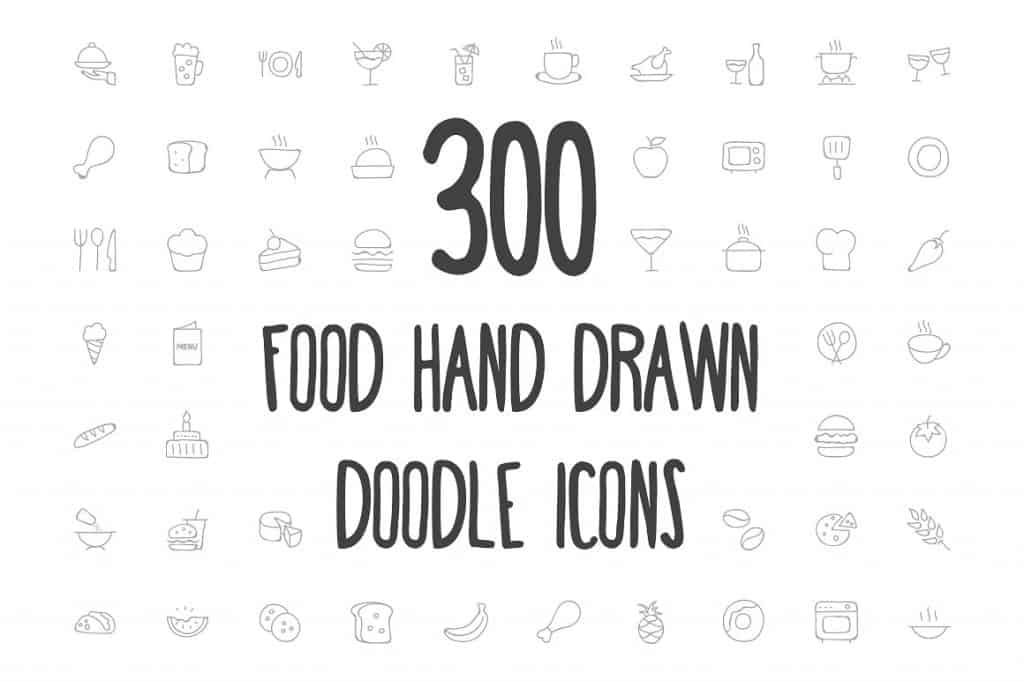
If you want some great recipe doodle ideas – head over to creative market to grab some! Print them out and enjoy!
Setting up recipes in your bullet journal
Setting up your recipe pages in your bullet journal is a crucial step in creating an organized and visually appealing collection of culinary delights. Taking the time to plan and design your pages thoughtfully will not only make your bullet journal more aesthetically pleasing but also enhance your overall recipe documentation experience. Here’s an in-depth look at how to set up your recipe pages:
1. Planning Your Layout: Before you start documenting your recipes, it’s essential to decide on the layout that suits your needs. Consider factors like the amount of space you’ll allocate for each recipe, the number of recipes per page, and the overall structure of the page. You might want a single recipe per page with ample space for detailed instructions, or you might opt for a multi-recipe layout to maximize space efficiency. Sketch out your layout ideas on a separate sheet of paper before transferring them to your bullet journal.
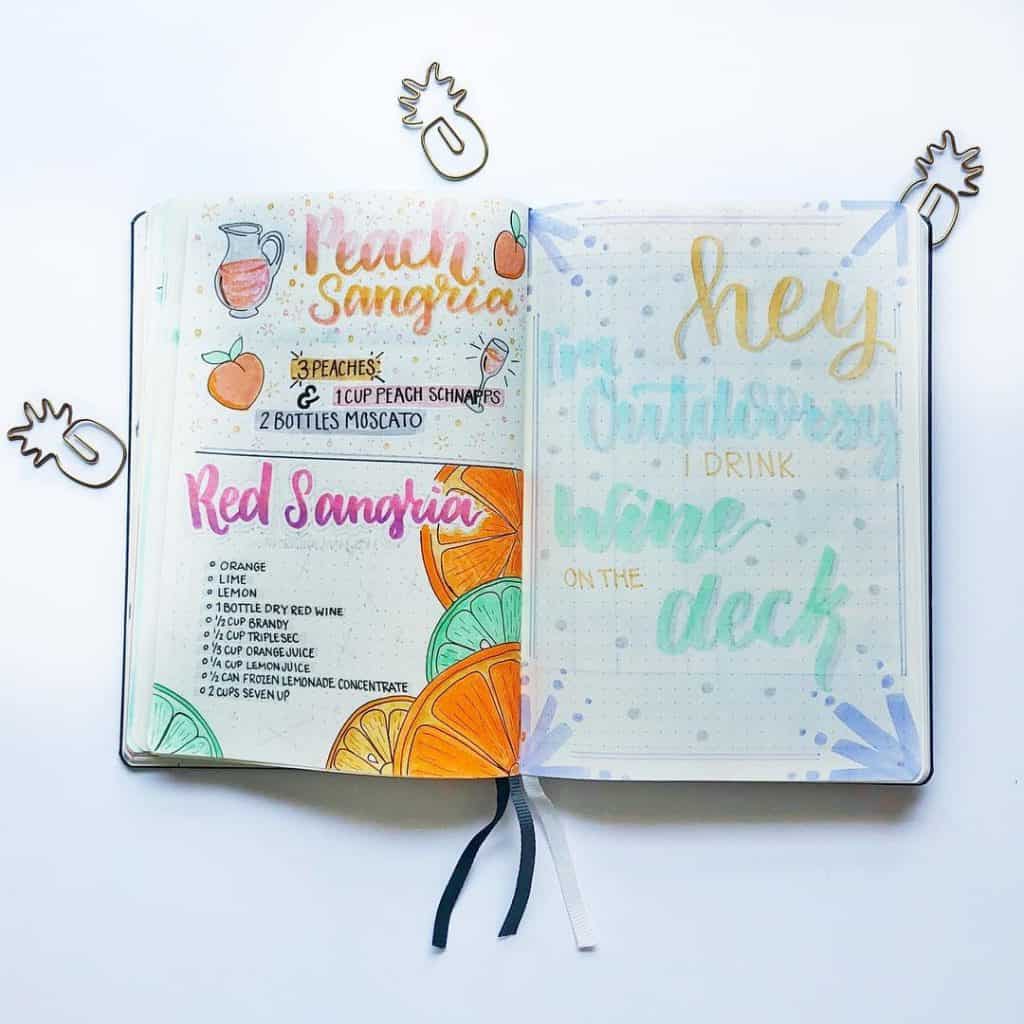
2. Choosing Color Schemes: Your choice of colors can greatly influence the visual appeal of your recipe pages. Consider selecting a color scheme that resonates with your personal style and evokes a sense of culinary inspiration. For example, you might choose warm and earthy tones for comfort food recipes or vibrant and fresh colors for light and healthy dishes. Consistency in color schemes can lend a cohesive look to your recipe collection, making it more visually engaging.
3. Selecting Materials: The type of materials you use can impact the overall look and feel of your recipe pages. Decide whether you want to work with markers, colored pencils, watercolors, or other artistic mediums. Choose high-quality paper that can handle the materials you plan to use without bleeding or smudging. Additionally, consider incorporating decorative elements such as washi tape, stickers, or stencils to add extra flair to your pages.
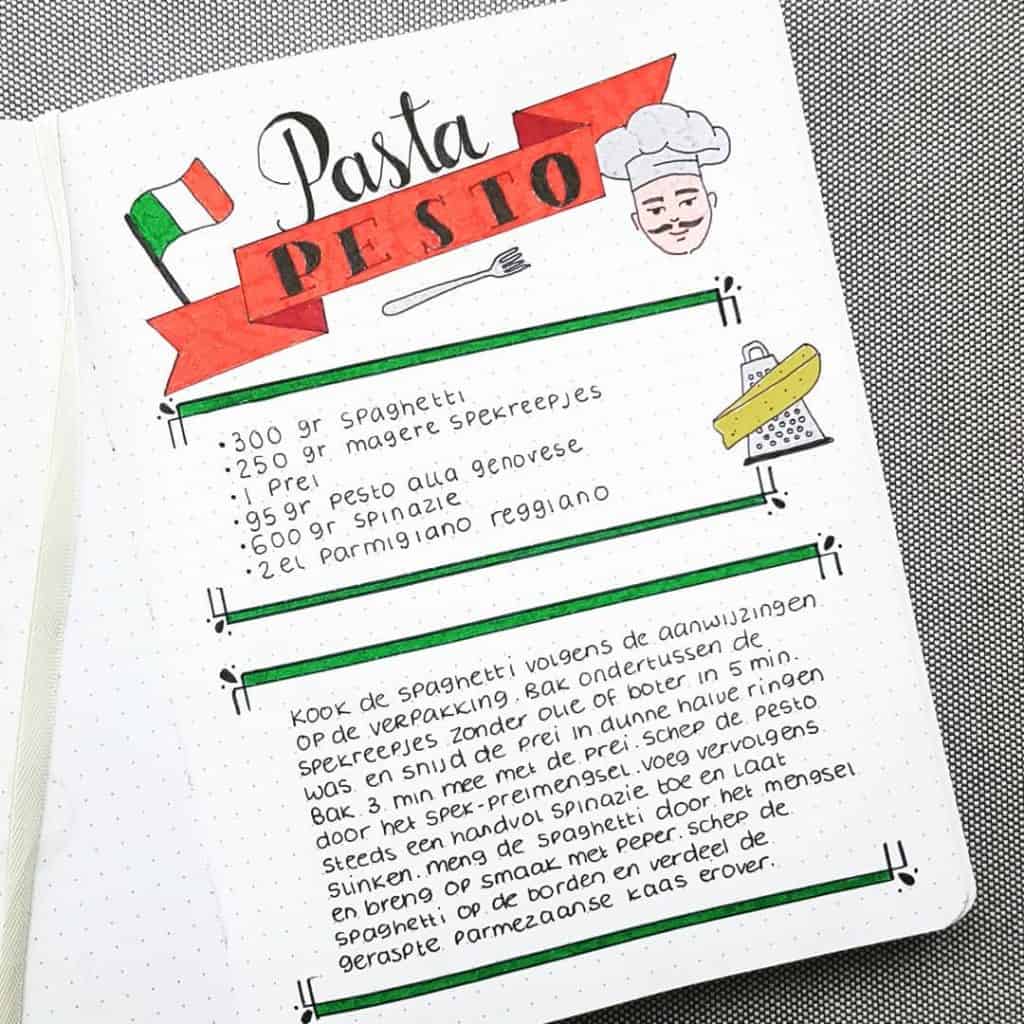
4. Incorporating Visual Elements: Visual elements can make your recipe pages more captivating and easy to navigate. Experiment with headers, dividers, and borders to separate different sections and create a visually pleasing hierarchy. For example, you might use decorative borders to outline the ingredients and instructions sections of each recipe. Experiment with fonts and typography styles to give your pages a unique and artistic touch.
5. Reflecting Your Personal Style: Your bullet journal is a reflection of your personality and interests. Infuse your personal style into your recipe pages by incorporating elements that resonate with you. If you love minimalist designs, opt for clean lines and simple layouts. If you’re a fan of intricate details, experiment with intricate doodles and elaborate designs. Your bullet journal should be a space where you feel inspired and creatively engaged.
6. Test and Adjust: As you begin documenting recipes in your chosen layout and style, don’t be afraid to test different approaches and make adjustments along the way. You might discover that certain layouts work better for specific types of recipes or that certain color combinations enhance the readability of your pages. Be open to evolving your design as you gain experience and find what works best for you.
Recipe collections and categories in your bullet journal
Creating a well-organized recipe collection in your bullet journal is essential for easy reference and efficient meal planning. Categorizing and organizing your recipes into different sections or collections not only makes it simpler to find what you’re looking for but also enhances the overall usability of your culinary journal. Here’s a detailed breakdown of how to effectively categorize and organize your recipes:
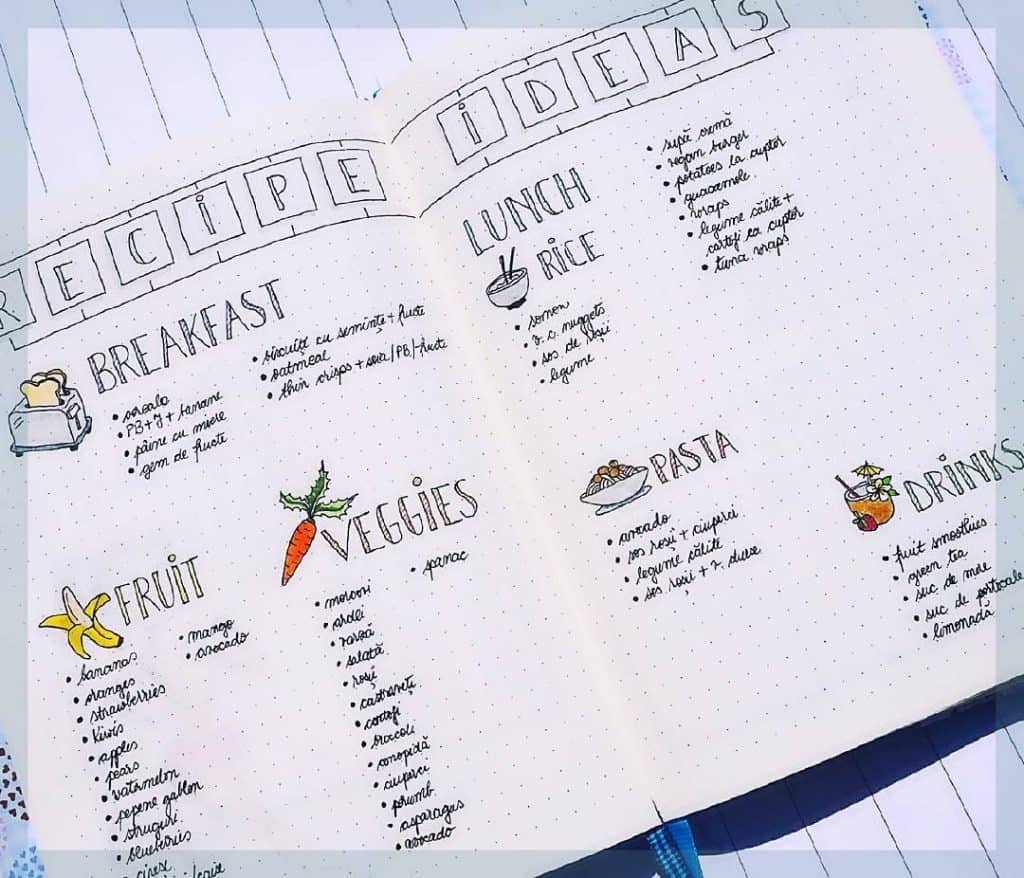
1. Choose Your Categories: Start by deciding on the categories that make the most sense for your recipe collection. Common categories include breakfast, lunch, dinner, desserts, beverages, appetizers, snacks, and special occasions. You can also create more specific categories based on cuisine types (Italian, Asian, Mexican, etc.) or dietary preferences (vegetarian, gluten-free, etc.). Consider your cooking habits and the types of meals you prepare most frequently.
2. Create Dedicated Sections: Allocate separate sections or collections in your bullet journal for each chosen category. You can designate multiple pages or spreads for each section, depending on how many recipes you plan to include. Having dedicated sections makes it easy to locate recipes related to specific meal types, making your bullet journal a practical resource for meal planning.
3. Use Clear Headers and Labels: Label each section with clear and distinctive headers that indicate the category. You can use creative typography, decorative elements, or different colors to make the headers visually appealing. Clear labels help you quickly flip to the desired section and contribute to the overall aesthetic of your bullet journal.
4. Indexing and Pagination: Consider creating an index or table of contents at the beginning of your bullet journal to list all the recipe categories along with their corresponding page numbers. This index will serve as a roadmap to navigate your recipe collection effortlessly. As you add new recipes, update the index to maintain accuracy.
5. Dividers and Tabs: For easy navigation, you can incorporate dividers or tabs between different sections. These physical separators can be visually appealing and functional. Tabs can be color-coded or labeled with category names, allowing you to flip directly to the desired section.
6. Benefits of Categorization: Categorizing your recipes offers several benefits:
- Efficient Meal Planning: When you want to prepare a specific type of meal, you can quickly locate relevant recipes without sifting through unrelated pages.
- Inspiration: Browsing through specific sections can spark meal ideas and inspire your culinary creativity.
- Easy Sharing: When friends or family ask for a recipe recommendation, you can easily find and share recipes from the appropriate section.
- Enhanced Organization: Categories help maintain a sense of order in your bullet journal, making it a valuable tool for both daily use and long-term reference.
7. Flexibility and Customization: Remember that your bullet journal is a reflection of your personal style and preferences. Feel free to customize your categorization approach to suit your needs. If you enjoy experimenting with new recipes, consider having a dedicated section for “Recipes to Try” or “Experimentation.” The goal is to create a system that feels intuitive and works best for you.
8. Regular Maintenance: As you add new recipes to your collection, be diligent about placing them in the appropriate sections and updating your index or table of contents. Regular maintenance ensures that your bullet journal remains an organized and reliable resource.
By thoughtfully categorizing and organizing your recipes, you’ll transform your bullet journal into a valuable culinary companion that simplifies meal planning, enhances creativity, and brings a sense of joy to your cooking endeavors.
Recipe formats and components
Documenting recipes in your bullet journal allows for creative expression while ensuring that essential information is organized and easily accessible. Exploring various recipe formats and components enables you to find a style that suits your preferences and enhances the usability of your culinary journal. Here’s a deeper dive into different recipe formats and the essential components to include in each entry:
1. Recipe Formats:
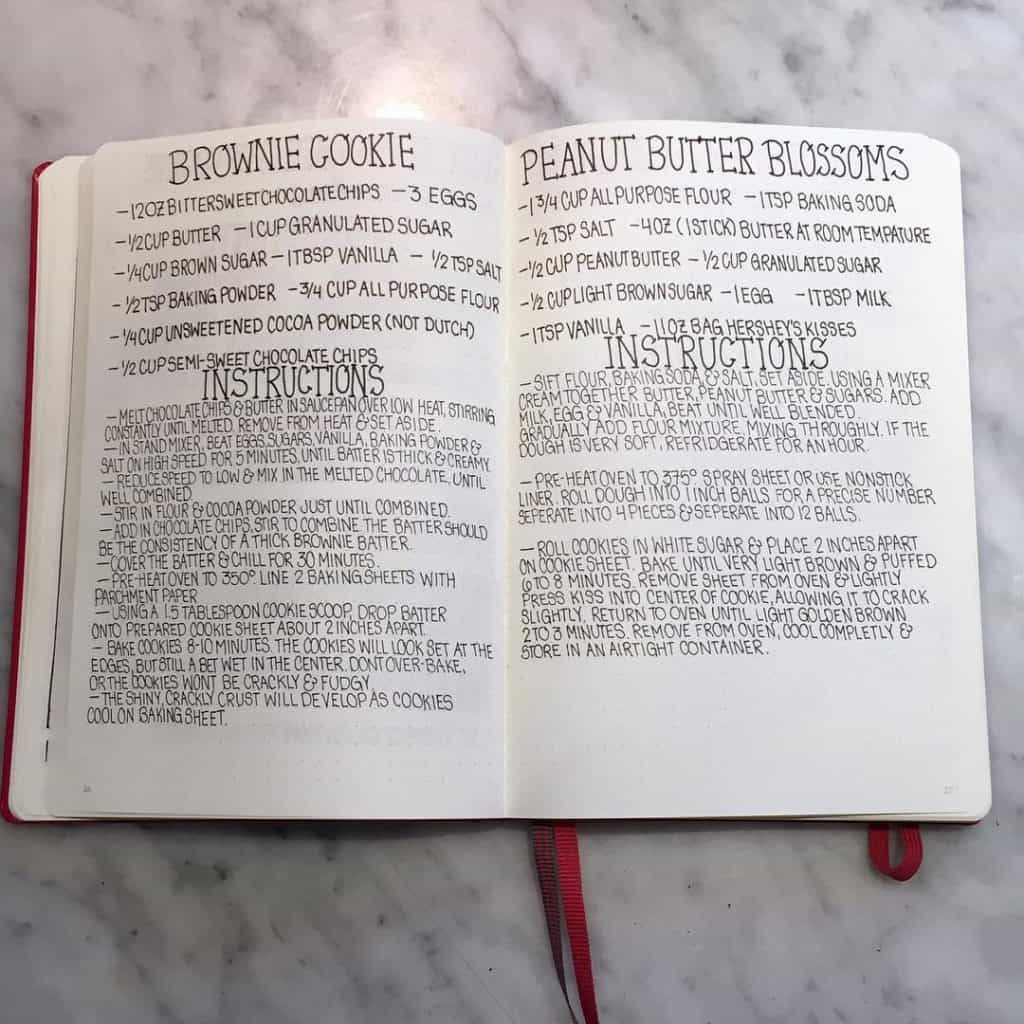
- Traditional Written Format: This classic approach involves writing out the recipe in a step-by-step paragraph format. It’s clear and concise, making it easy to follow. You can use bullet points or numbering for each instruction to ensure a logical flow.
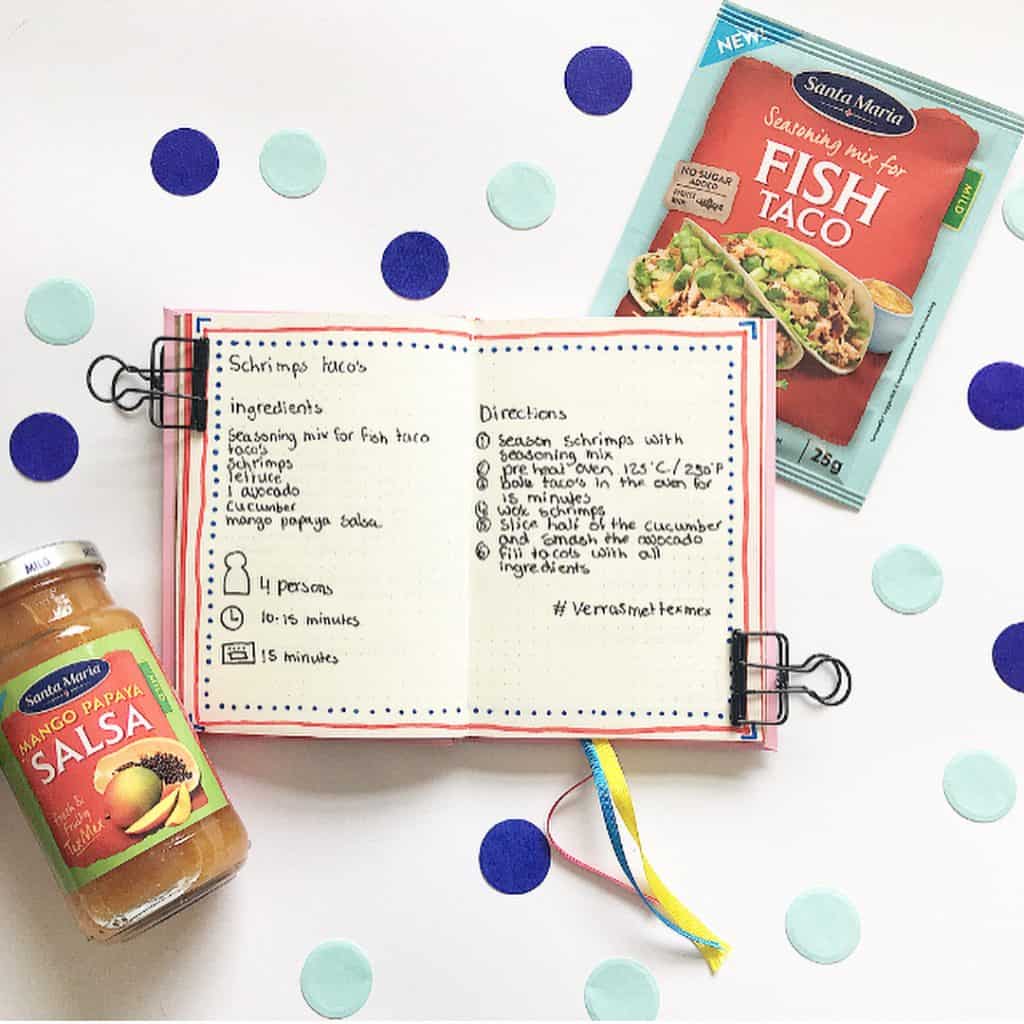
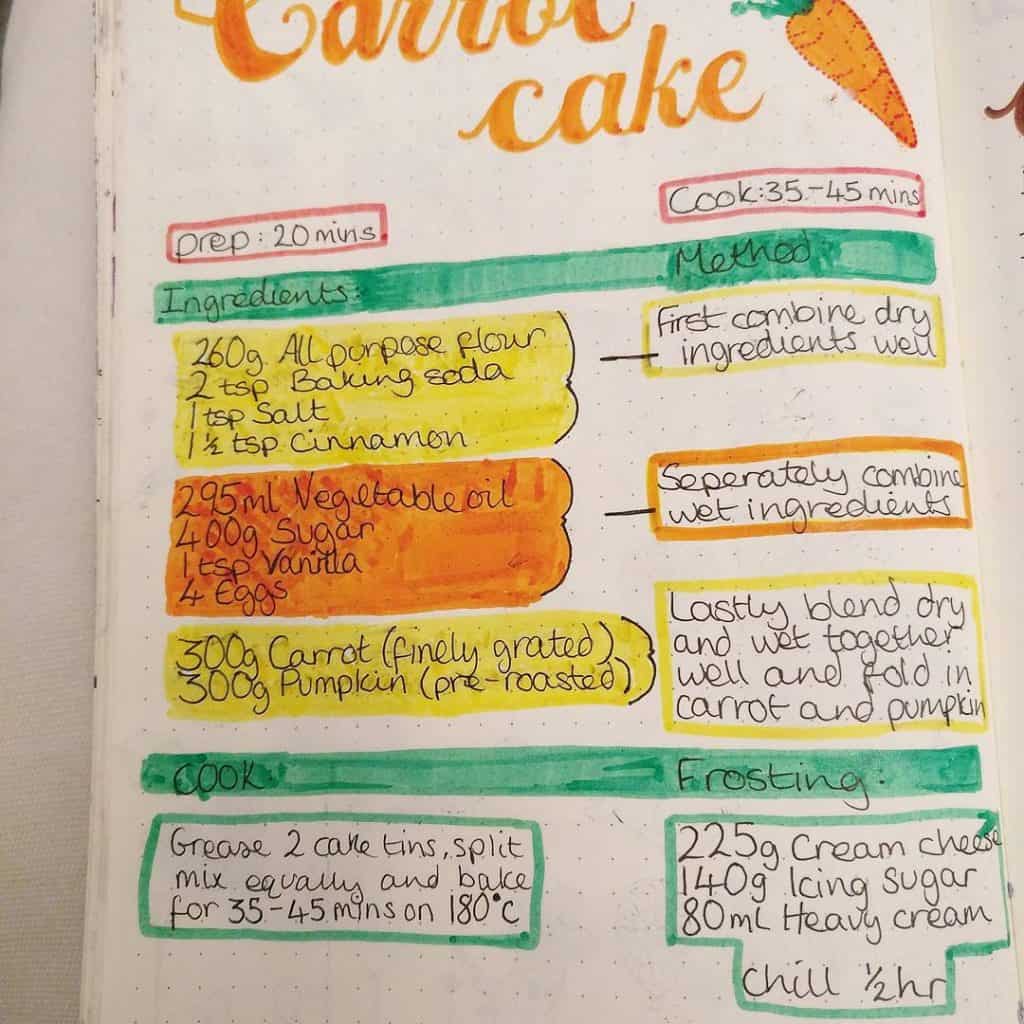
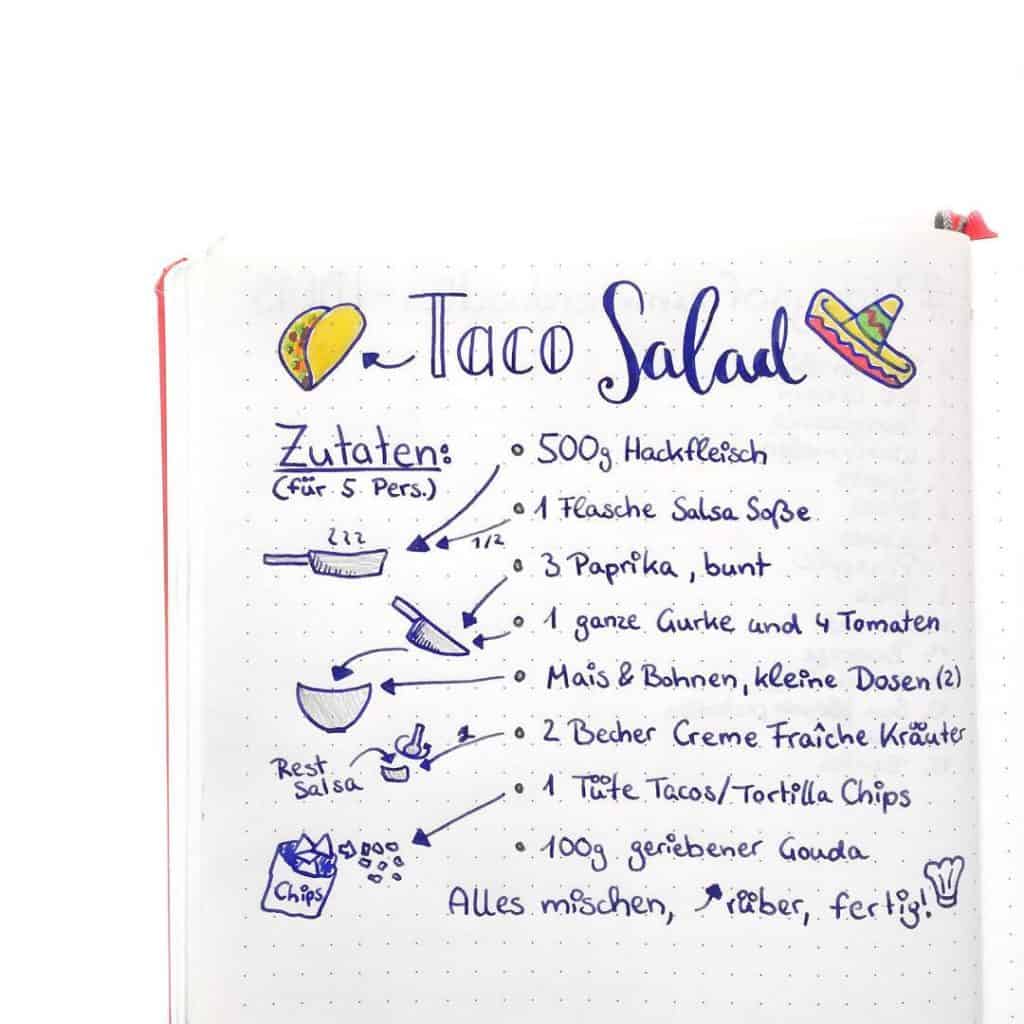
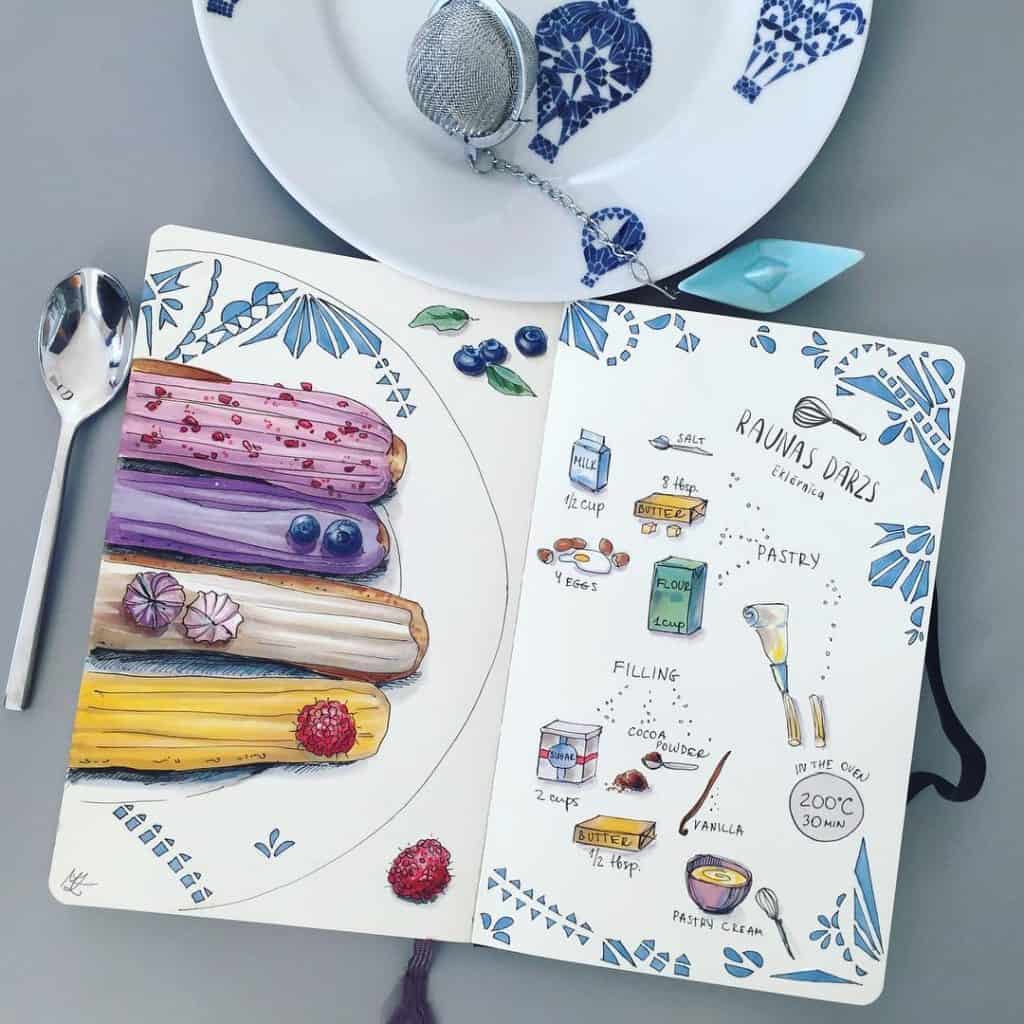
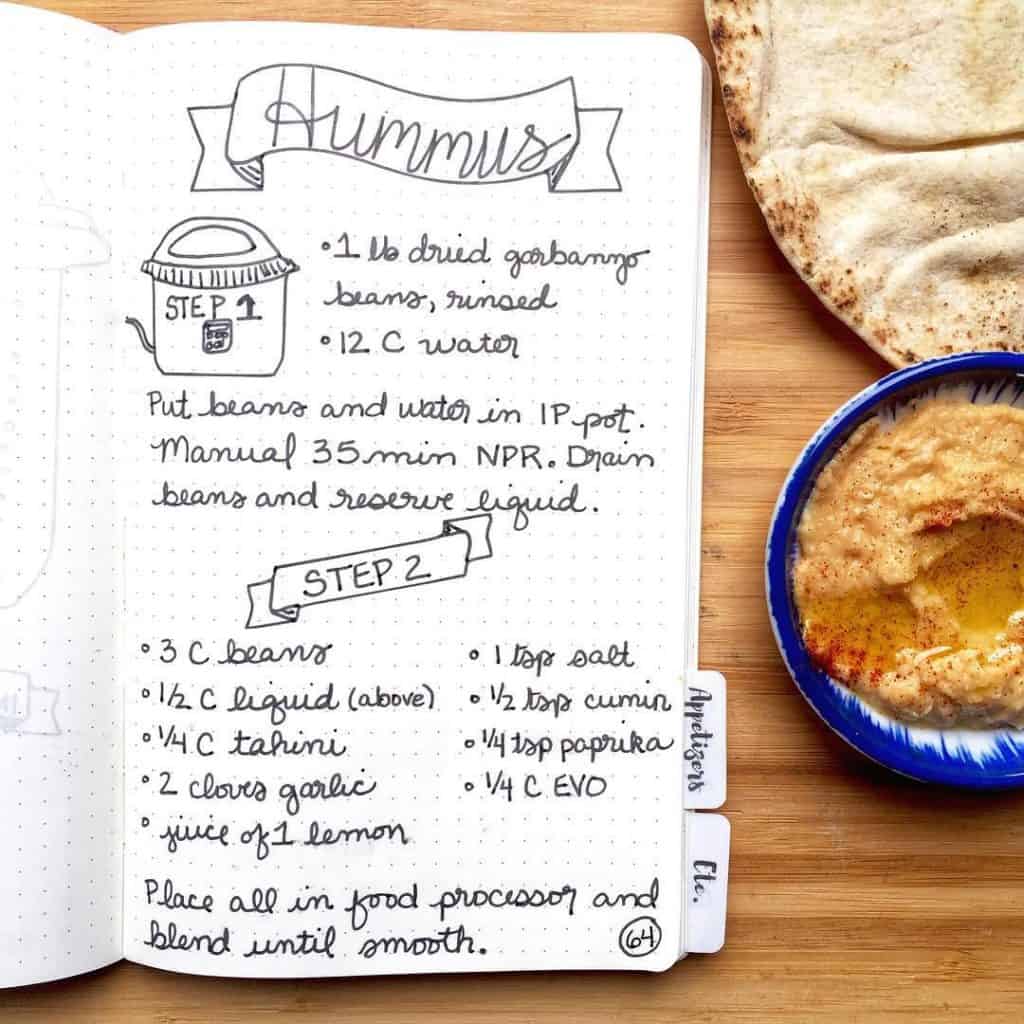
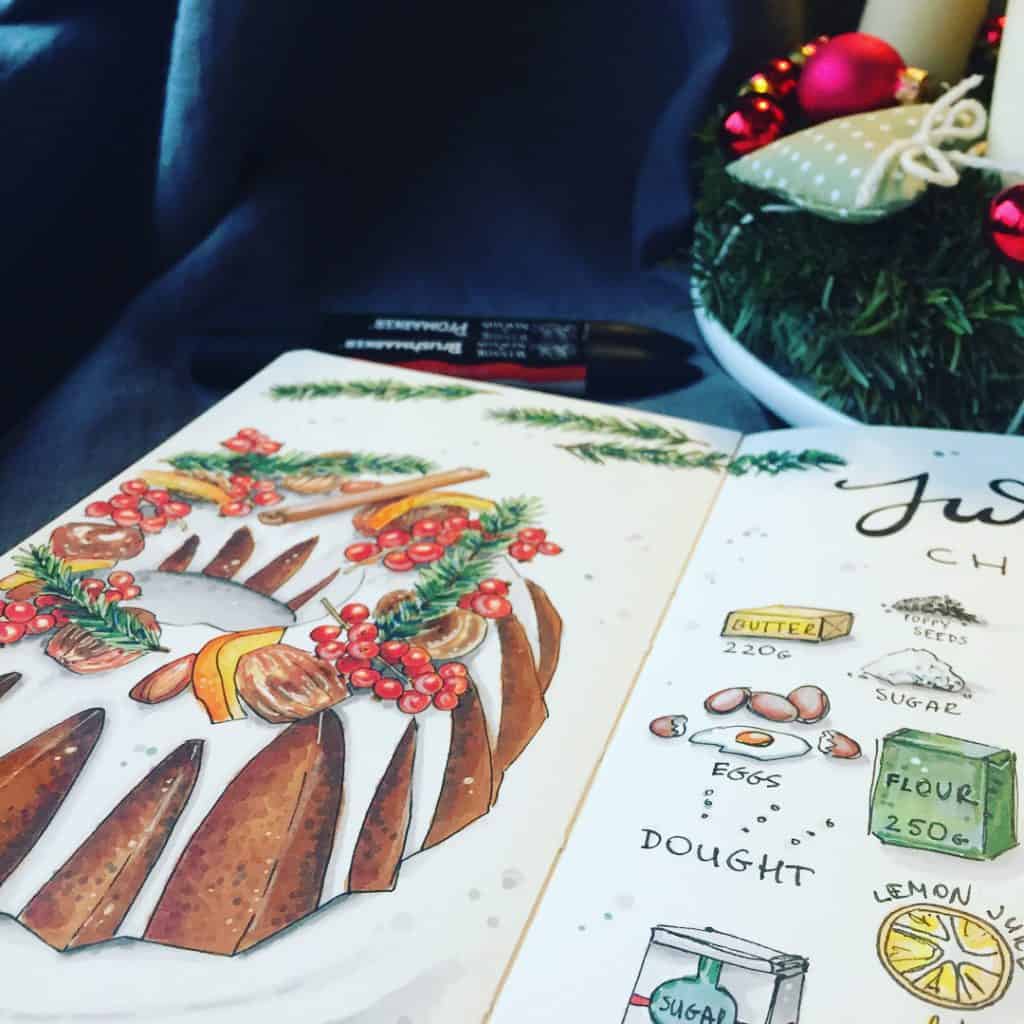
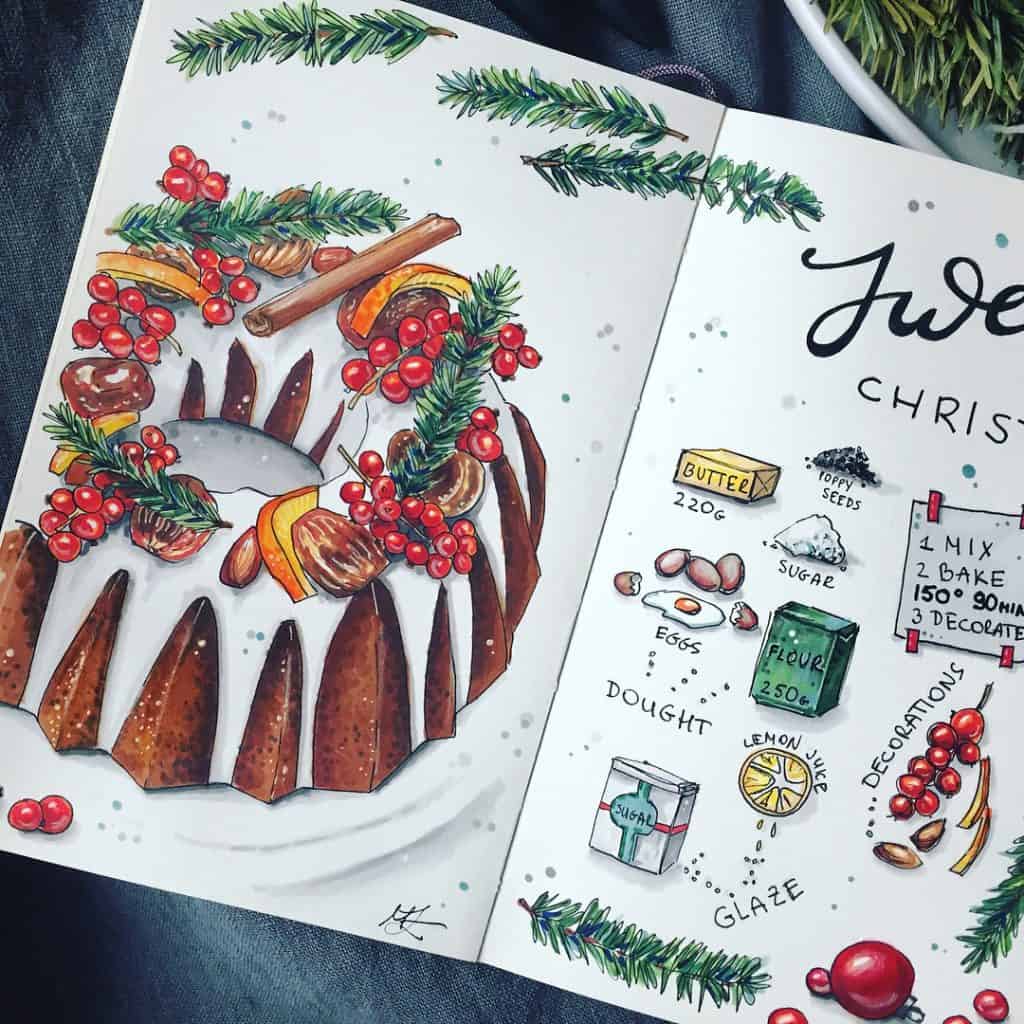
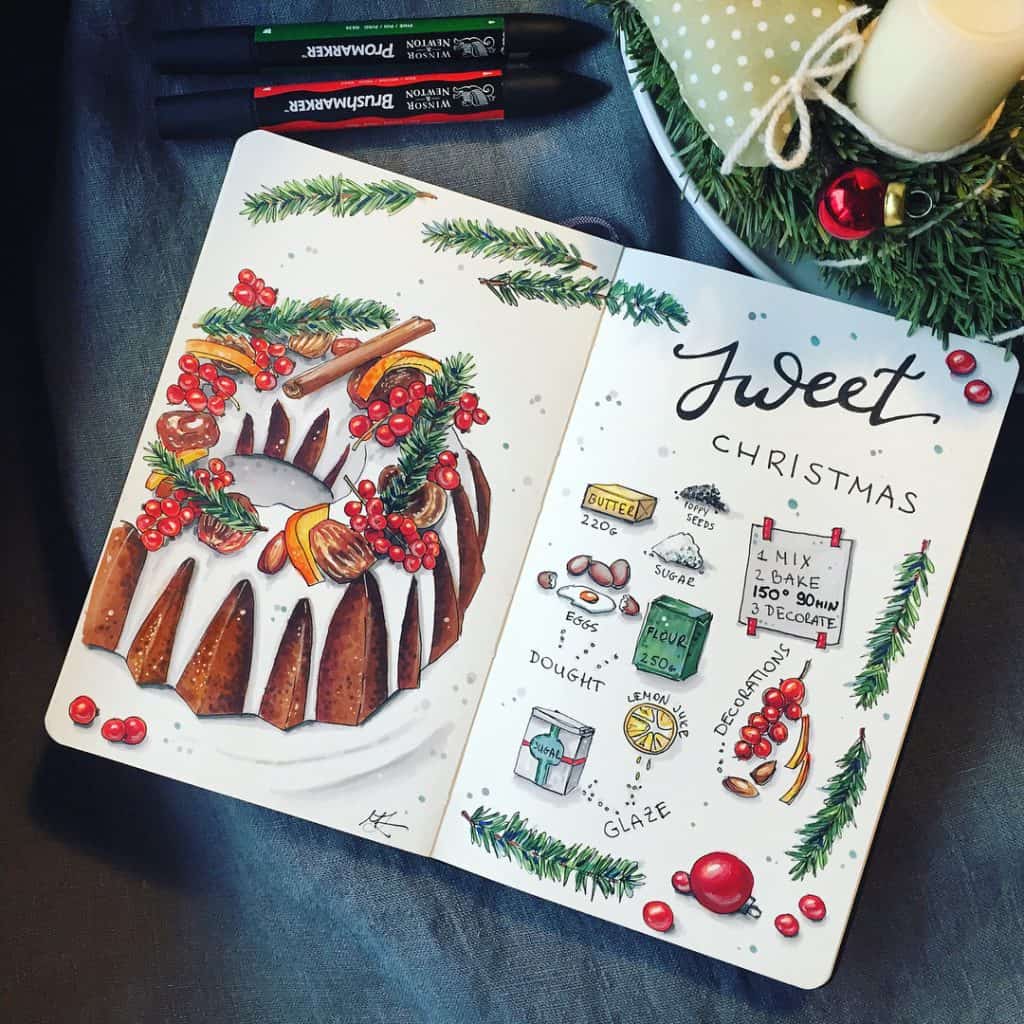
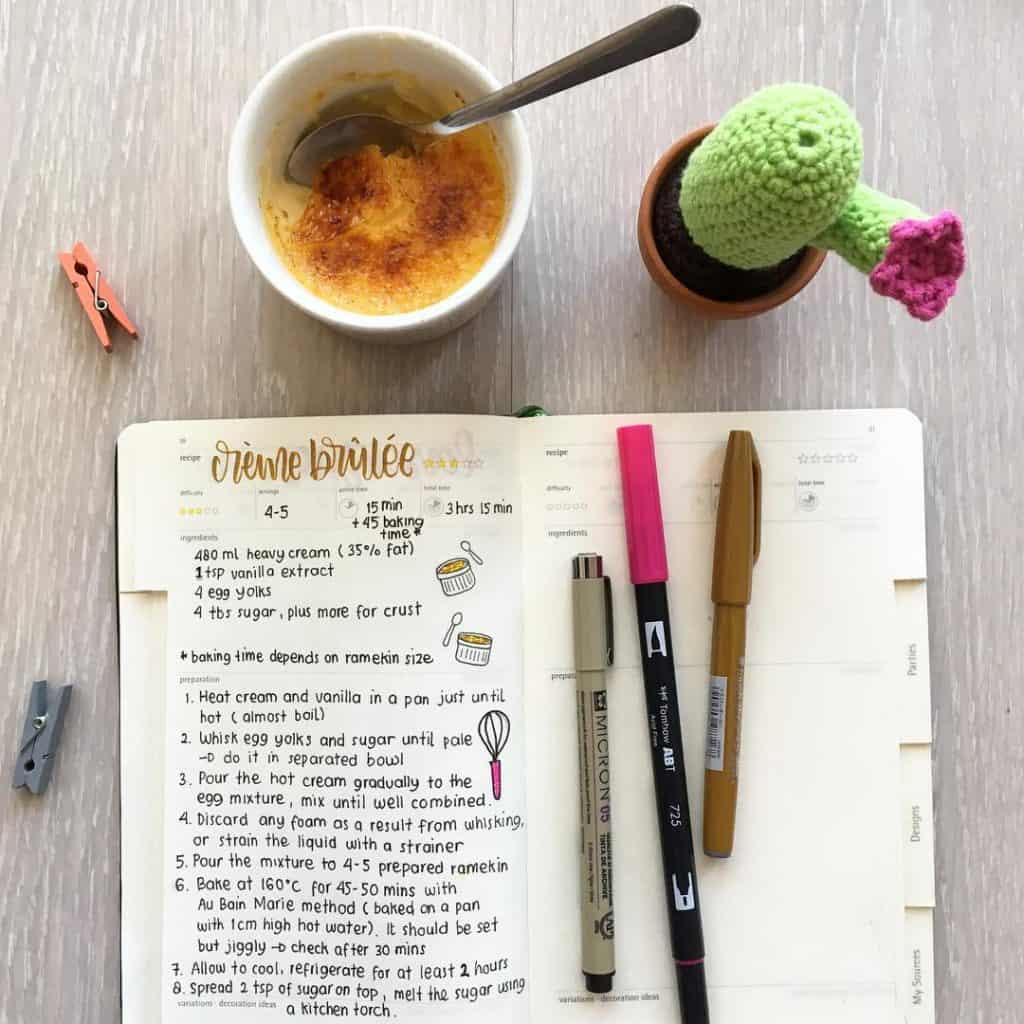
- Visual Diagrams: Visual learners might prefer using diagrams or flowcharts to represent the cooking process. Draw arrows, icons, and simple illustrations to visually convey each step. This format can be especially useful for recipes with multiple components or complex assembly.
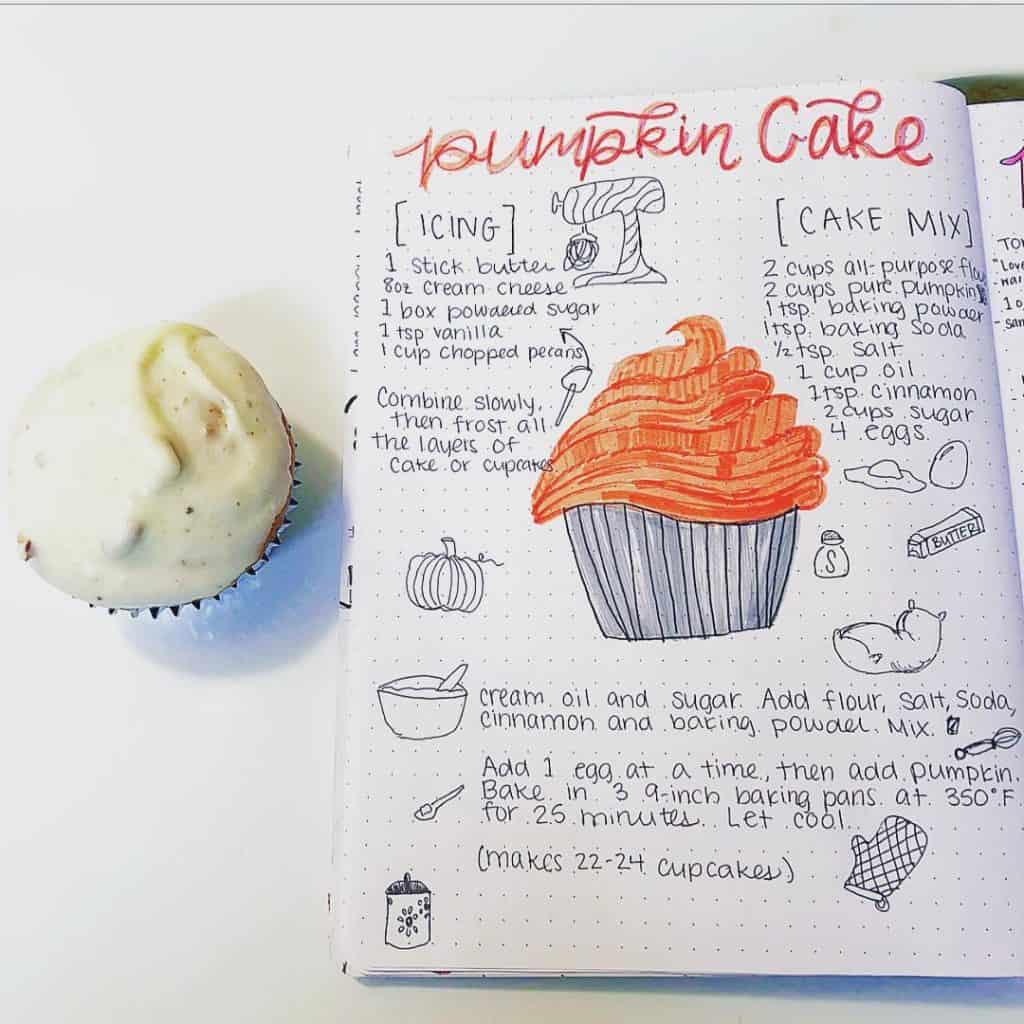
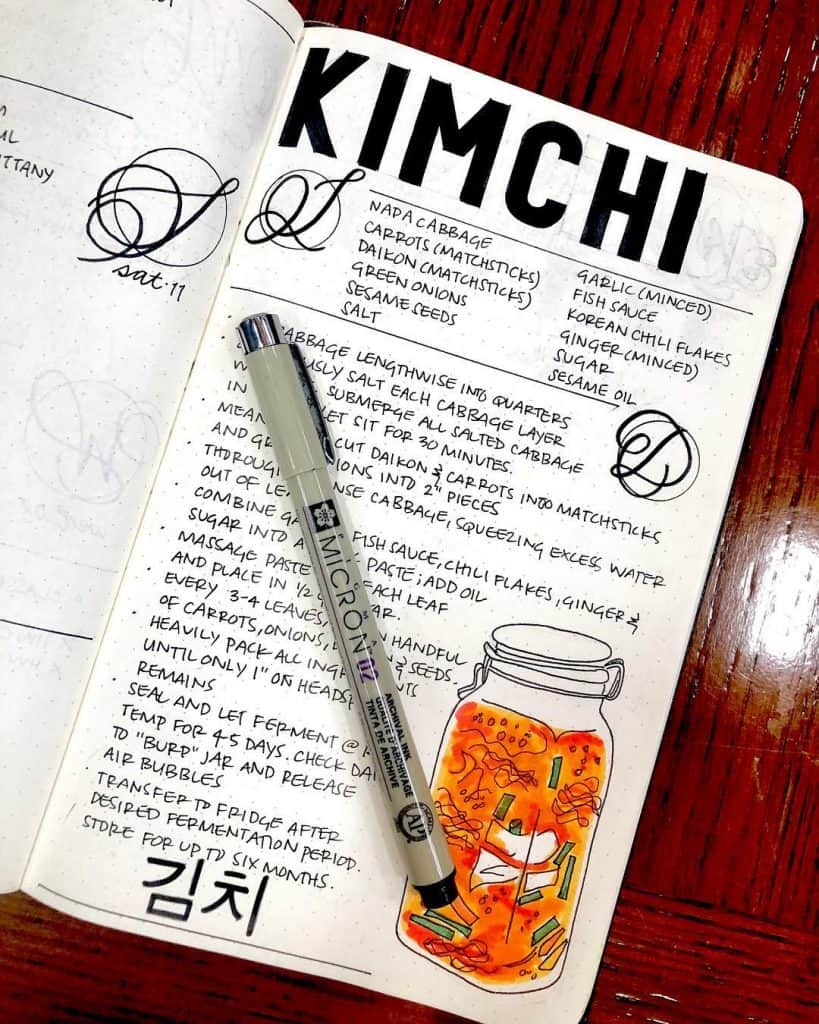
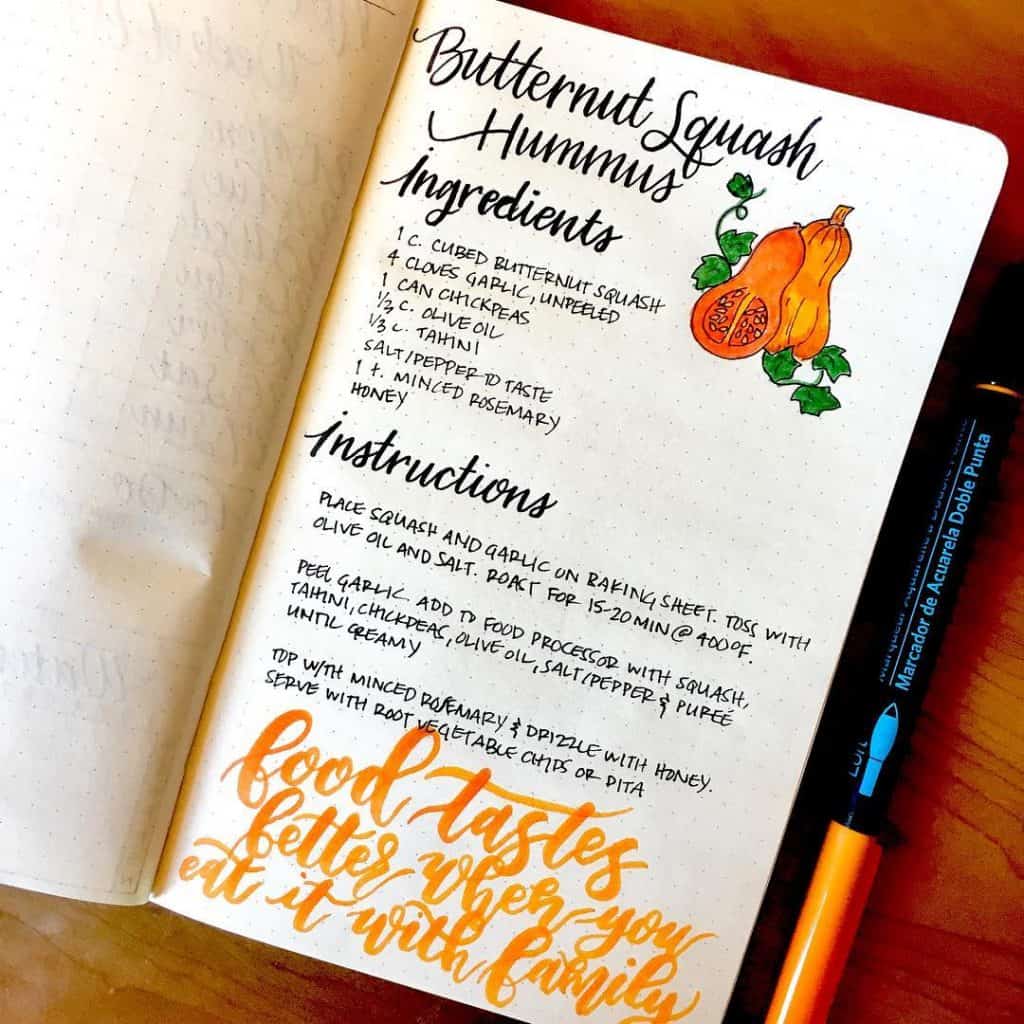
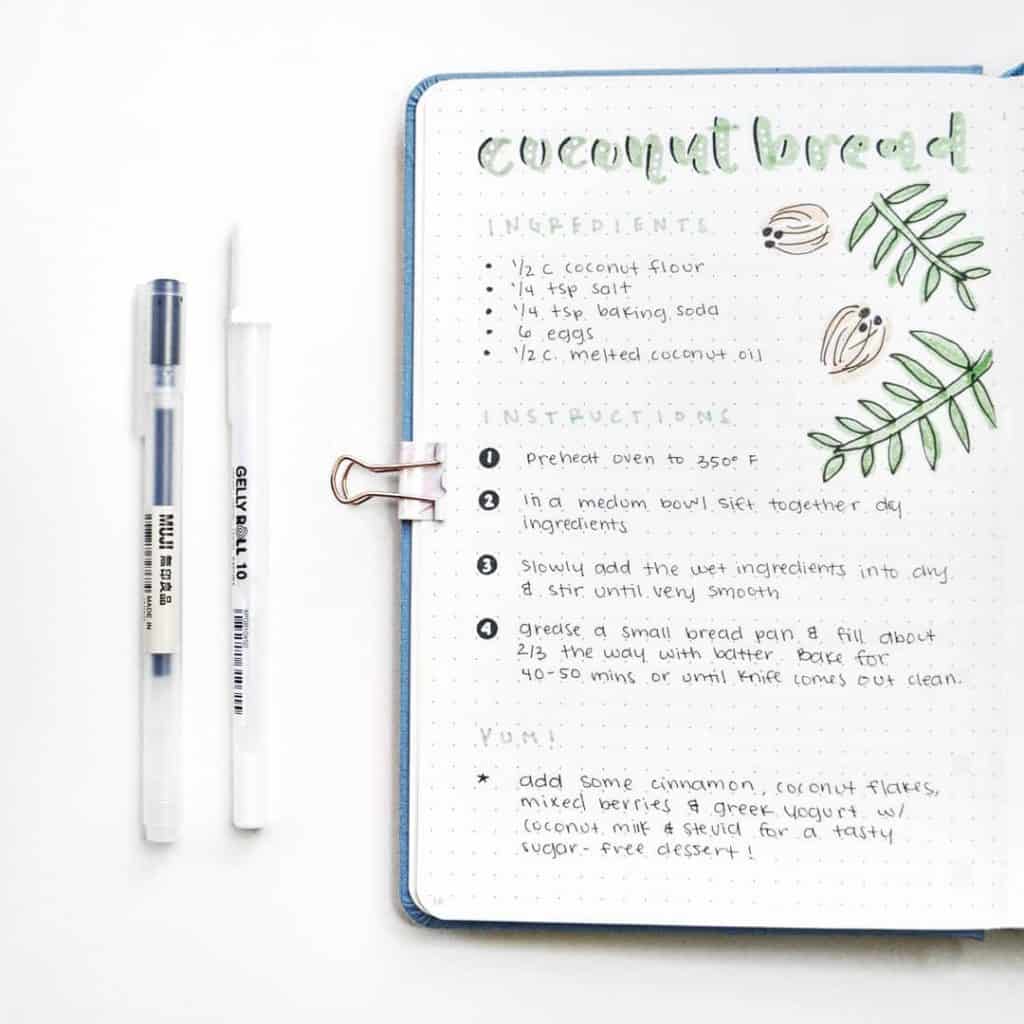
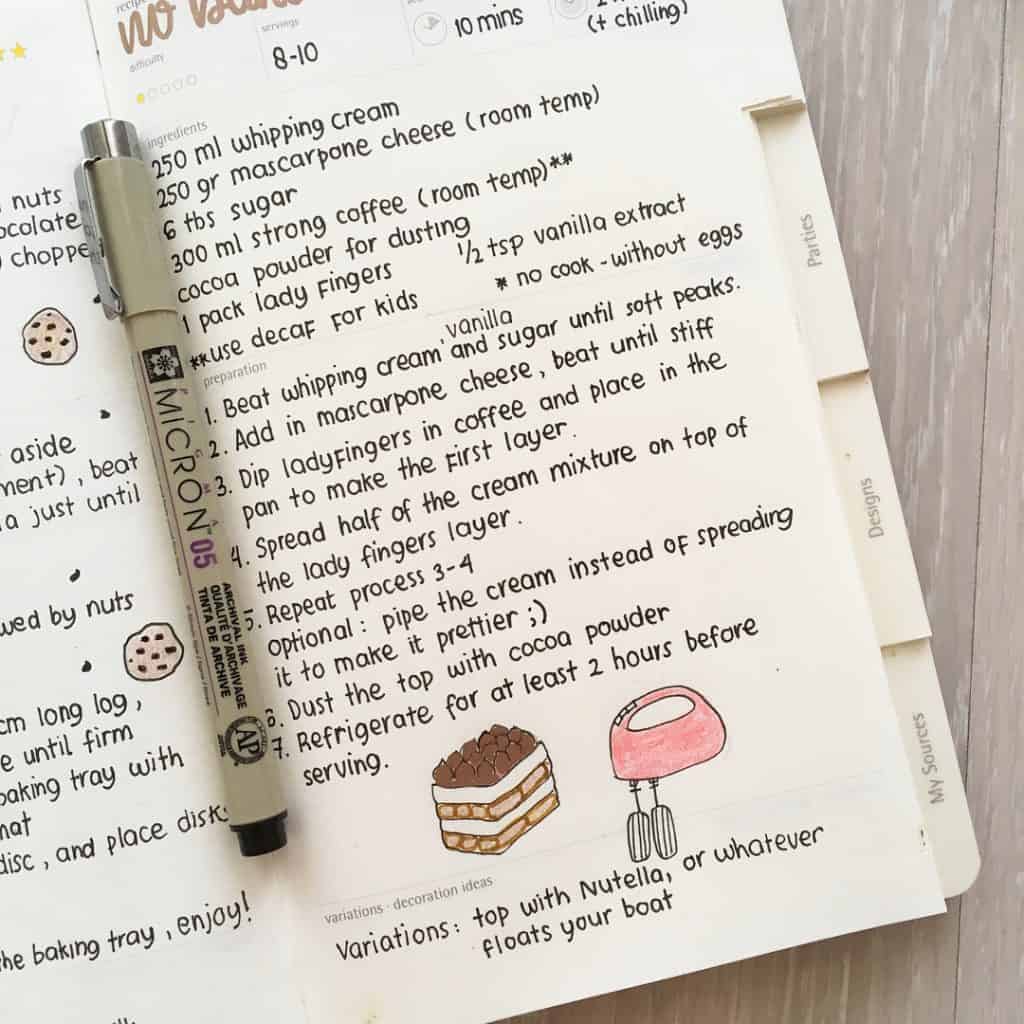
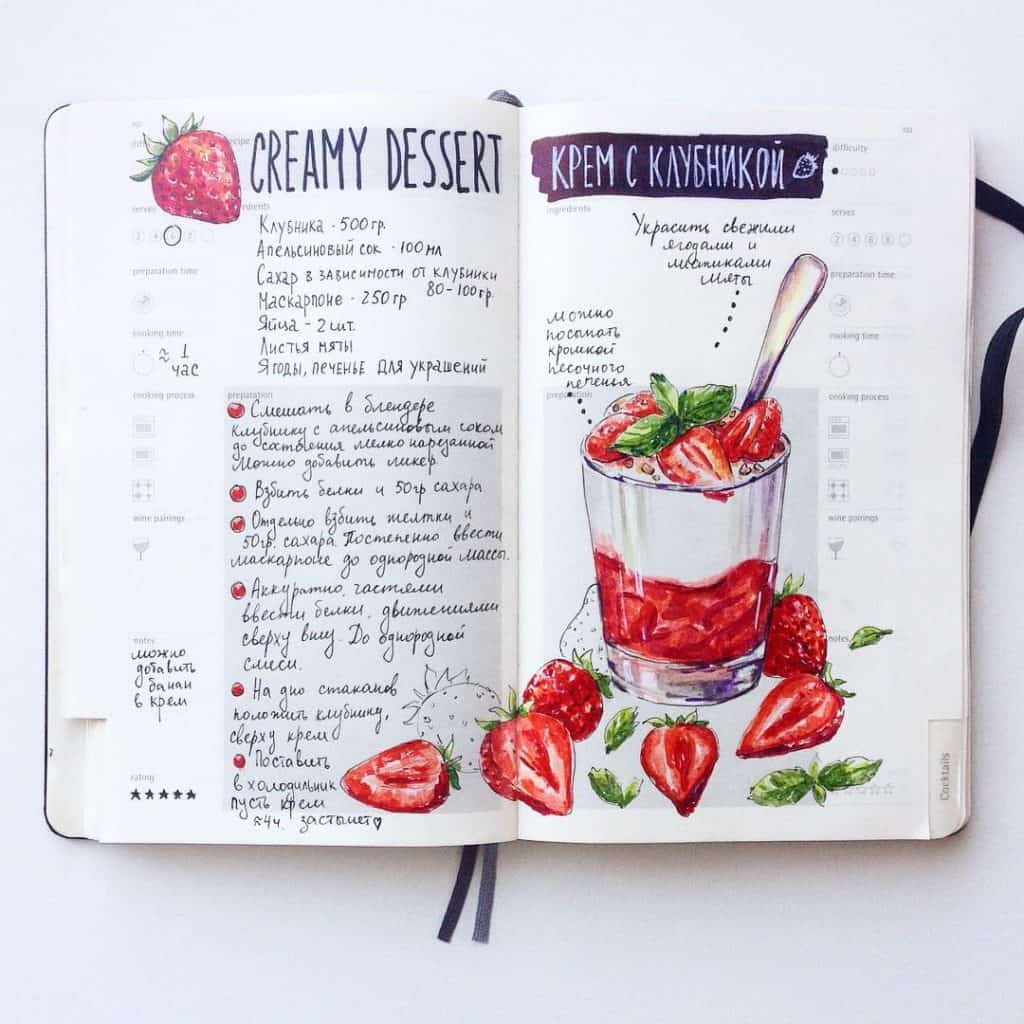
- Combination of Both: You can combine written instructions with visual elements to create a dynamic recipe format. Pair concise written steps with small illustrations or icons to enhance clarity and engagement.
2. Essential Components of a Recipe Entry:
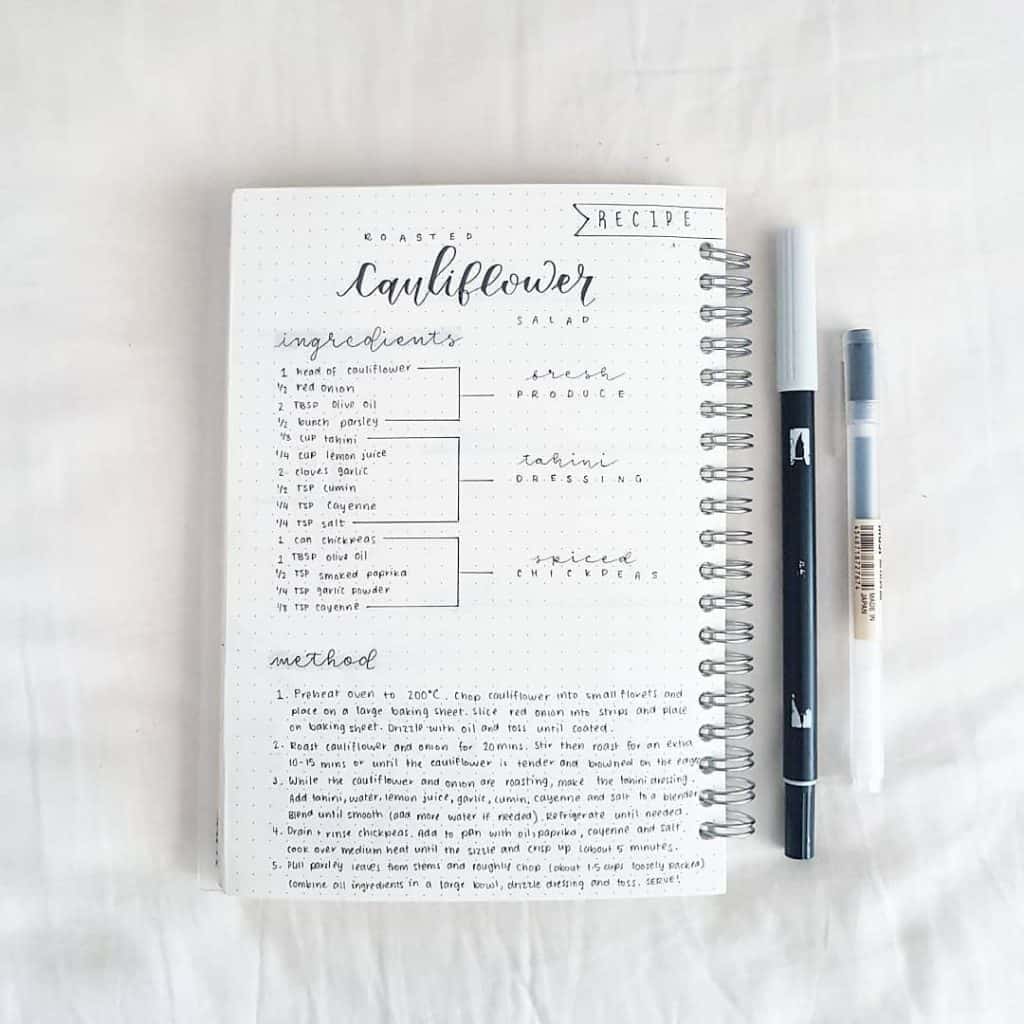
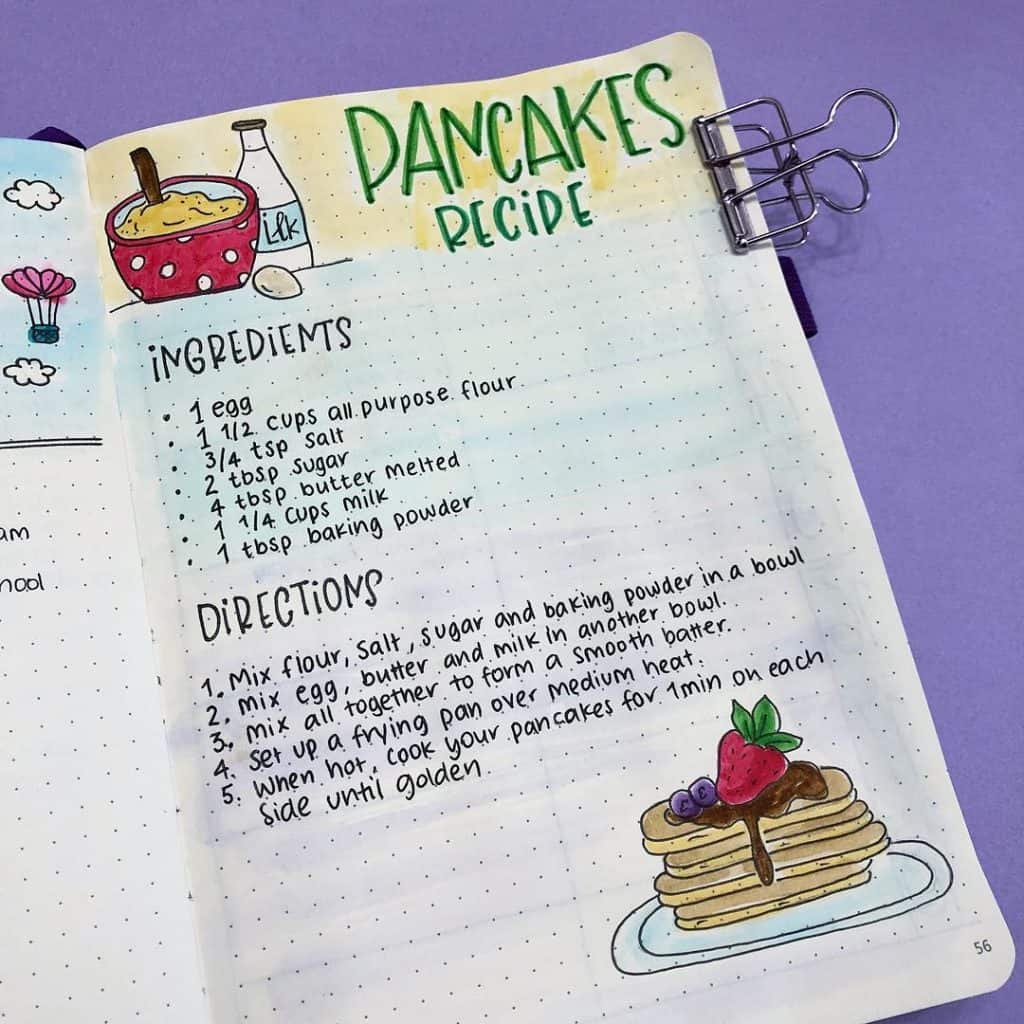
- Ingredients: List all the ingredients required for the recipe. Use clear and specific measurements (e.g., cups, tablespoons, grams) to ensure accuracy. Consider grouping related ingredients together (e.g., dry ingredients, wet ingredients) for easier reference.
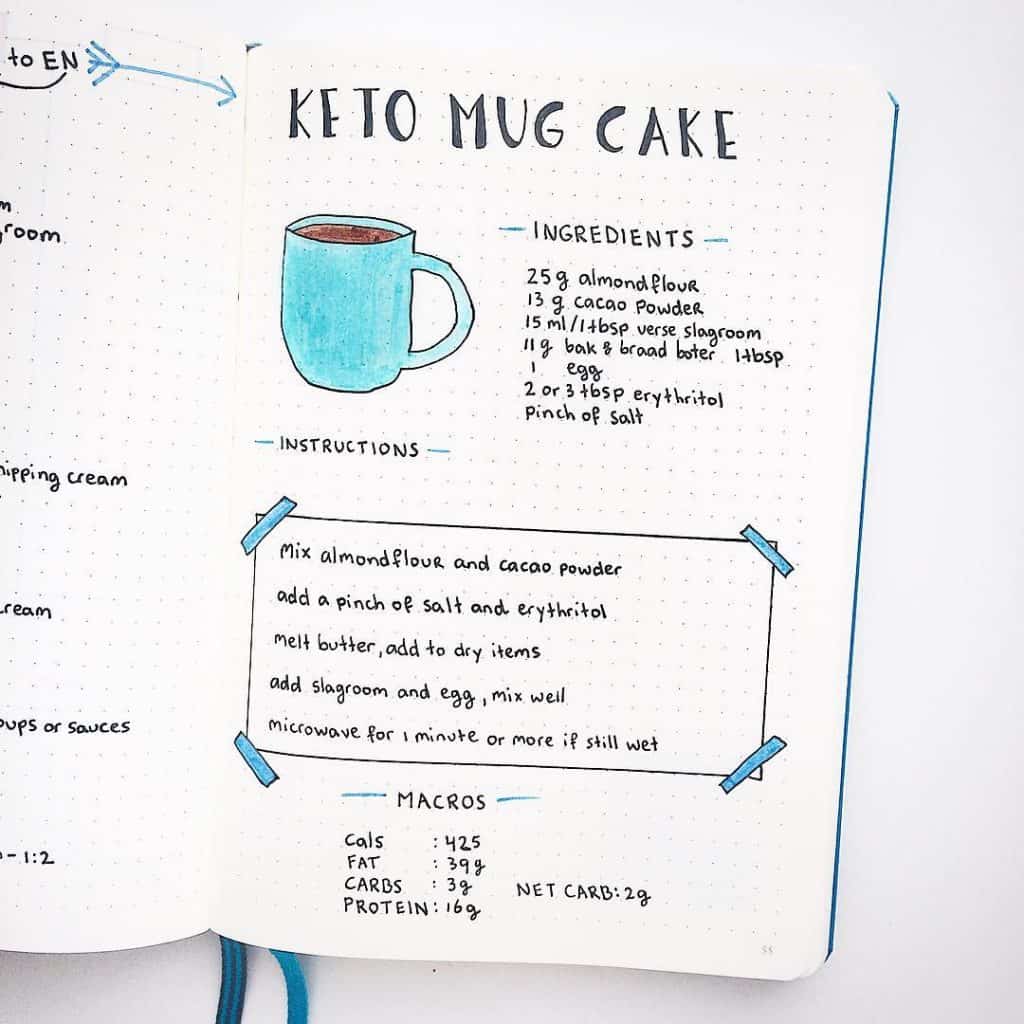
- Instructions: Provide step-by-step instructions for preparing the recipe. Start with a brief overview of the process, then break down each step in a logical order. Use clear and concise language, and consider numbering or bullet points to keep the instructions organized.
- Cooking Time and Temperature: Specify the required cooking time and temperature. Include any variations for different cooking methods (e.g., baking, stovetop, grilling) and highlight important points (preheating the oven, checking for doneness).
- Serving Size: Indicate the number of servings the recipe yields. This helps with meal planning and portion control. You can also provide additional information about nutritional values if desired.
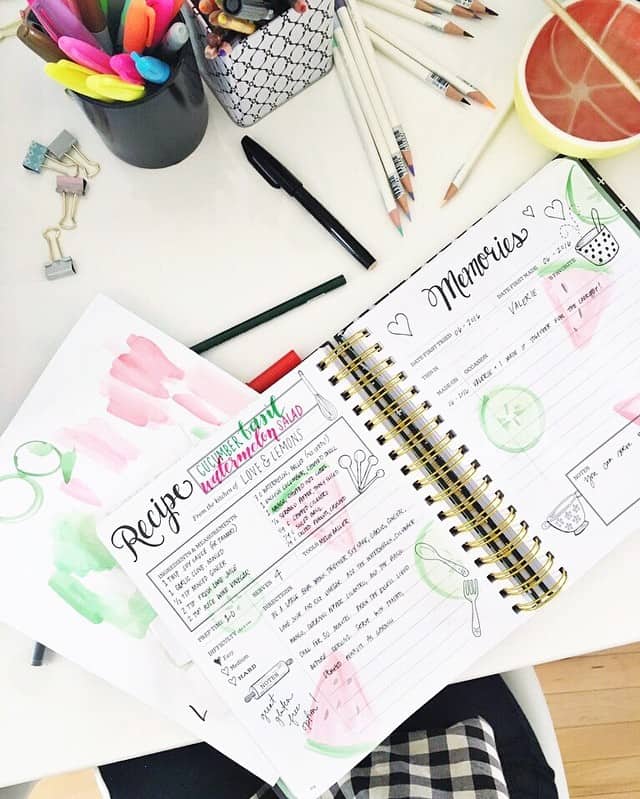
- Personal Notes and Variations: Add a section for personal notes, tips, and variations. This is where you can share your experiences, modifications you’ve made, or suggestions for ingredient substitutions. Including personal touches makes the recipe more relatable and engaging.
- Source and Date: If you’re adapting the recipe from a cookbook, website, or other sources, attribute the original source. Also, consider adding the date you added the recipe to your journal for reference.
3. Styling and Aesthetics:
- Typography: Experiment with different fonts and sizes to make headings and subheadings stand out. Using consistent typography can create a visually appealing and cohesive look.
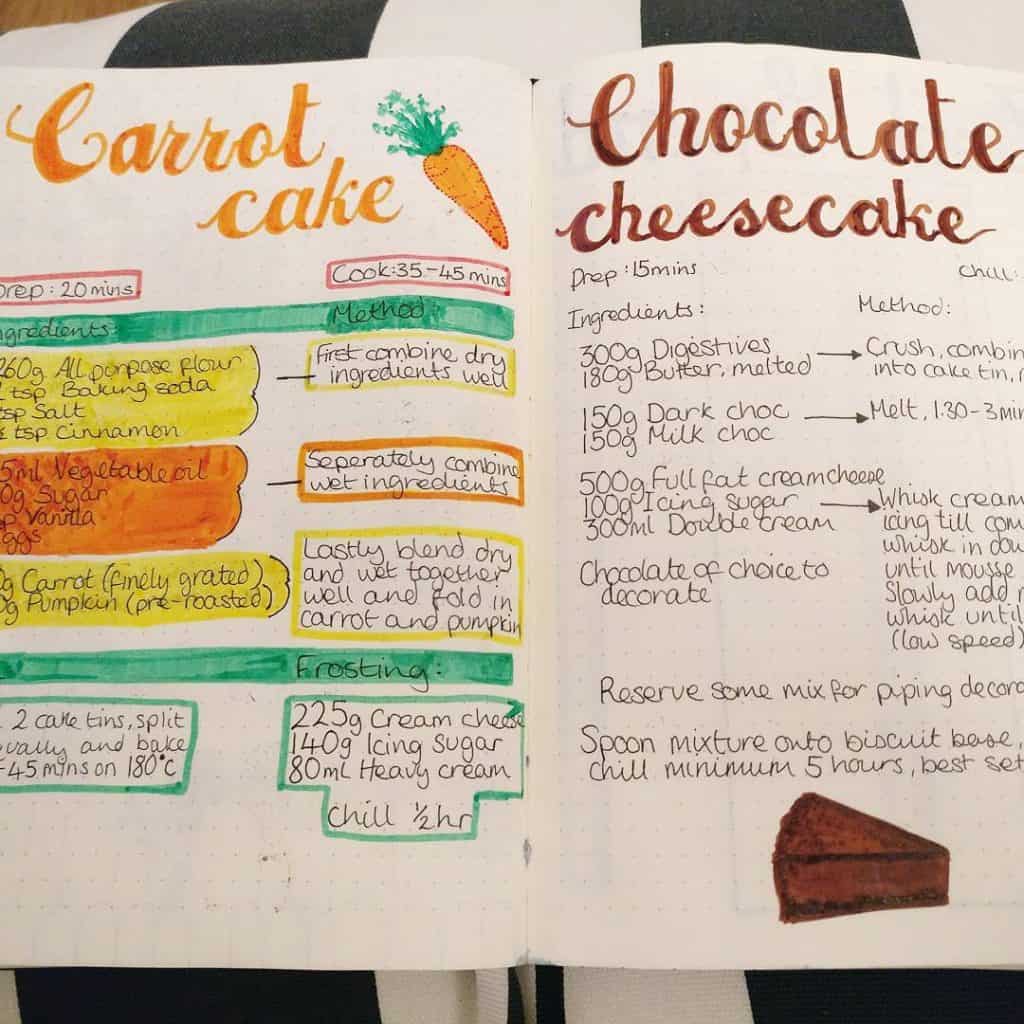
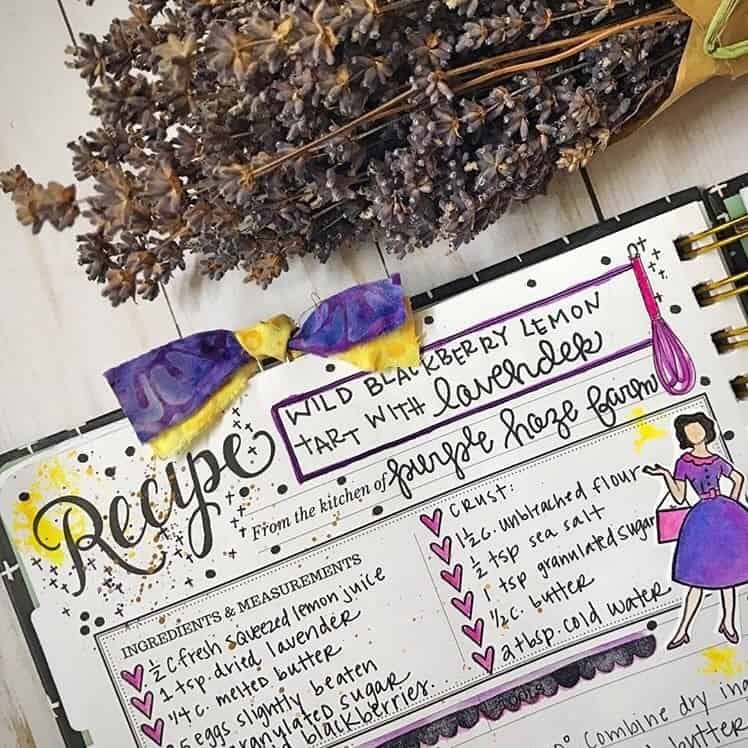
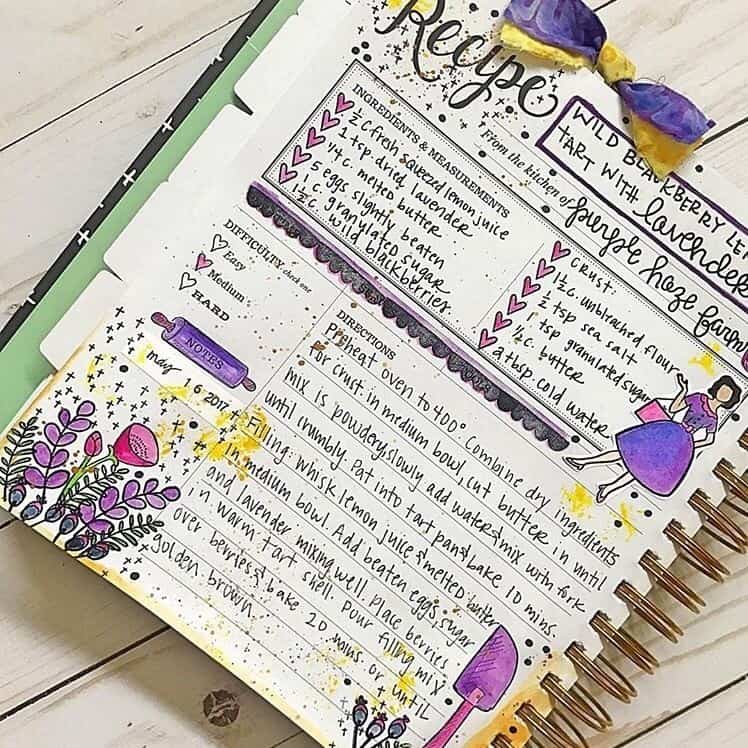
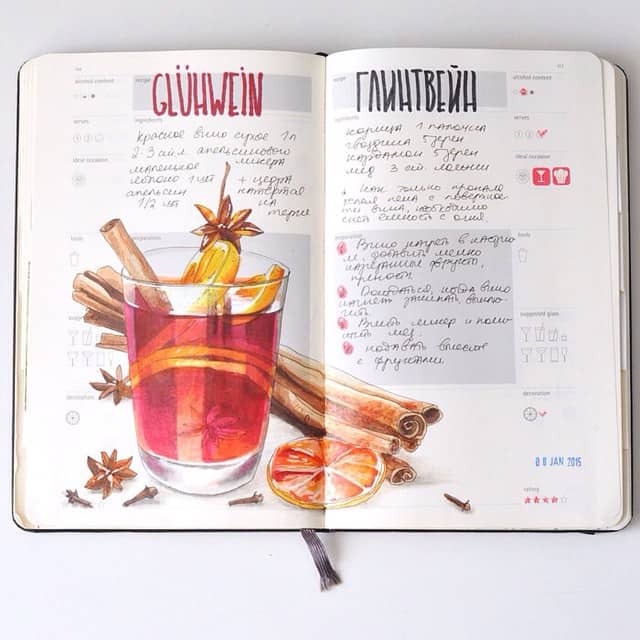
- Decorative Elements: Incorporate decorative elements like borders, dividers, and embellishments to add visual interest to your recipe pages. Consider using thematic illustrations or doodles that reflect the nature of the recipe (e.g., utensils, ingredients, relevant imagery).
- Color Coding: Use color coding to distinguish different sections, ingredients, or steps within your recipe. This can enhance organization and make your pages more visually appealing.
4. Flexibility and Creativity: Remember that your bullet journal is a reflection of your personal style. Feel free to experiment with different formats and components until you find what works best for you. Your goal is to create recipe entries that are both functional and aesthetically pleasing, enhancing your overall cooking and journaling experience.
By exploring different recipe formats and incorporating essential components, you’ll create recipe entries that are informative, engaging, and visually appealing, turning your bullet journal into a delightful culinary resource.
How do I add a recipe to my bullet journal?
This is the easy part! Make sure you have your recipe and write it down on piece of paper! The start placing it in your journal with a selection of doodles or even drawing out the steps of the recipe! This makes it personal and you can tweak the recipe to suit you or your tastes.
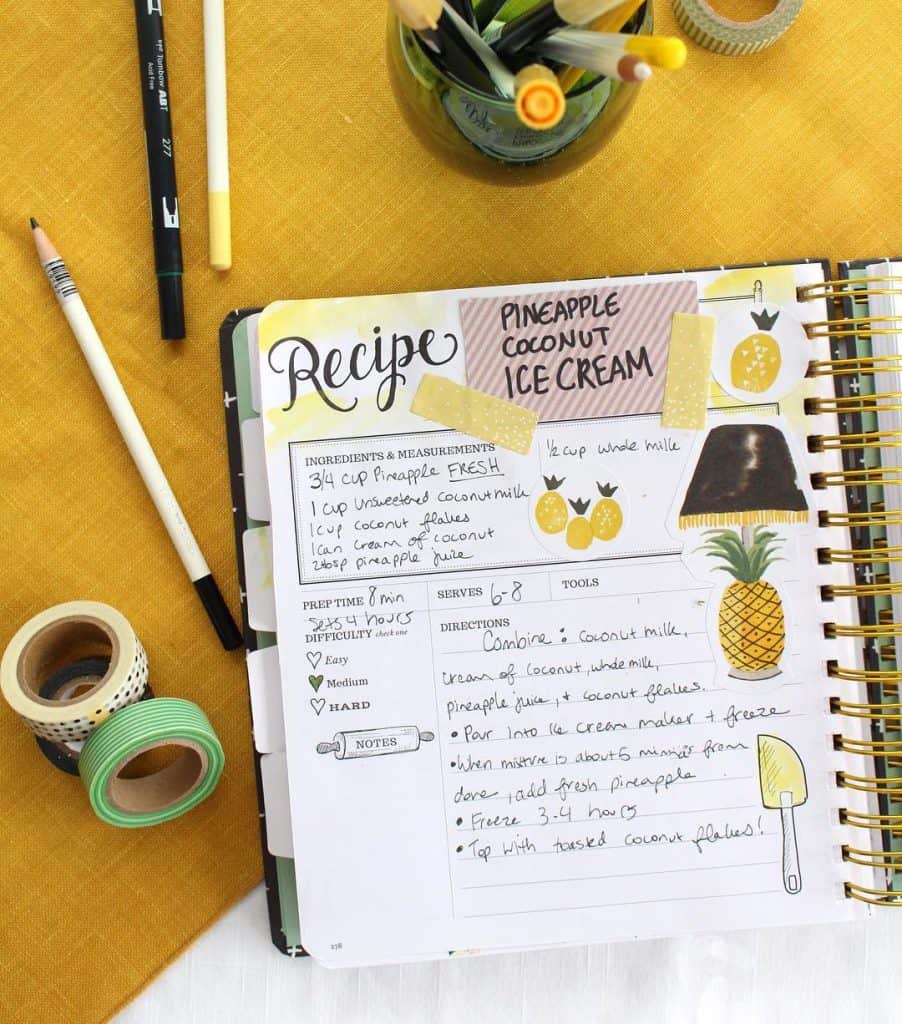
Another great way is recipe cards! You can print them out and grab some cute stickers from Amazon to stick around the recipes. If you have no doodling ability – then stickers and stamps are probably the best way to go! It will make your spread stand out and wont be to hard to draw. So don’t fret this is an easy one to include in your spreads.
Adding personal touches to your recipes
Adding personal touches to your recipe pages in your bullet journal allows you to infuse your unique style and experiences into your culinary collection. By incorporating creative and artistic elements, as well as weaving in personal anecdotes and memories, you’ll create recipe entries that are not only functional but also deeply meaningful. Here’s a closer look at how to add those personal touches:
1. Hand-Drawn Illustrations:
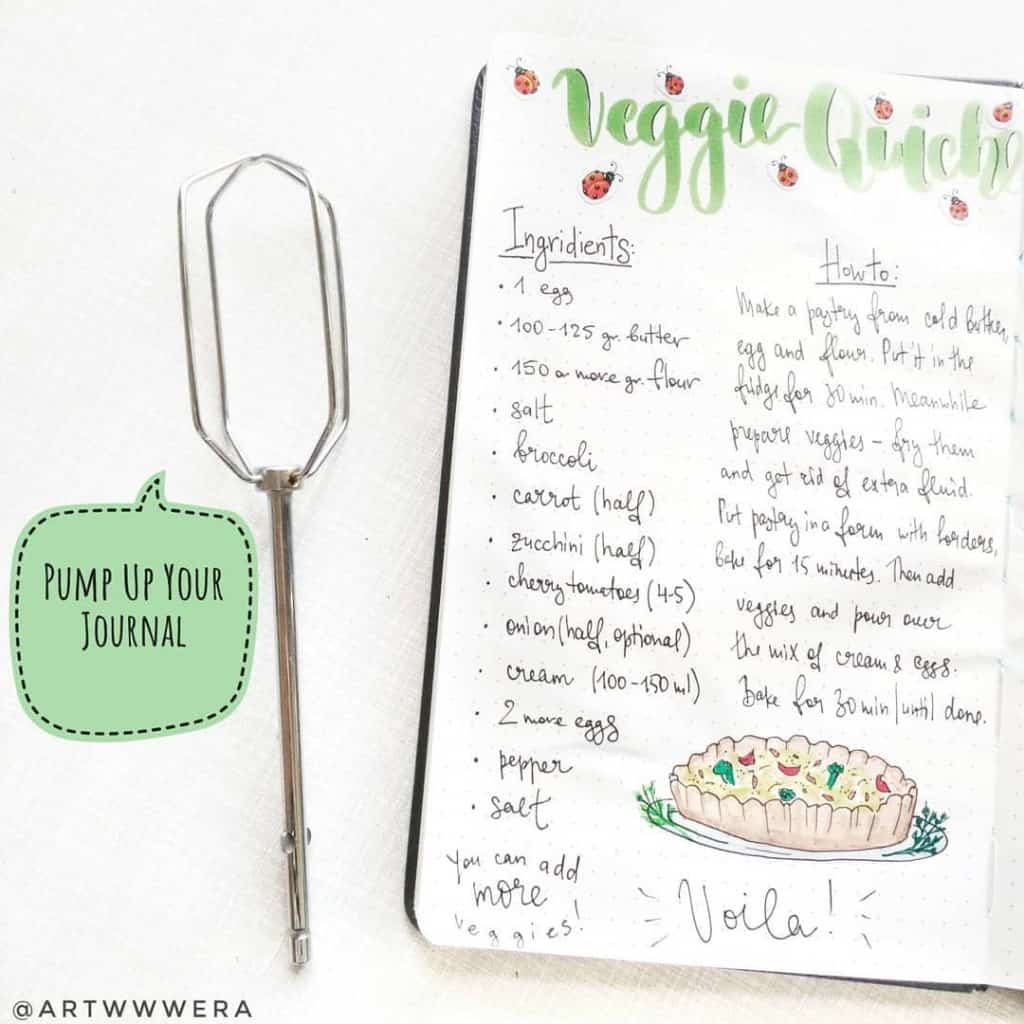
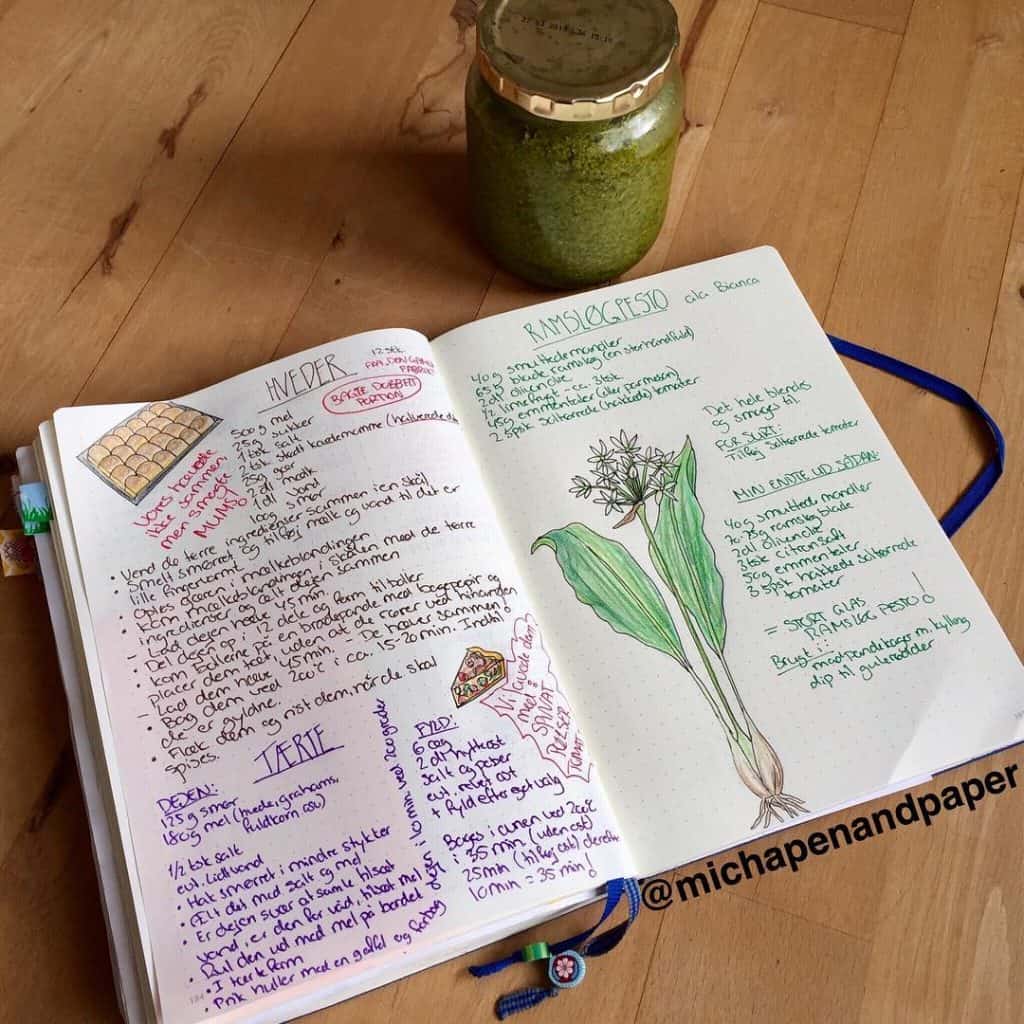
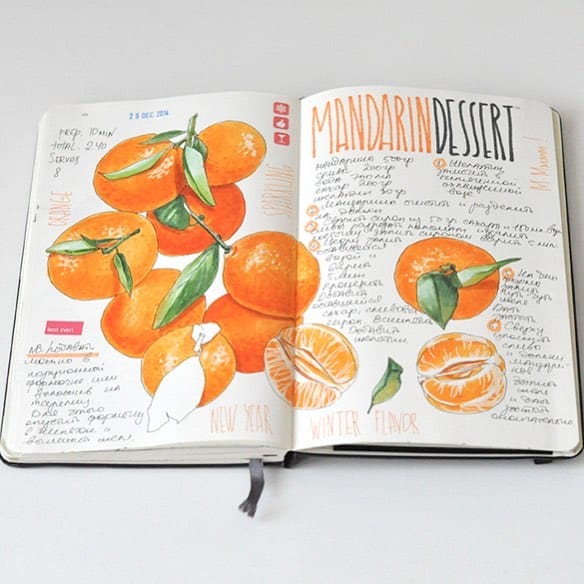
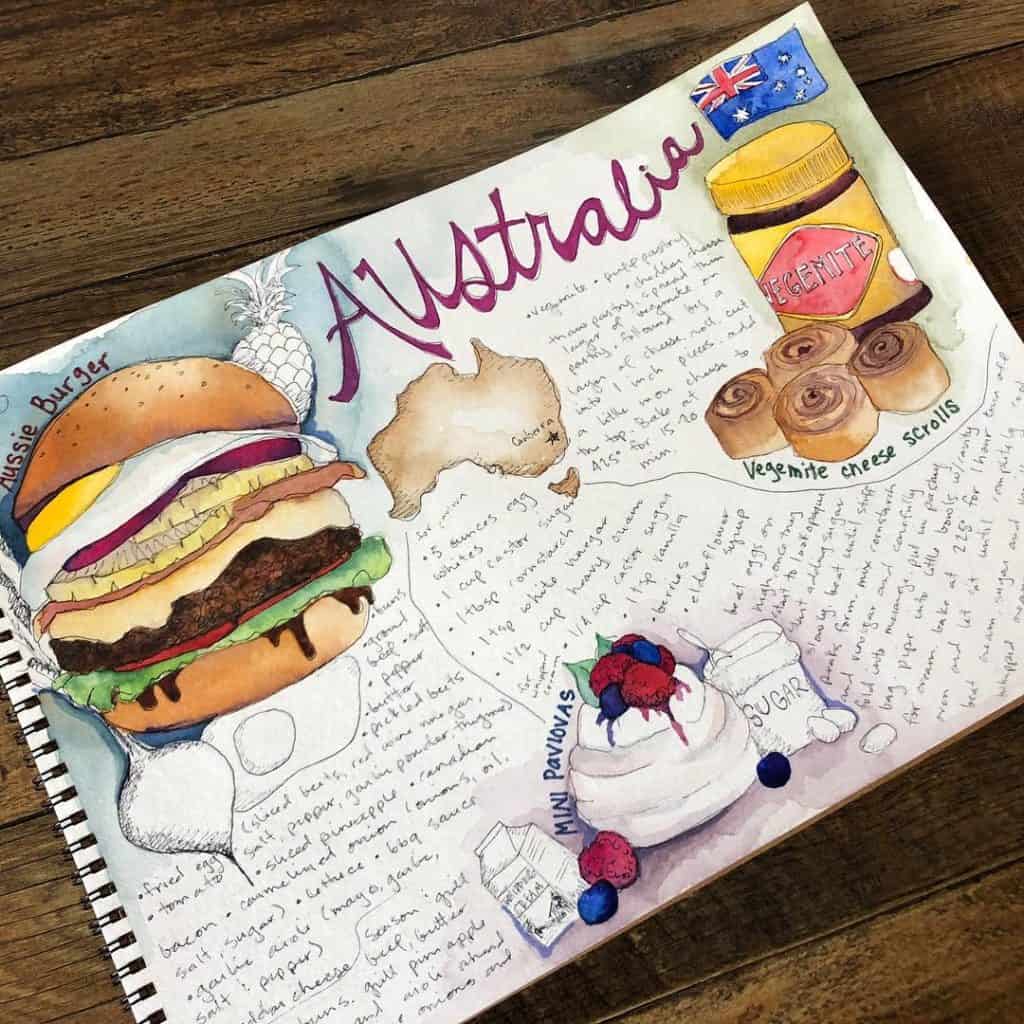
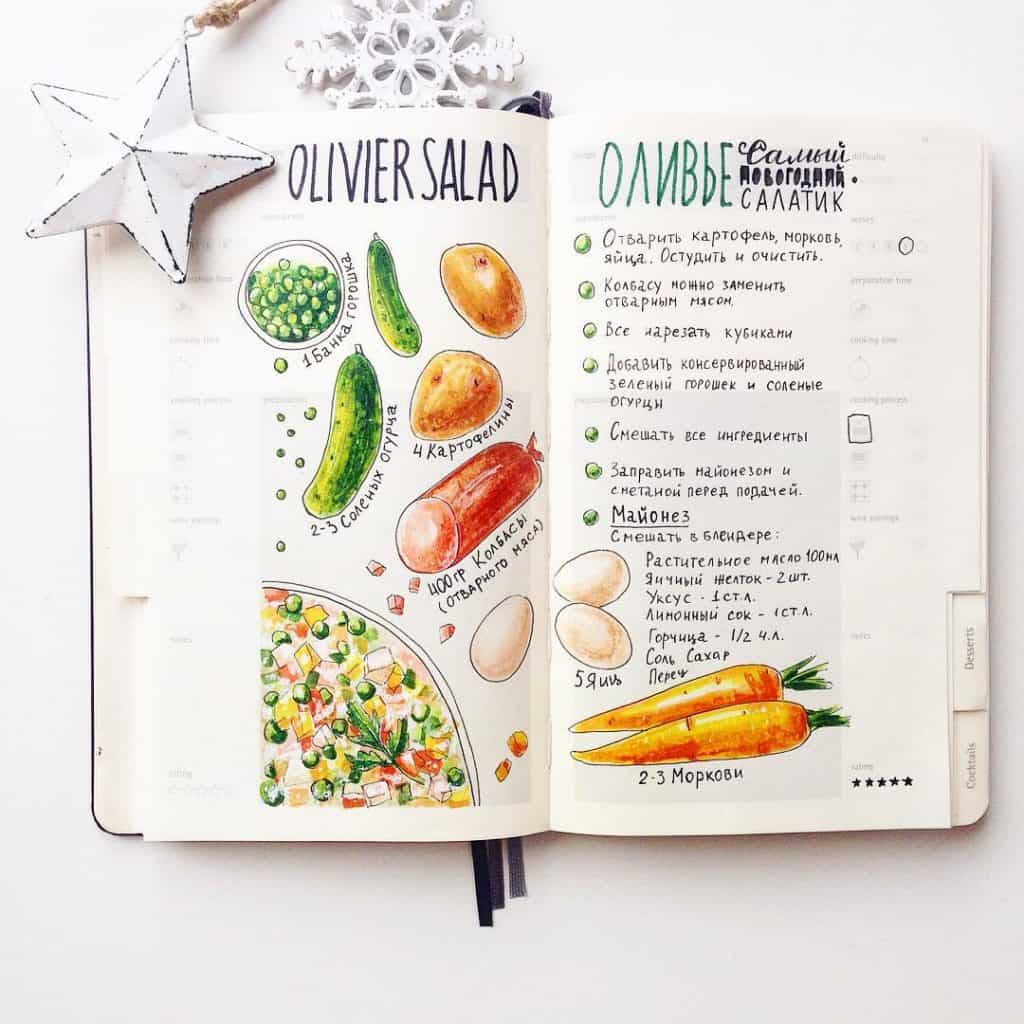
- Ingredient Doodles: Create small hand-drawn illustrations of key ingredients used in the recipe. These doodles can add a charming and whimsical touch to your pages while helping you visualize the recipe components.
- Visual Step-by-Step: Instead of traditional written instructions, illustrate each step of the recipe with drawings. This approach can be especially engaging for visual learners and adds an artistic flair to your documentation.
2. Decorative Borders and Dividers:
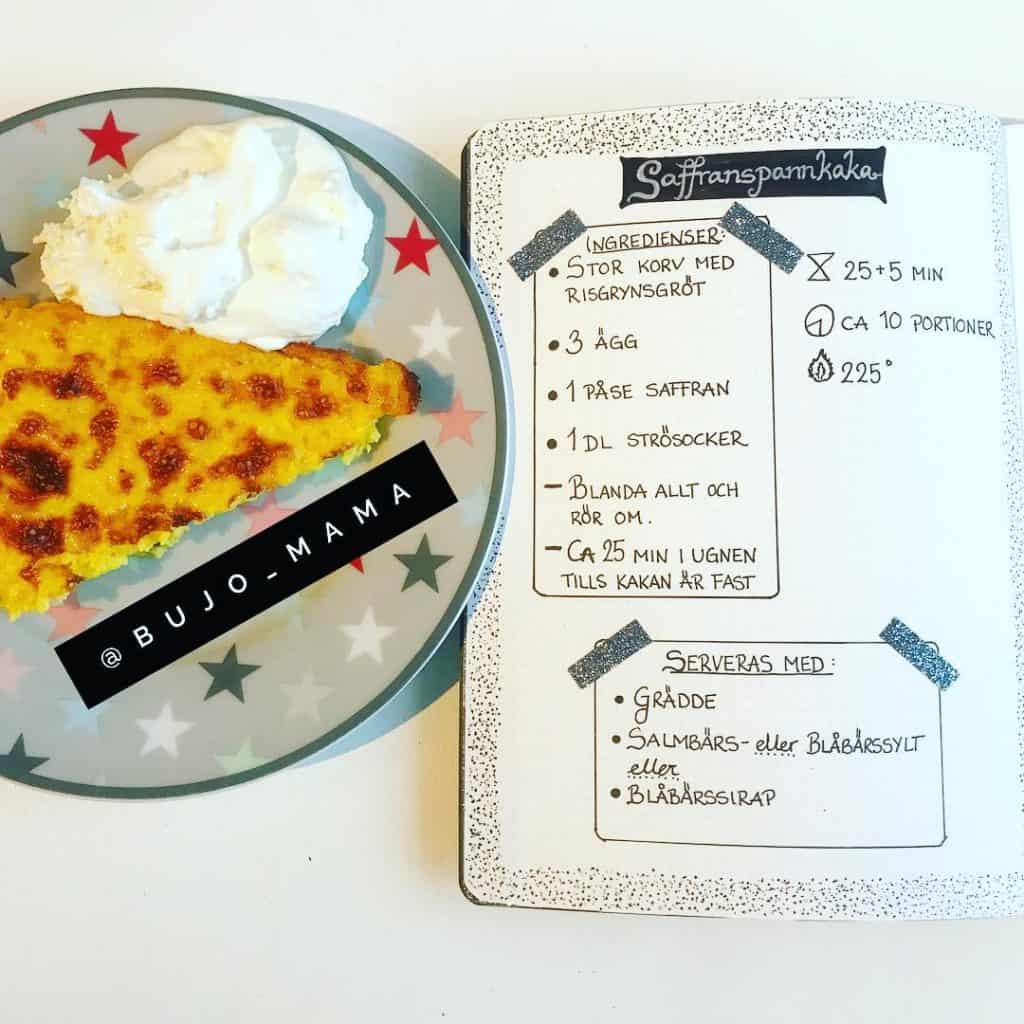
- Borders: Frame your recipe entry with decorative borders. You can draw intricate patterns, motifs, or simple geometric shapes around the edges of the page to add a touch of elegance and structure.
- Dividers: Use decorative dividers to separate different sections of your recipe, such as ingredients, instructions, and personal notes. These dividers can be adorned with small illustrations that relate to the recipe.
3. Themed Headers and Typography:
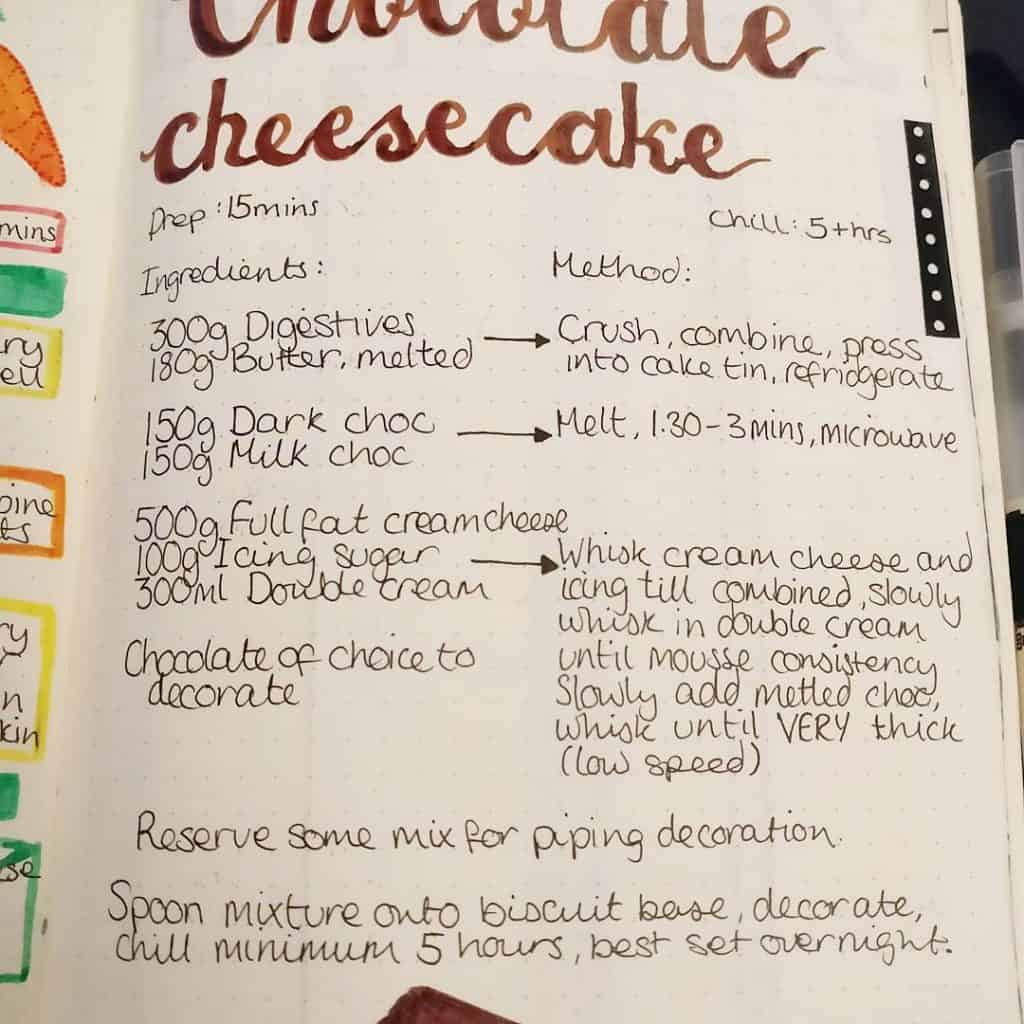
- Themed Headers: Create headers that match the theme or cuisine of the recipe. Use typography that reflects the mood of the dish. For example, a playful font for desserts or a rustic font for comfort food recipes.
- Hand Lettering: Experiment with different styles of hand lettering to make headers and subheadings visually striking. Hand lettering adds a personalized and artistic touch to your pages.
4. Incorporating Personal Anecdotes:
- Storytelling: Share personal stories or anecdotes related to the recipe. Describe the first time you tried the dish, its significance in your family, or any memorable moments associated with cooking or enjoying the meal.
- Origin of the Recipe: If the recipe has a cultural or familial significance, share its origin or the story behind it. This adds depth and context to the recipe and enhances its value.
5. Memory Associations:
- Sensory Details: Describe the sensory experiences associated with the recipe. Mention the aromas, tastes, and textures that evoke fond memories or emotions.
- Visual Memories: If the recipe reminds you of a particular place or occasion, include a small sketch or illustration that captures that memory. This can transport you back to that moment each time you revisit the recipe.
6. Handwritten Notes:
- Handwritten Messages: Add handwritten notes to the recipe entry, expressing your thoughts, feelings, or well wishes. These personal notes can make the recipe feel more intimate and heartfelt.
7. Incorporating Photographs:
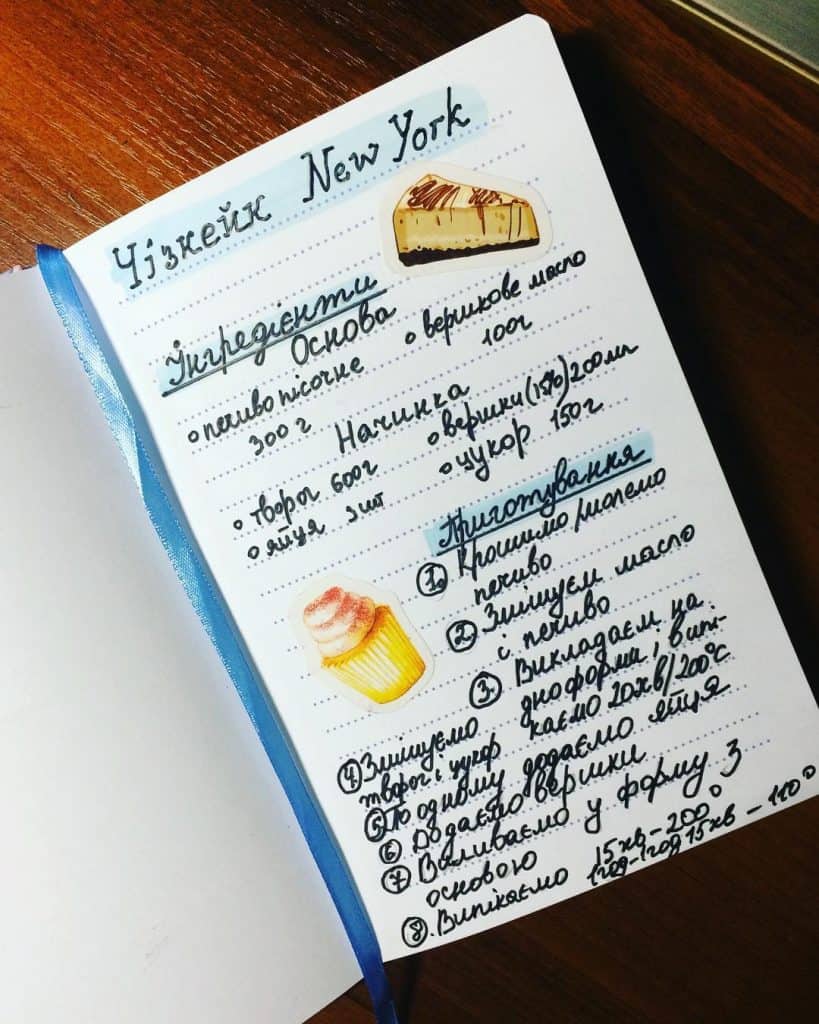
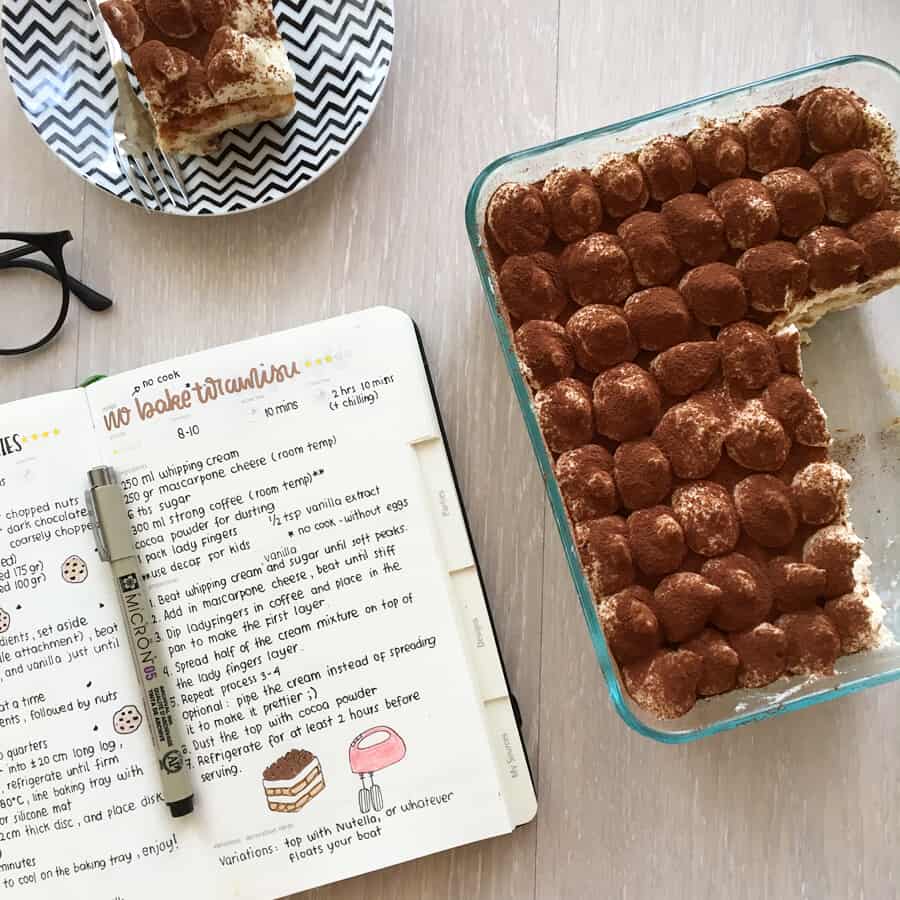
- Food Photography: Attach small printed photographs of the prepared dish alongside the recipe. Visuals provide a clear representation of the final outcome and can be particularly inspiring.
8. Themes and Seasons:
- Seasonal Accents: Tailor your decorative elements to match the season or holiday. Incorporate seasonal illustrations, colors, and motifs to create a festive atmosphere.
9. Collage and Mixed Media:
- Collage: Incorporate cutouts from magazines, newspapers, or printed images that relate to the recipe. Collage adds texture and visual interest to your pages.
- Mixed Media: Experiment with combining different artistic mediums, such as watercolors, colored pencils, washi tape, and markers, to create dynamic and multi-dimensional recipe entries.
10. Reflect Your Personality: Remember that the goal of adding personal touches is to reflect your personality, experiences, and creativity. There are no strict rules – let your imagination run wild and have fun making each recipe entry a unique and meaningful expression of yourself.
By infusing your recipe pages with creative elements, personal anecdotes, and memories, you’ll create a rich and engaging culinary journal that not only serves as a practical resource but also becomes a treasured keepsake of your culinary journey.
Tracking and rating recipes in your bullet journal
Tracking and rating recipes in your bullet journal adds a practical dimension to your culinary collection, allowing you to keep tabs on your cooking adventures and preferences. Creating a systematic approach to record your recipe trials, along with symbols or color-coding to indicate their success or your preferences, can enhance your cooking experience and streamline your meal planning. Here’s how you can effectively track and rate your recipes:
1. Recipe Tracking System:
- Recipe Log: Dedicate a page or spread in your bullet journal as a “Recipe Log” or “Recipe Tracker.” This log will serve as a chronological record of the recipes you’ve tried.
- Entry Details: For each recipe, note down the recipe name, the date you tried it, and a brief description or photo of the dish. You can also include the source of the recipe and any modifications you made.
2. Rating and Feedback:
- Star Ratings: Assign a star rating (out of 5 or any other scale you prefer) to each recipe to indicate your overall satisfaction with the dish. This provides a quick visual reference for future selections.
- Notes and Feedback: Below the star rating, jot down brief notes about your experience with the recipe. Did you enjoy it? Were there any challenges? What would you do differently next time? These notes can help you remember your thoughts and improve future attempts.
3. Symbols and Color-Coding:
- Success Symbols: Develop a set of symbols or icons to represent the success or outcome of each recipe. For example, a smiley face can indicate a recipe you loved, a neutral face for recipes that were okay, and a frowning face for ones that didn’t meet your expectations.
- Color-Coding: Assign different colors to represent various aspects of a recipe. For instance, use a green highlighter for recipes you want to make again, a yellow highlighter for recipes that need adjustments, and a red highlighter for recipes you won’t attempt again.
4. Categories and Tags:
- Tags or Labels: Use tags or labels to categorize recipes based on their characteristics, such as “Quick and Easy,” “Impressive Desserts,” or “Weeknight Dinners.” This makes it easier to filter and search for specific types of recipes.
- Indexing: Create an index or table of contents for your recipe log, indicating the page numbers where each recipe is located. This facilitates quick reference and retrieval.
5. Meal Rotation:
- Weekly Rotation: If you have a set of favorite recipes you frequently cook, consider creating a separate section for a “Weekly Meal Rotation.” List these recipes along with their corresponding page numbers for easy access during meal planning.
6. Seasonal and Occasional Entries:
- Seasonal Highlights: Highlight recipes that are particularly suitable for specific seasons or holidays. Use colored pencils or markers to mark these recipes to make them stand out.
- Special Occasions: Create a section for “Special Occasions” where you record recipes you’ve prepared for birthdays, anniversaries, or other memorable events.
7. Reflection and Improvement:
- Review Section: Dedicate a few pages to reviewing your past recipe trials periodically. Reflect on what worked well, what you enjoyed, and any modifications you made. This can help you refine your cooking skills and preferences over time.
8. Tracking Dietary Preferences:
- Dietary Symbols: If you follow specific dietary preferences (e.g., vegetarian, gluten-free), use symbols to indicate whether a recipe aligns with your dietary choices.
By implementing a thoughtful tracking and rating system using symbols, color-coding, and detailed notes, you’ll create a comprehensive reference in your bullet journal that not only helps you recall your culinary experiences but also guides your future cooking endeavors. This tracking system ensures that your culinary journal becomes an evolving resource for successful and enjoyable recipe exploration.
Our 35+ featured ideas for recipes in your bullet journal!
