Creating a simple spread using only stamps
We know how hard it is to create some new bullet journal spreads, so Ive taken some of the hard work out for you and made this quick video showing you how in less than 30 mins you can create a cute spread with just stamps!
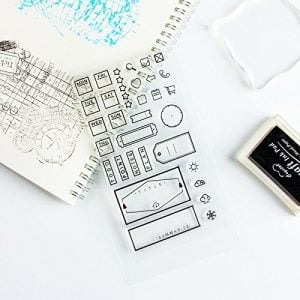
Lets start with the bullet journal stamps I used:
I kept it simple with these stamps and the reason I chose the rose stamps was that I liked there was the one rose with enough space in it to write dates!
The Steps to making a bujo spread with stamps:
Make sure the stamp pad ink you are using in Waterproof. This means you can paint over it or color it in without loosing the ink. The ink I used does ghost somewhat in my Lemome, and you can see that in the images
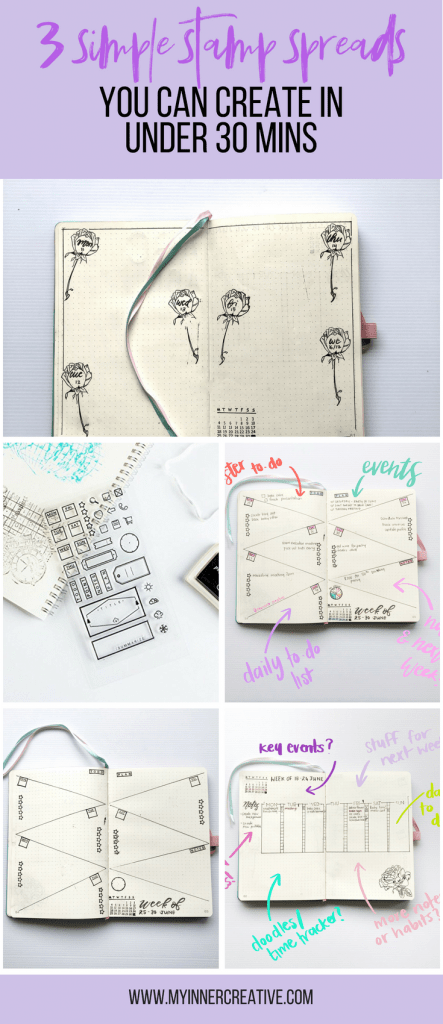
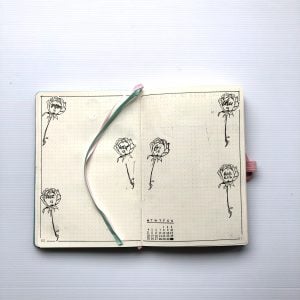
I started with approximately spacing out the roses – Make sure you press hard and that there is nothing bumpy behind your paper. As you can see with my “Wednesday” rose there was a little bit of unevenness. I added the dates and then finally created a border. This is simple but effective and leaves heaps of room for your notes.
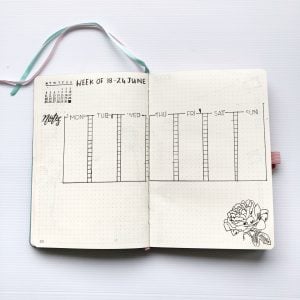
In the next spread, I used some lines and the Date Stamps from Typo – Unfortunately they don’t stock these online anymore but you can easily get something similar on Amazon! I used the main rose down the bottom left and made sure there was heaps of space for notes and events
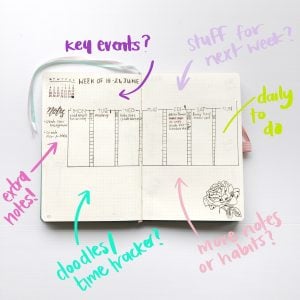
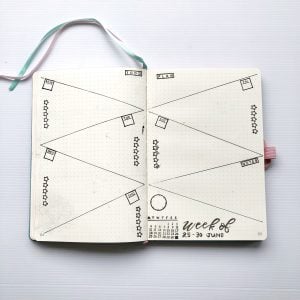
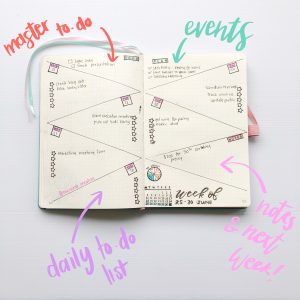
For the final spread I used the adorable note stamps from Amazon and drew some triangles, included the days and then used the rest of the stamps to create “to do lists”, event tracking etc.
Using stamps is a really simple way to create quick and effective pages in your bullet journal with minimal effort.
So here is the video!
As always, thanks so much for sticking round and coming for a look! Have a fabulous day and I cant wait to see what you have created!
