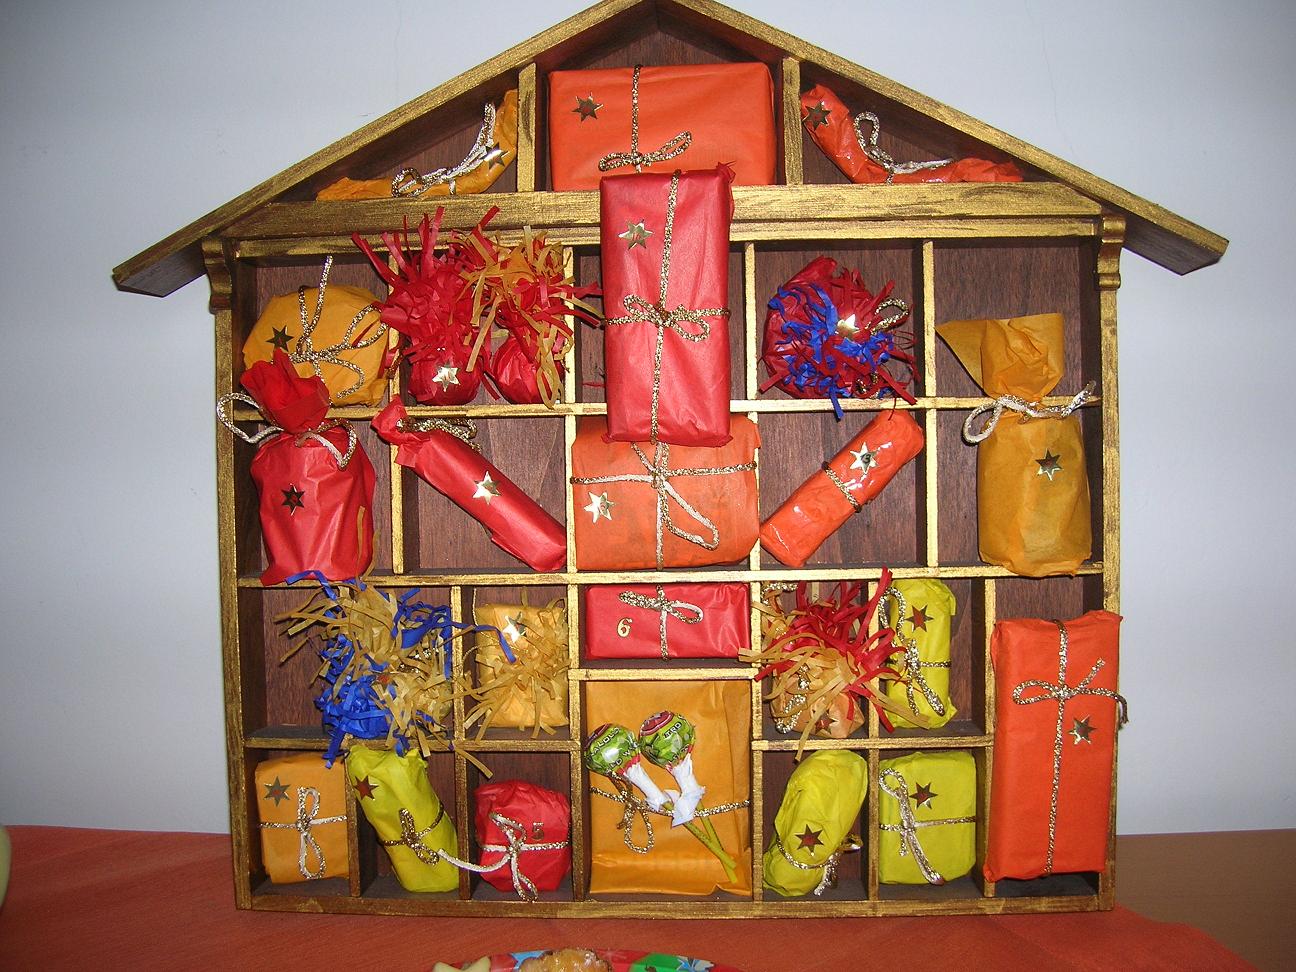
Photo: A homemade wooden advent calendar filled with small wrapped parcels. Andrea Schaufler / Wikimedia Commons, CC BY 2.5.
Every calendar below comes down to the same thing: 24 small containers, numbered 1 to 24, each holding something small, finished before 1 December so the first day can be opened on time.
Advent Sunday falls on 29 November in 2026, but advent calendars run from 1 to 24 December, which makes 1 December the date to build towards.
Dee, the maker behind Artsy Dee, sets out a schedule for it: start making the calendar in the first half of November, fill it in the last week of November, and have it hung by the evening of 30 November. For a paper countdown inside a planner instead, MiC’s December bullet journal setup includes advent spreads.
Her advice before anything gets cut is to pick one container you can make 24 of, decide where it will live and settle on a small color palette. A chest of paper drawers sits on a shelf. Cones and bags need a wall, a mantelpiece or a branch to hang from.
Matchbox calendars: painted boxes on ribbon, or paper drawers glued into a chest
Decorative painter Amy Balfour set out a painted matchbox garland for House & Garden. The boxes are real matchboxes, painted individually and tied along one long ribbon.
- 24 matchboxes
- Paint. Emulsion tester pots work well, and Balfour used about 10 colors
- Paintbrushes
- Two types of ribbon, including one long length for the garland. Balfour used red velvet
- A pencil and an eraser
- A needle or pin
- A skewer
The trays come out first, then each outer box gets a base color built up over several coats. Balfour used three base colors across the whole set, penciled her designs before painting them, and added a border to each box along with a number for every day.
To hang them, she pierces the top right corner of each tray with a pin, widens the hole with a skewer and threads ribbon through, then ties the boxes along the main ribbon. House & Garden says the finished garland can be reused or remade year after year.
The paper version from Artsy Dee skips the matchboxes entirely. The drawers are folded from card, a tray inside a sleeve, then glued together into a little chest that sits on a shelf.
- Thin card, 160 to 220gsm, which Dee recommends “for anything that needs to stand up, like the drawers”
- Patterned paper or cardstock for the sleeves
- A strong, quick-drying glue such as a tape runner
- Scissors, a ruler and a pencil
- A bone folder for crisp folds
- Round number seals, or a fine pen for numbering
Score and fold each tray, glue the tabs inside the short ends, make a sleeve for it to slide into, and repeat until there are 24. They can be arranged as four rows of six, six rows of four or a small pyramid.
Dee’s assembly tip is to glue the drawers into rows first and let them dry before joining the rows together. Her note on numbering: once the drawers are glued into a chest, the seals are too big for the drawer fronts, so write the number small on each drawer end instead.
Bags and envelopes: paper pouches pegged along a line
Kraft bags pegged along twine are the most forgiving format Dee lists, partly because they hold bigger things than a drawer or a cone will.
- 24 small brown paper bags, sweet-shop size, or paper to fold your own
- A number stamp set, a marker or round number seals
- Wooden pegs, mini clothes pegs or washi tape
- A length of twine for a mantelpiece, a window or the stairs
Fill each bag, fold the top over twice and close it with a peg or tape, then peg the bags along the twine. Dee suggests tucking a sprig of rosemary or a piece of fir under each peg so the plain brown bags look deliberate.
Eva Monleon’s advent garland for Handmade Charlotte, a 2016 project, gives the same idea a paper face. Each pouch gets a painted cardboard topper cut from an empty cereal box, and the strands are arranged in a pyramid shape on the wall.
- Cord
- Small paper bags, envelopes or lunch bags, making 24 pouches roughly 4 by 5 inches
- Empty cereal boxes for the toppers
- Colored paper
- Pom-poms
- Stamps or a pen
- Round stickers for the numbers
- Paint, tape and scissors
The toppers are drawn and painted onto the cereal-box card, or cut from colored paper, with two small holes punched in the top of each. The top of each filled bag is taped to its topper, backs together, and the toppers thread onto the cord. Monleon adds faces with pom-poms and stickers, and says the pouches can be used afterwards as Christmas tree ornaments.
Three more formats in brief, and what goes inside
Paper cones on a branch. Paper of 120 to 160gsm, a twiggy branch, ribbon for hanging the branch and the cones, number seals, a hole punch and glue. Dee keeps the heavier fillings in the middle of the branch, where it is strongest, and the lighter ones near the ends.
Envelope bunting. 24 small envelopes, folded from old book pages, sheet music and scrapbook papers or taken from a junk journal stash, plus torn paper number labels, jute string and pegs. Dee layers on lace, a pressed leaf or a scrap of ribbon. The format suits flat things.
A jar of rolled scrolls. 24 written notes, baker’s twine to tie each roll, tiny number tags and a glass jar. The notes can carry a memory, a joke, a promise or a question for the dinner table.
For fillers, Dee’s list runs to a wrapped sweet, a tea bag, stickers, a note, a voucher for something like a walk to see the lights, and a small ornament so the tree fills up through December. Balfour simply fills her matchboxes with treats before hanging the garland. For an ornament to make and tuck inside, MiC’s guide to salt dough ornaments that stay hard covers the drying and sealing.
Dee notes that most of these calendars pack flat into a box with the rest of the decorations, so next year only needs refilling. For the wall around them, MiC’s guide to paper Christmas garlands to make at home covers the rest of the paper.
Pin design by My Inner Creative over a photo by Andrea Schaufler / Wikimedia Commons, CC BY 2.5.