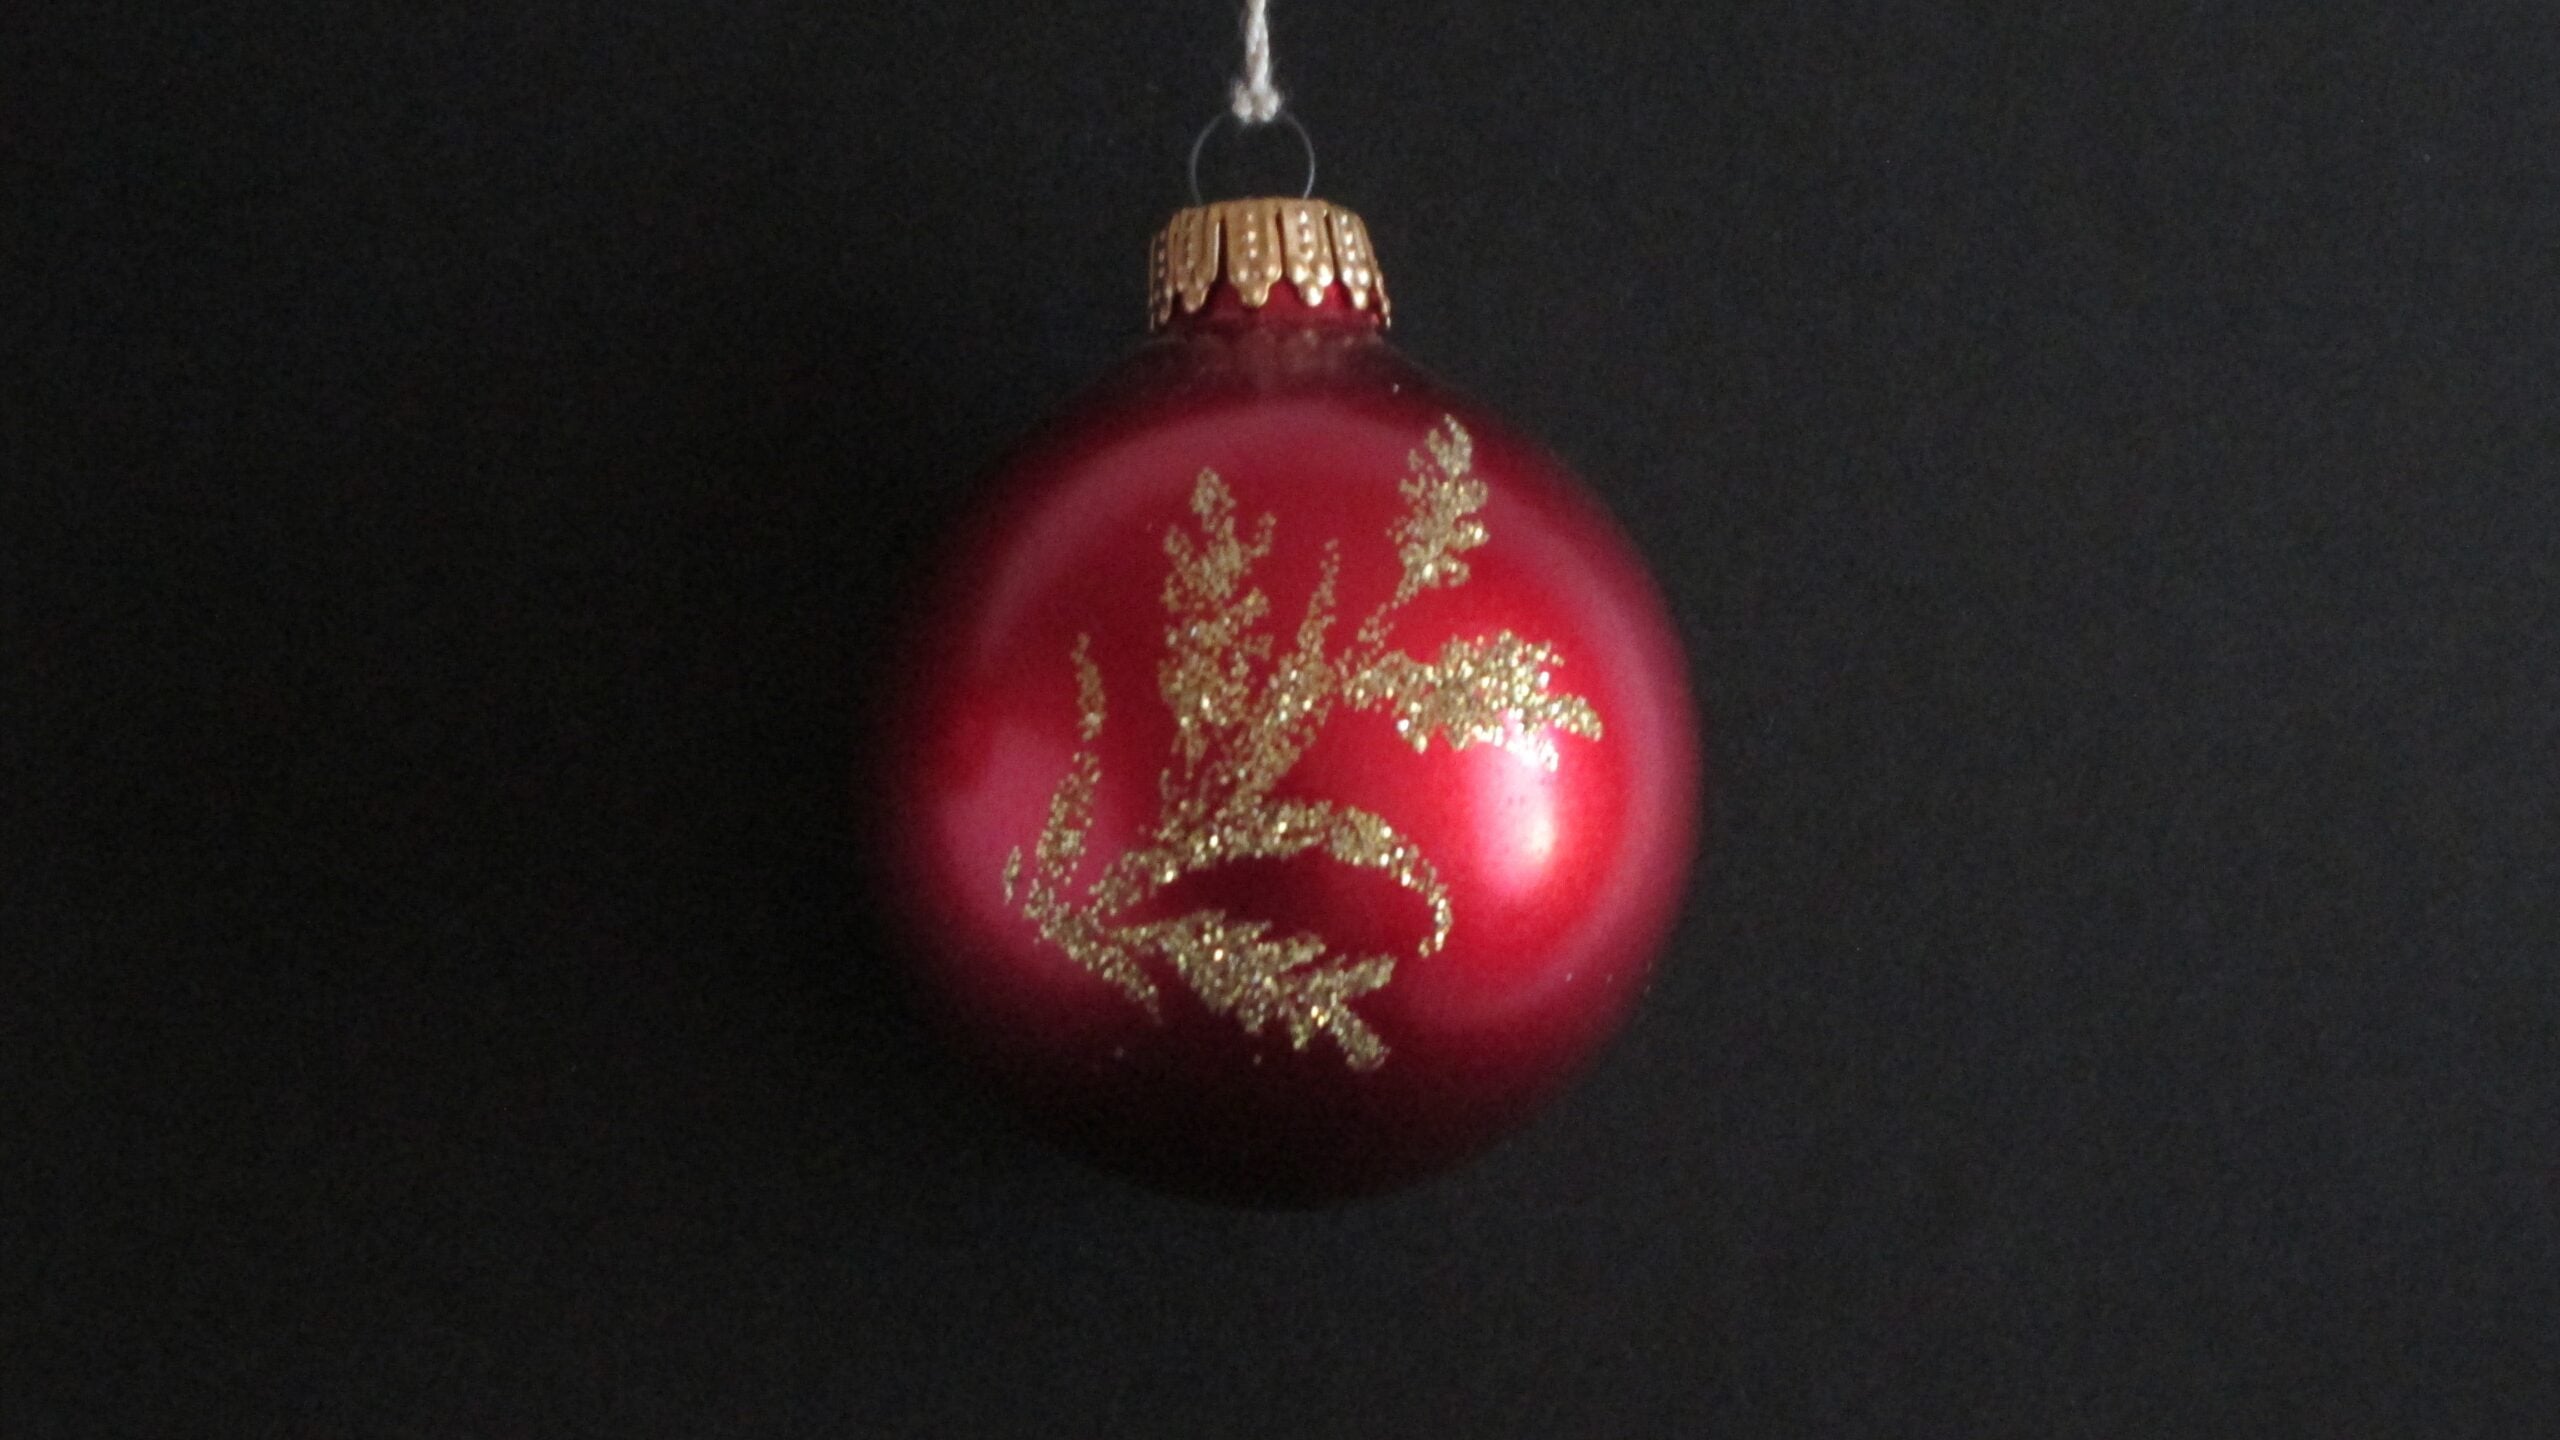
Photo: A red glass Christmas bauble with a painted gold sprig. Sudzie, CC BY-SA 4.0, via Wikimedia Commons. Share-alike: derivatives must use the same licence.
POSCA’s water-based paint markers work on both glass and plastic baubles, and the step that keeps the design from rubbing off is two coats of water-based spray varnish, held about 30 cm from the surface. The method below follows POSCA’s support page for glass and its page for plastic, so it is the pen maker’s own advice rather than a general craft rule.
One limit is worth settling before any pen comes out of the pack. POSCA says a varnished creation is permanent, “though not for food use”. Baubles hang on a tree, so that rarely bites, but it rules out painting anything that will later hold candy or drinks.
If you are still choosing pens, MiC’s guide to paint pens covers using them on glass, wood, fabric and rocks.
What you need
- Plain glass or plastic baubles, ideally undecorated
- Water-based paint pens in the colors you want
- A dry cloth for cleaning the surface first
- A damp cloth for wiping out mistakes
- Water-based spray varnish in matte or gloss
- Scrap paper for priming and testing the pens
- An egg carton or a mug to stand each bauble in while it dries
- Ribbon or ornament hooks for hanging
Which paint pens work on glass and plastic ornaments
Not every marker labelled as a paint pen holds equally well on slick tree ornaments. Manufacturer specifications split into two working options for glass and plastic, plus a third category to leave for paper and canvas.
- Water-based paint markers (such as POSCA): POSCA’s glass and plastic pages confirm that its pigment adheres to both materials. Water-based paint is low-odour and wipes off smooth glass with a damp cloth if you make a slip, which makes it forgiving for detailed snowflakes or lettering, though it needs two coats of water-based spray varnish to become permanent.
- Oil-based paint markers (such as Sharpie Oil-Based Paint Markers): Sharpie’s Oil-Based Paint Markers listing describes quick-drying oil-based ink that resists fading, water and abrasions while remaining removable from glass. In Sharpie Consumer Care guidance on the same page, Sharpie notes the pens also write on plastic (away from food contact), feel dry to the touch in a few minutes and reach a full cure in up to 24 to 48 hours.
- Gloss paint markers (such as edding 750, 751 and 780): edding’s gloss paint markers are formulated for opaque, permanent, smudge-proof writing and decorating on smooth, transparent and dark surfaces including glass and plastic.
Skip standard porous-surface acrylic markers and glass-board pens for ornaments. Markers such as the edding 5100 acrylic marker are made for absorbent surfaces like canvas, paper, wood, stone and terracotta, while glass-board markers are designed to wipe away.
Glass baubles: clean first, then build the design in thin coats
Glass gives paint very little to grip, which is why POSCA puts preparation ahead of everything else.
- Wipe the bauble down. POSCA’s instruction is to “clean the surface with a cloth and ensure it is not damp or greasy before starting work”. Handling a bauble straight out of the box leaves finger grease on it, so clean after unpacking, then hold it by the metal cap.
- Prime the pen as its maker instructs and test the flow on scrap paper. Starting on the glass itself risks a blob of paint in the middle of the design; if the nib floods or skips, follow this guide to troubleshooting an acrylic paint pen.
- Lead with lines. POSCA’s glass page says creations consisting only of lines produce the strongest effect, and that areas needing to be filled with color will take several coats. Snowflakes, dot borders and simple lettering suit that approach.
- Keep filled areas thin. Lay down a light coat, let it dry, then go over it again. Thick single coats sit on the glass and lift at the edges.
- Fix errors straight away. For a mistake, POSCA says to wipe the area with a damp cloth. Doing that early is easier than cutting a crooked line out of a finished pattern.
- Work around the curve. Paint one face, stand the bauble in a mug or an egg carton until that side is dry, then turn it. A rested palm on wet paint undoes a lot of careful work.
- Seal it. POSCA says: “You can make your creation permanent, though not for food use, by applying two coats of water-based spray varnish.” Hold the can about 30 cm from the surface and spray in slow circular movements. The varnish can be matte or gloss depending on the look you want.
Spray in a ventilated space and keep each pass light. Holding the can about 30 cm back, as POSCA sets out, helps the varnish settle evenly across a curved surface.
Plastic baubles: almost no prep, but slower drying
Plastic ornaments do not shatter, which is part of why they end up on the table when children are decorating, and they need less setting up. POSCA’s plastic page says: “No special preparation is needed to use POSCA on plastic. However, we recommend removing any dust or grease from the surface if necessary.”
In practice that means a quick wipe for anything that has come out of storage or been handled a lot.
- Dust off, degrease if needed. A dry cloth covers most shop-fresh baubles.
- Expect a longer wait. POSCA’s guidance is that the smoother the surface of the plastic, the less porous it is, and so the longer the drying time and the longer you will have to wait before handling the creation. A glossy, hard-shelled bauble sits at the slower end of that scale.
- Test before you touch. Rather than guessing, try a fingertip on a painted scrap or on a hidden spot near the cap. Drying depends on the surface and on how thickly the paint has been laid down.
- Do not squeeze. Thin plastic flexes under a firm grip, and flexing a half-dry layer of paint can crack it. Support the bauble from underneath.
- Varnish once dry. POSCA says to apply two coats of water-based spray varnish once the creation is finished and dry, again holding the can about 30 cm from the surface and spraying in slow circular movements.
Matching the varnish finish to the bauble helps. Gloss over a shiny plastic ball keeps the original look, while matte knocks back the shine and makes bright color read more like paint on paper.
Hanging, handling and storing the finished baubles
Leave the ribbon until last. Threading a hanger through the cap while the varnish is still tacky pulls fibers into the finish and presses a thumbprint into the top of the design.
A few habits keep a painted bauble intact once it is off the drying rack:
- Lift it by the metal cap or the hanging loop, never by the painted belly.
- Hang painted ornaments where sleeves and tails will not brush them, which usually means higher on the tree.
- Keep them away from food and drink. POSCA’s fixation advice is explicit that the result is not for food use.
- Wrap each one in tissue paper at the end of the season and store it in a compartment box so the painted faces do not rub together.
For baubles given as gifts, a short note on the box helps the person receiving them: hand-painted, sealed with varnish, and meant for the tree only. They also pair neatly in a gift box with handmade salt dough ornaments.
If a design does chip later, the repair follows the same order as the original. Clean the area, build the color back in thin coats, let it dry, and finish with two coats of varnish sprayed from about 30 cm.
Pinterest pin: typography added to a crop of the same bauble photograph. Adapted from Sudzie, CC BY-SA 4.0, via Wikimedia Commons. Share-alike: derivatives must use the same licence.