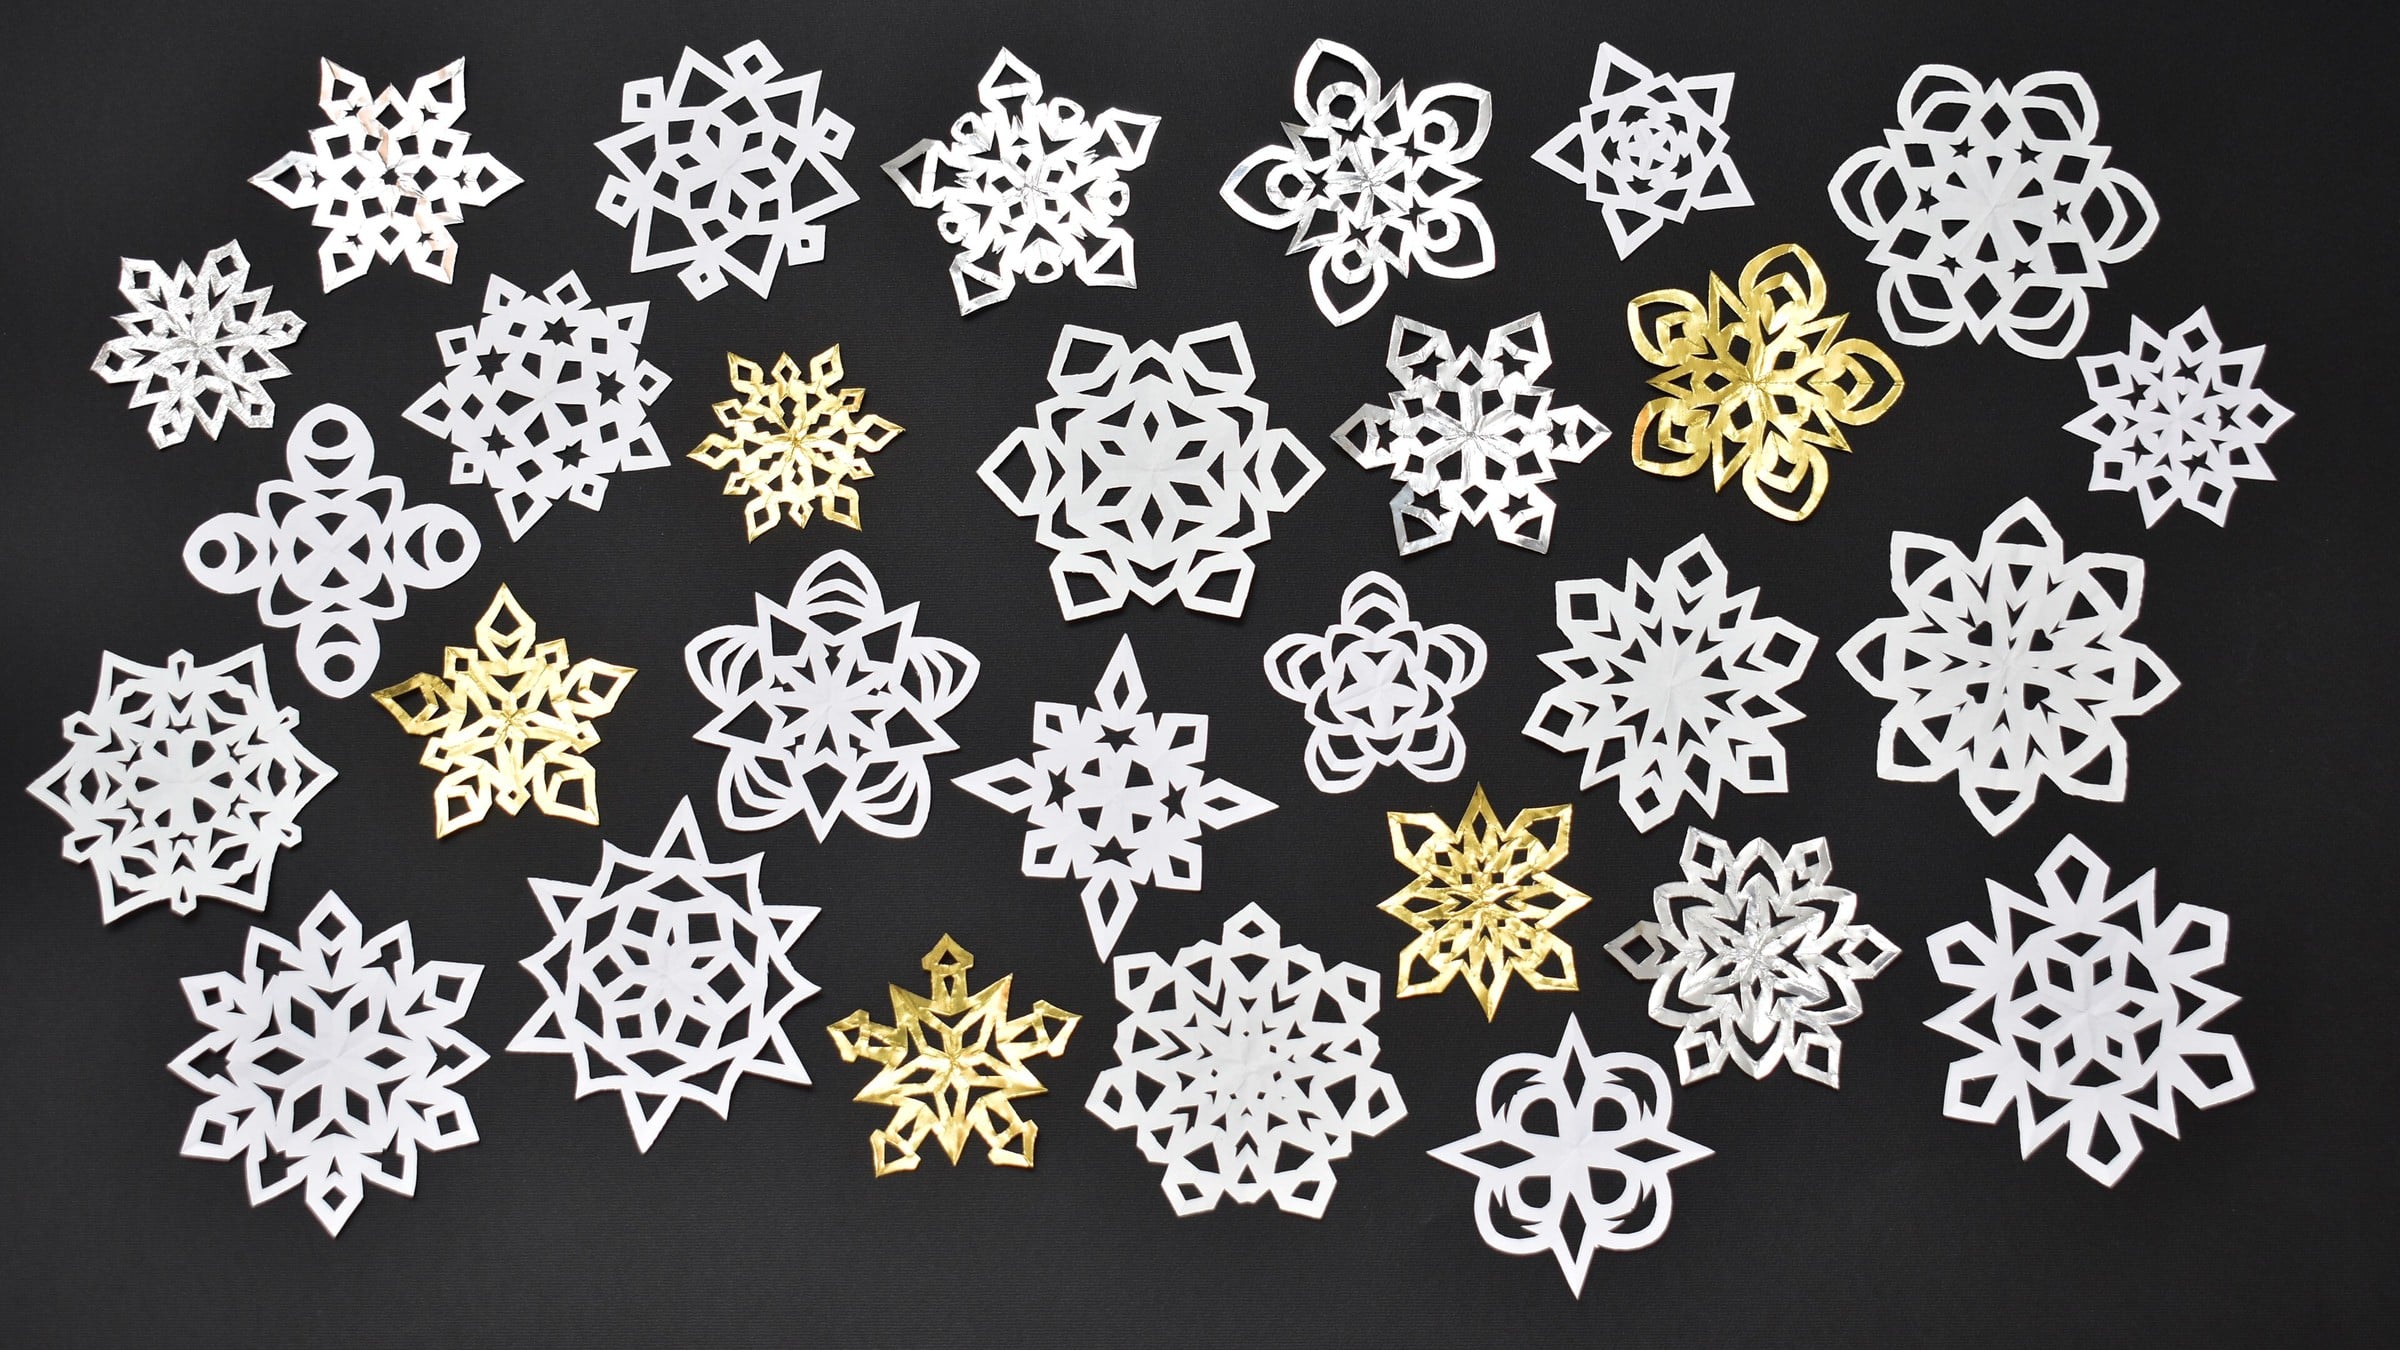
A six-pointed paper snowflake takes one square of paper, four folds and a few cuts along the edges, and it opens out into a flake with six arms every time.
That six-point fold is the standard because real snow crystals are built the same way. The California Academy of Sciences activity sheet Make a Snowflake puts it plainly: “Snowflakes are crystals of pure ice. They can grow into trillions of possible formations, but almost all have six sides.”
The materials list is short. The Academy calls for scissors and one piece of printer paper.
Why six points matches almost every real snowflake
Water molecules attract one another, and when water freezes they spread out and settle into the arrangement that fits best, which is a hexagon. Every branch and spike that grows afterward follows that six-sided frame.
Fold paper into six equal wedges and one set of cuts repeats six times around the center. That is why a six-point flake reads as a snowflake instantly, even when the cutting is rough.
None of this makes other folds wrong. Four-point and eight-point paper stars are common decorative shapes too, and they look fine strung across a window. The six-point fold is simply the one that copies what ice actually does, which is why it is the usual model rather than the only option.
Thickness is the other thing worth settling before cutting. Printer paper is easy to control and holds its shape in a window. NASA’s James Webb Space Telescope snowflake activity suggests tissue or wax paper as alternatives, and both let more light through once the flakes are up on the glass.
How to fold and cut a six-pointed snowflake
What to gather:
- Scissors that cut cleanly through several layers of paper
- One sheet of printer paper per snowflake
- Tissue or wax paper if you want a thinner, more translucent flake
- Tape or thread for hanging
The steps, in order:
- Make a square. Fold one corner of the sheet across until the short edge lines up with the long edge, then trim off the leftover strip. The remaining shape is a square.
- Fold the square in half diagonally. Corner to corner, so you have a triangle.
- Fold the triangle in half again. Bring the two sharp points together. The paper is now a smaller triangle with four layers.
- Fold it into thirds. Take one third of the triangle across the front, then bring the other third over the top of it. The Academy describes the result as looking almost like an ice cream cone, which is a good test of whether the thirds are even.
- Cut the top off at an angle. Slice across the wide, uneven top edge and keep the bottom piece. The angle sets the outline of the finished flake, so it is worth varying it across a batch.
- Cut shapes into the edges. Small triangles are the easiest place to start. Notches, slots and curves all work. Leave space between the cuts so the paper still holds together in one piece.
- Unfold slowly. Open one fold at a time. Thin paper tears if you pull it flat in one go.
The thirds are the step that goes wrong most often. Eyeballing them is normal, and a wedge that is slightly off still opens into a convincing flake, because the six repeats hide small errors.
One rule governs everything else: whatever paper you remove disappears six times over, and whatever you leave is all that holds the flake up. Cut away the whole folded spine and the snowflake falls into pieces on the table.
From bold stars to lace, and how to hang them
The number and size of the cuts does most of the work in the finished look.
Few cuts, cut large, give a strong graphic star. Three or four deep triangular notches along each edge produce heavy arms and big open gaps, and the shape stays legible from across a room. This is the version to make with young children, and the one that survives being taped and untaped.
Many cuts, cut small, give a lace flake. Work close to the folds with narrow slots, fine teeth and little half circles, and keep the strips of paper between them slim. When it opens there are dozens of holes and a fine web of paper carrying them. Scissors with short, pointed blades help here.
Where the cuts go also changes the result. Shapes cut into the folded sides turn into holes that sit toward the middle of the flake once it is opened. Shapes cut into the outer edge shape the tips of the six arms. Mixing the two is what gives a flake both a decorated center and a spiky outline.
Vary the sizes across a batch. A window full of identical flakes looks flat, while a mix of large bold stars and small lace ones reads as falling snow.
The Academy frames the whole activity around the window: “Make your very own six-sided snowflake to hang in a window!” Small loops of tape at the back hold flakes directly on the glass, and thread taped to the frame lets them turn in warm air. Backlit by daylight, the thin papers show their cuts best, while printer paper gives a crisp silhouette after dark.
Flakes also work strung in a line across a window or along a mantel, which puts them in the same family as the other folded and cut decorations in this guide to paper Christmas garlands to make at home. They pair naturally with DIY paper advent calendars and baked salt dough keepsake ornaments for the rest of the room.
Once the first flake works, the next move is the simple one the activity sheet suggests: cut more of them, in different patterns, and put them up.
Featured image and Pinterest pin: hand-cut paper snowflakes in several patterns on a dark background. Photo: Annatsach, CC BY-SA 4.0, via Wikimedia Commons. Share-alike: derivatives must use the same licence.